Elevators


Elevators 6 (1.5 hrs)

Despite having very little time to devote to the project today, I was able to dimple one elevator skin for the stiffeners.  I used the c-frame for all the dimples except the two closest to the trailing edge.  For those I used the close quarters rivet set that uses the pop rivet puller.

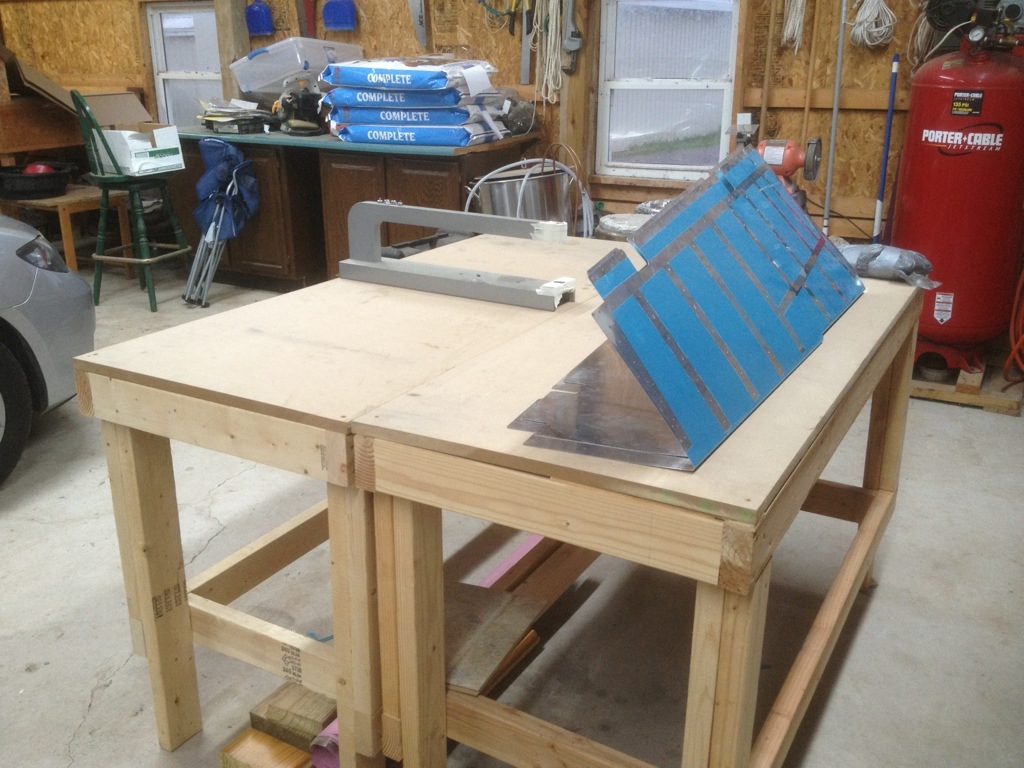
This time, unlike when I did the rudder skin, I didn’t make any mistakes nor did I allow either of the dies to make any small dents or impressions.  I’ve got my technique down fairly well now, but my setup still leaves a lot to be desired.  Since it doesn’t look like I will have the funds for the wings until later this summer, there is a high likelihood that I will have a break between the completion of the empennage and the wings.  I will use that time (if it occurs) to build a better table top for dimpling as well as a wing jig.  The wing jig really isn’t a jig, more of a stand that will allow access to both sides of both wings.

Tomorrow I have nothing planned, so hopefully I’ll get a good bit done in the shop.

Here is the skin before dimpling.20130511-180903.jpg

And after dimpling is complete.20130511-180913.jpg


Elevators 5 (2.0 hrs)

I’m not sure why, but when I wrote the last post, I completely forgot that I still had all of the dimpling to do for the elevators prior to priming…

Anyways, tonight I finished the priming prep of the stiffeners with scotchbrite pads.  I also used the scotchbrite on all of the rudder skeleton parts.  After all that scrubbing, I dimpled all of the stiffeners and set the garage up for dimpling the elevator skins.

Here are the rudder parts after scotchbrite.20130510-193651.jpg

Here’s a blurry shot of the stiffeners after dimpling.  I’ve kept them organized in rows so that I won’t lose track of them even if the markings are striped off or primed over.20130510-193700.jpg

Finally, I moved the benches next to one another instead of forming one long bench.  This allows me to better support the skins and prevents dents, scratches, and mistakes while dimpling with the c-frame. 20130510-193707.jpg


Elevators 4 (2.0 hrs)

Tonight I finished all of the final drilling and removed all of the stiffeners.  I have labeled each stiffener according to position and elevator. (ex. G, RB for right bottom)  Knowing that the labels will be removed as I clean the stiffeners for priming, I labeled their location on my priming table.  As long as I don’t move things around haphazardly, I can keep track of all the pieces.  After labeling, I was able to deburr all the holes and get about 2/3 of the scotchbrite priming prep done on the stiffeners.  I will still need to scotchbrite the remaining stiffeners, the rudder skeleton, and the interiors of the elevator skins before I clean and then prime.  I’m hoping to be done the priming process and maybe even get to riveting this weekend.  20130509-195242.jpg