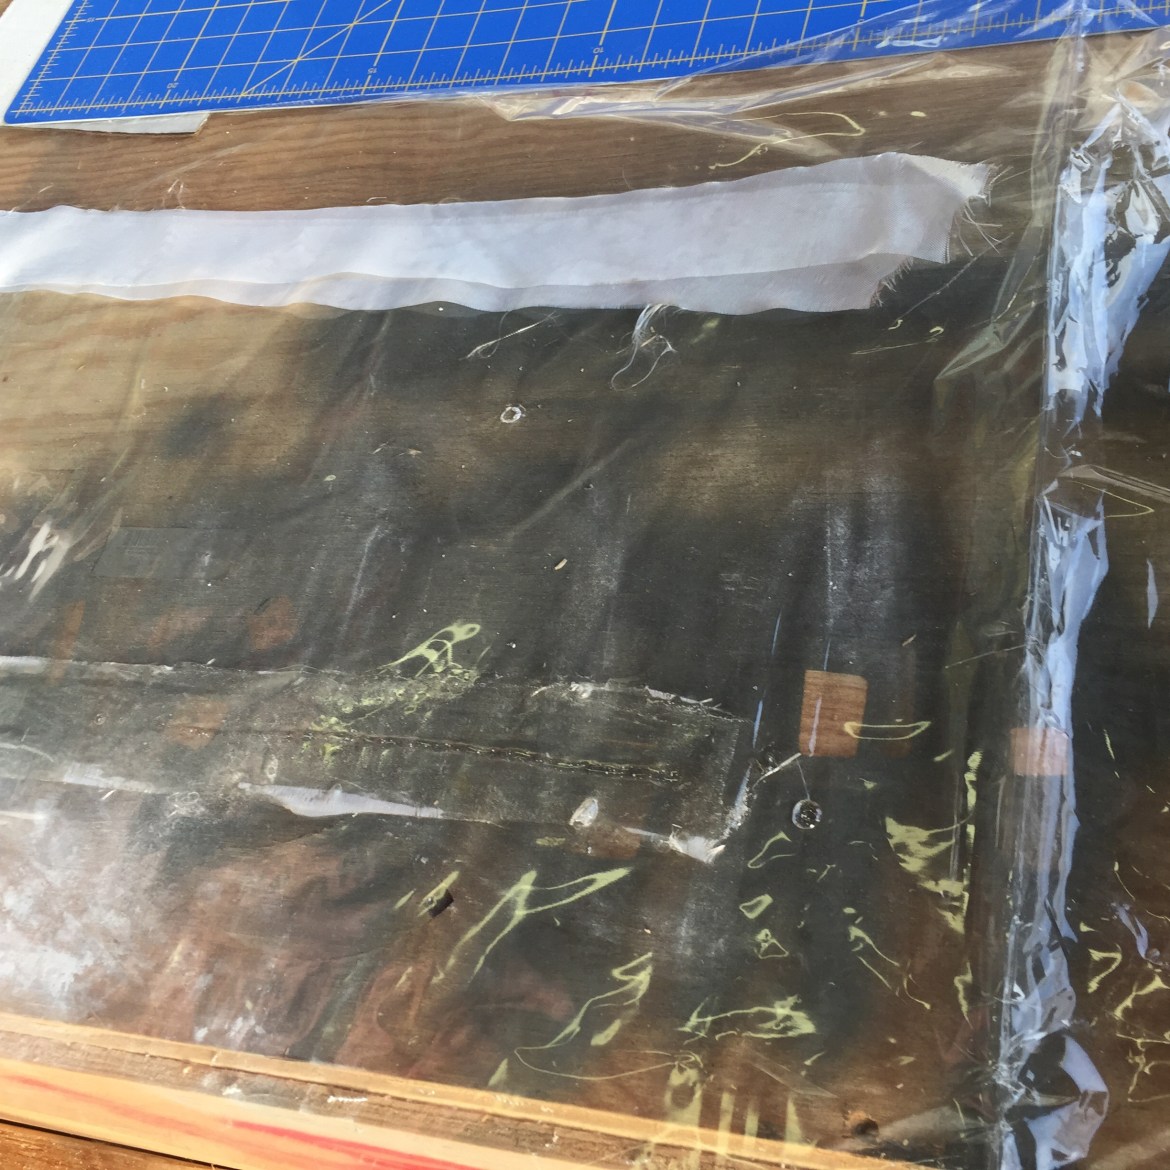
Previously I began work on the fiberglass tips for the horizontal stabilizer and elevators. The tips for the elevators have very close edge distances in order to not interfere with the end ribs. Here you can see the first two reinforcement strips I made to remedy the problem for the left elevator. I expect the same thing to be required for the right side.

Picking up with the right side, I trimmed the horizontal stab’s tip by inserting it and marking the intersection.

Here is the result after the cut. This is a good point to note that I may need to trim these further after glassing in the elevator tips to ensure I have appropriate clearance and alignment. I bought some foam at home depot to close the back portion of this tip in.

Van’s specifies that you need 1/4 inch of edge distance in the fiberglass for this tip. This can be tricky as there isn’t much room for error. My approach was to mark the 1/4 inch line, and the line at which the fiberglass intersects the horizontal stab. This allows me to measure the line for drilling on the horizontal stab that will provide 1/4 inch of edge distance. There was a little more wiggle room on the left side than there is here on the right. On the left, it was possible to get both the edge distance for the fiberglass and the aluminum. On the right, I will be slightly short of the appropriate edge distance for the aluminum but just fine for the fiberglass. Of the two, I’d rather have the fiberglass OK, and the aluminum a bit short.

Here you can see my approach a little better. 1.5″ between rivets, and I started 0.5″ from the rear.

Came out nicely.

And perfectly within the edge distance guidelines.

Again, the elevator tip needs to be trimmed to 1/2 inch to avoid interference with the end rib. This all but guarantees an edge distance issue.

I made two more backing strips from aluminum and set about drilling and epoxying them to the tips.

Here are a few different pictures. I clamped the strips in place and drilled. After drilling for the rivet holes, I removed the strips and added additional holes. These holes will fill with epoxy and create a stronger bond. I sanded the strips with 100 grit sandpaper to maximize adhesion.

Here is a good demonstration of my thought process. There strip has epoxy underneath and on top. The two are connected by multiple additional holes. In order for these strips to come apart, not only will the aluminum need to separate from the epoxy but the epoxy will need to crack at these points. 
Here is the strip in place for curing overnight.


