Painting and Detailing


Interior Paint 7

Back when I was doing the interior painting, I ran out of paint. Unfortunately, when I returned to the paint supplier, Nyquist, they had written the formula on the can incorrectly. They said they would match it, but after multiple trips, they were still unable to do so. I was frustrated and should have demanded a refund or compensation, but instead, I moved on to other work and it became history.

Now that it’s nearing the time to install some of these parts permanently, I needed to find a solution. My friend Chad told me about a place called Colors, a bit north of me. I took a painted part to them, and they did an excellent job matching the paint and the amount of flatness I needed. They can also mix and fill aerosol cans, so I had a can of the interior paint mixed up for touch-ups and a few other spots that haven’t been painted. They also have a number of other supplies that I wish I had discovered earlier.

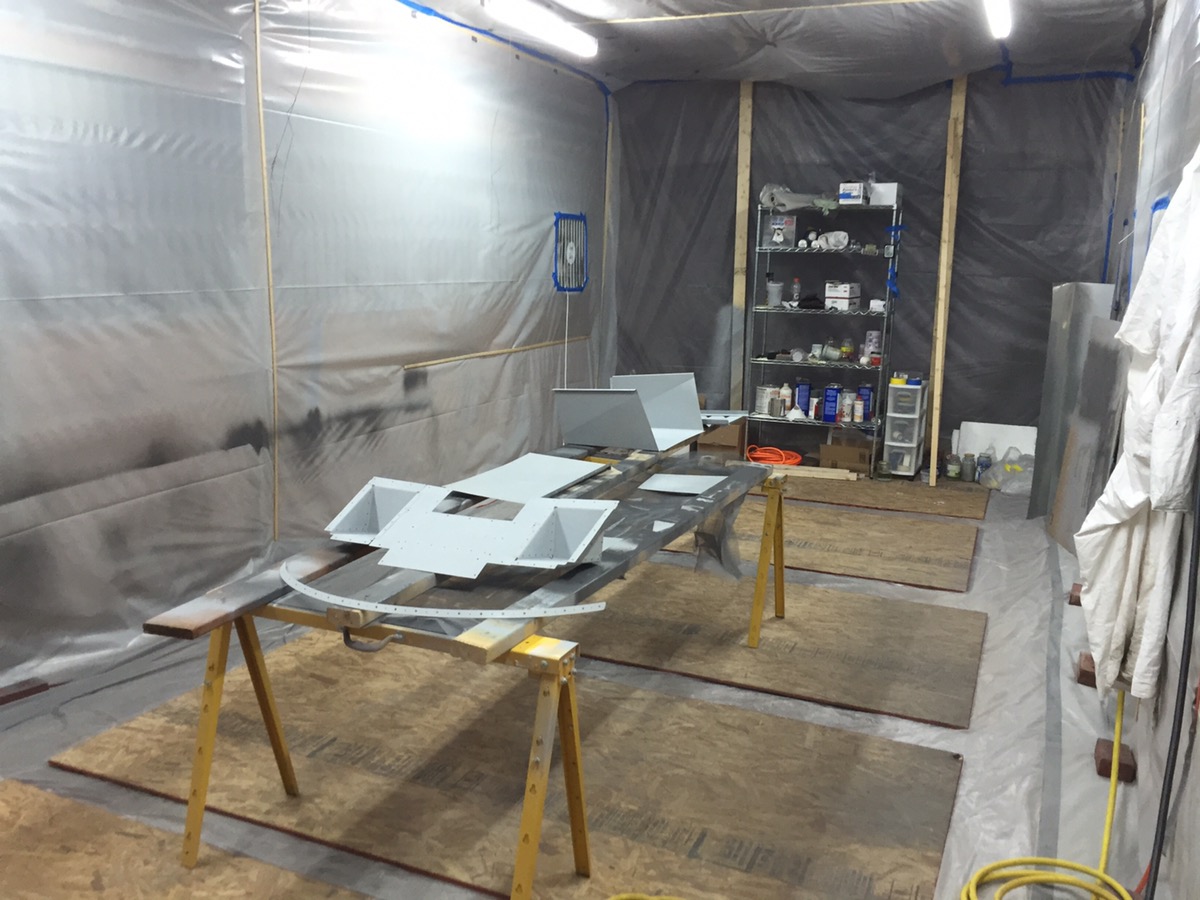
Since I can’t do this type of painting at the hangar, my buddy Brian offered his shop and we did the painting there. I made a couple of errors, primarily due to mismatching my gun’s needle and orifice size, resulting in a few drops. Overall, though, it came out well, and I’m happy.

Here is the before paint photo. 
And an after paint photo. 

Interior Paint 6

After the last session, it was time to return the fuselage to the hangar. It will return to the paint booth for one more interior painting session when I have completed the remaining work, but for now there is other work to be done. My father’s neighbor Dave was a huge help in loaning me his trailer and truck for the trip. Thankfully he and a few other neighbors were also on hand to help me load the fuselage onto the trailer. The rain held off just long enough!

truck

The next step was to clean out the paint booth. I removed everything that I could including the boards on the floor and then used pressurized air to remove the dirt on the floor. You can see how much I was able to move out the doorway. The location of the paint booth in a dusty barn isn’t ideal. A lot of dirt comes in on the soles of your feet. I have asked my buddy Chad to see if he can find me an old / free / broken sliding glass door than I can use for a better entrance way. Additionally, before painting the exterior of the booth I plan to convert it from a negative pressure system to a positive pressure system. Hopefully this will aid in keeping dust and dirt out.

After I got the place all cleaned up, I set my saw horses back up and began the process of preparing parts for painting. These parts were primed while ago before riveting. As a result I needed to abrade the surfaces and clean each part.

Here are some photos while the paint is still wet.

The following day, you can see the parts have dried nicely. I’m extremely happy with the results.

This was a good opportunity to check on the desiccant dryer I built. The ball valve at the bottom released water for the first time today. You can see the brick wet below with the spray.

Disassembling the dryer resulted in about 20% of the desiccant appearing pink and requiring “recharging”. The majority of the pink desiccant appears to be at the outer edges of the pipe. Most likely where condensation forms.

I also painted the underneath of the forward fuselage upper skin. I used rattle can grey, which is not an exact match for my paint. It is lighter and bluer in tint. However, this part will barely be seen except at very odd angles. Additionally, I will hit the visible parts again when I do the final interior painting of the remaining parts. 


Interior Paint 5

In the last session I reapplied paint to the areas requiring adjustment after the contamination issue. I was extremely careful to mix appropriately, and the results are outstanding. The paint application is smooth and event. The color and the amount of flattening is precisely what I wanted.

I untapped the entire fuselage to prepare it for its return to the hangar. 

The firewall after removing the tape. I love the bare stainless steel offset by the dark grey.

You can see the vent will be ready for installation. I plan to use proseal, and only proseal, to install this vent.