Empennage Tips 3
My buddy Mike was nice enough to give me his fiberglass 101 class tonight. We walked through working with the epoxy and fiber glass to glass in the tips of the elevators and horizontal stab. I riveted the tips in place and then we got started.
The first step was preparation. Tape off, scuff with 80 grit, and clean with acetone.
Then we mixed up some flox for the counterweights. We should have done this prior to riveting the tip in place, but we were able to get plenty of flox into the area. Flox is a mixture of ground cotton and epoxy. You can mix it to different consistencies based upon the use. Because of its high epoxy content, it’s generally pretty heavy. The cotton adds structural strength. The flox we mixed for this purpose was pretty thick. It would flow but only just.
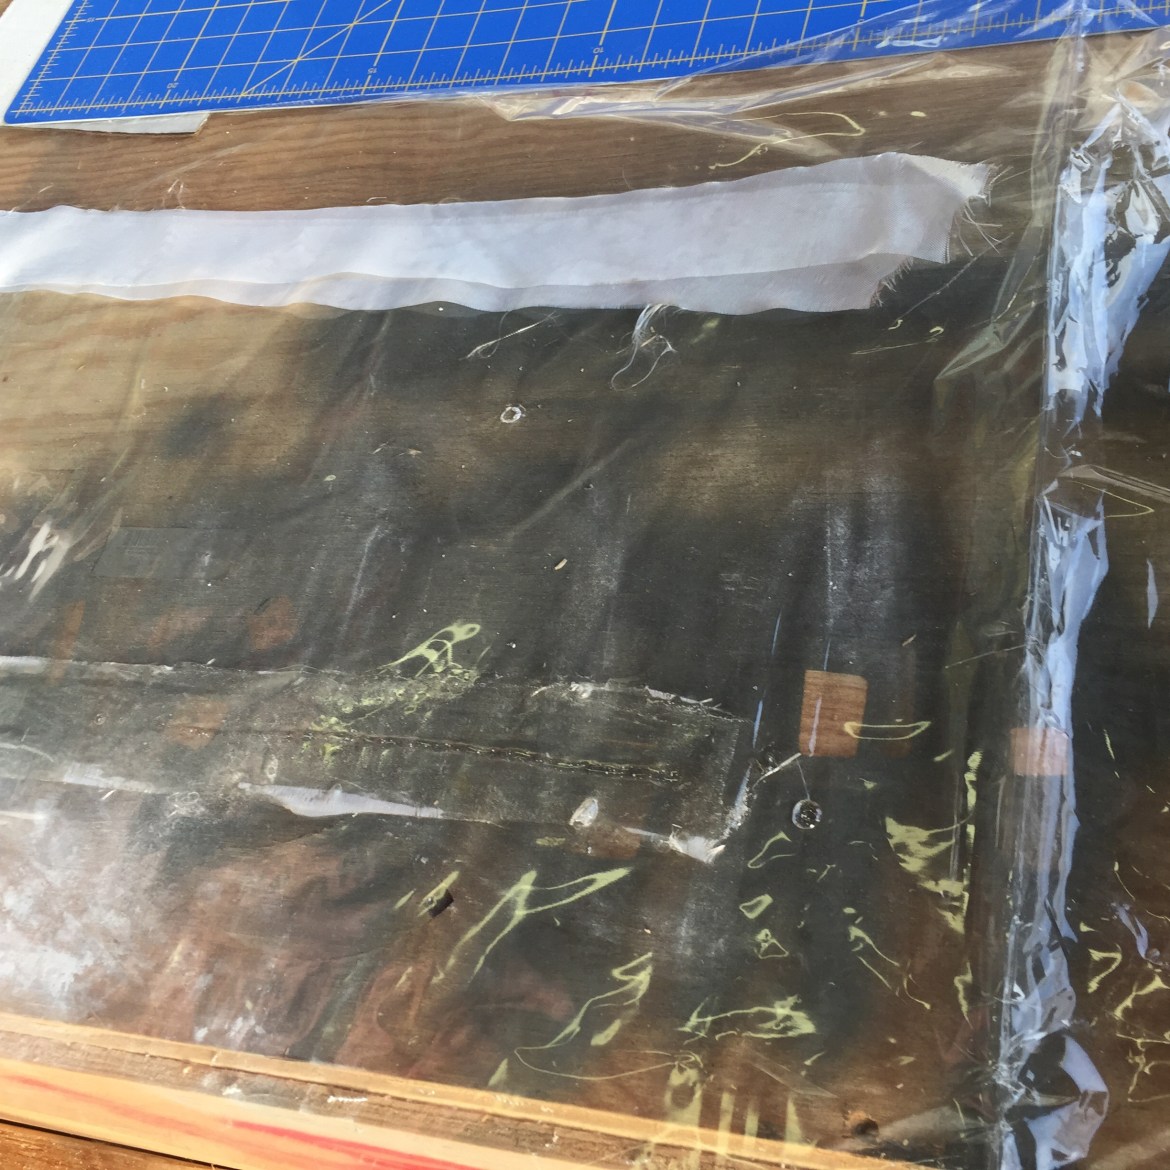
Next we measured and cut the fiberglass cloth for placement. Here you can see the dry strips at the top and a strip that has had epoxy applied at the bottom. The secret here is to fully saturate the cloth with epoxy and remove all excess epoxy. You want the absolute minimum amount of epoxy required to saturate the cloth. The general mistake made by rookies is too much epoxy.
After setting up the left elevator we got to work on the left horizontal stab. This was a two part process. We needed to bond the intersection of the fiberglass tip and the horizontal stab, and we also needed to enclose the end of the tip. To enclose the end, I used balsa wood and flox. I recommend making your balsa or foam insert go all the way to the rib. Additionally, you should consider covering the intersection of the two with fiberglass.
For the tip to horizontal stab skin intersection we used three layers of fiberglass.
We repeated the process for the right tip. In this photo you can clearly see the 90 degree fiberglass intersection of the balsa wood and end rib.
We did the right elevator as well (one side).
Here are a few photos from the next day.


