Posts


Fastback 25

I ordered some torx screws to replace the philips screws in the aircraft. Here there are after organizing.

IMG_0812

With temperatures outside in the 90s, the hangar is probably well over 110 in the day. The working time for the fast hardener is about 15 seconds, and given I have a substantial amount of fiberglass work ahead of me, I decided to save myself the excruciating effort of running all over the place in a race against time. I bought the slow hardener. And in this heat, its not really “slow”.

IMG_0813

I also bought the hysol adhesive that will be used to adhere the canopy to the canopy skirt.

IMG_0814

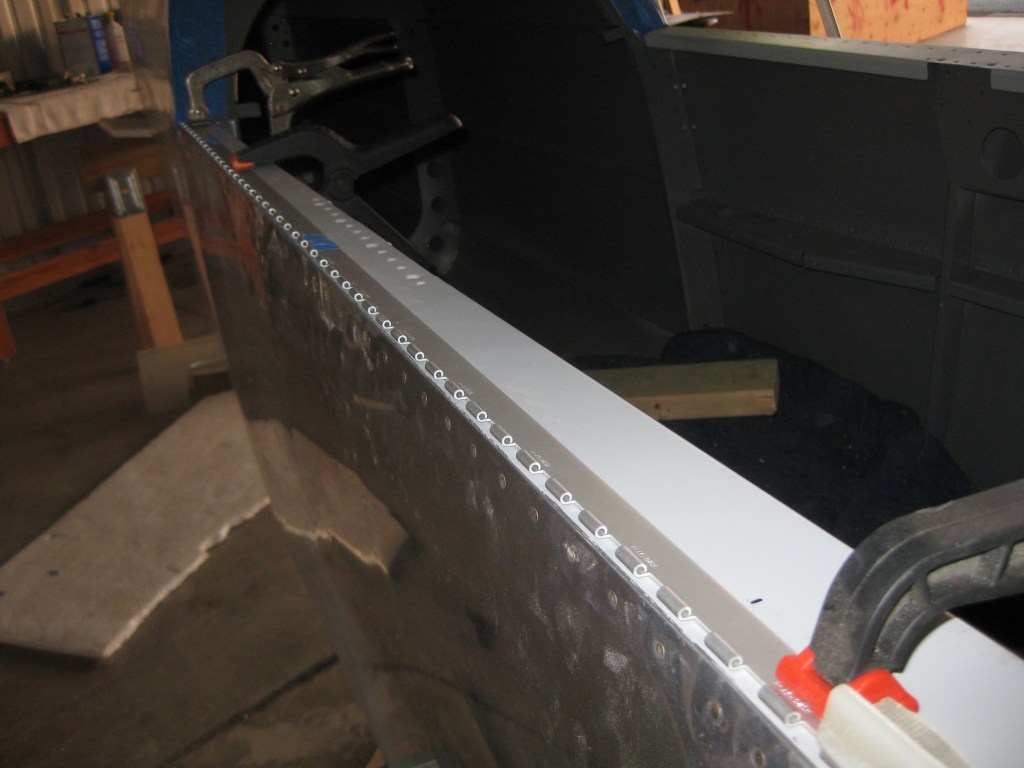
First project for today was to cut and drill the hinge cover. I placed the hinge in position, got a good measure of its correct positioning, and then removed the hinge for drilling. I held the two parts together and used the hinge to match drill.

IMG_0816

I’m very happy with the results. Its a near perfect seal when installed.

IMG_0815 IMG_0817 IMG_0820

My final project for the evening was to prepare and fasten the forward canopy skirt bulkhead. Show Planes provides honeycomb inserts for this, and they are bonded using a mixture of flox. It took quite some time to get things fitting just perfectly. Patience and incremental adjustment is key for this work. When you move one part, you invariably move another.

IMG_0821

Here you can see the flox mixture in place with the canopy skirt closed and clamped into position.

IMG_0824


Fastback 24

Here is my overzealous trim repair after the epoxy set.

IMG_4823

And here it is again after filing and sanding. It looks great!

IMG_4825 IMG_4827

With the hinge installed I can finally open and close my cockpit! Such a small thing, but it seems like a major milestone to me! 🙂

IMG_4828

The Show Planes instructions show the side of the canopy skirt being flush with the side skin, not the forward skin. However, I decided I wanted to trim it  just a little further aft, in order to be flush with the 801pp forward skin that ends one rivet further back. To do this, I would need to extend the length of the fillets. No problem! I have a little bit of the original portion of the fillets, and I was able to quickly fabricate extensions. Joining these two will be a breeze, but as I’m not ready to complete the fillets just yet, I will return to that later.

IMG_4830

The rear seat back top no longer has any pin holes, so I decided to complete that project quickly.

IMG_4832 IMG_4833 IMG_4834

With the rear seat complete, I set about beginning the installation of the canopy skirt bulkheads and supports. Show Planes recommends using flox to adjoin the parts. With the honeycomb have such a large gap, that was going to be an incredible amount of flox! I decided to put some fiberglass in the honeycomb first. This will increase the strength and should reduce the amount of flox required.

IMG_4835

It wasn’t easy though. The thin strips of fiberglass were a pain to work with. I’m not sure if I will do this again.

IMG_4836

Following my buddy Mike’s lead, I decided to convert most of my phillips screws to torx. Its been on my list for quite awhile, but as I’ve been working on the canopy frame, I’ve had to place and remove the instrument panel cover about a million times, and I’m already fed up. Phillips are the worst.

Microfasteners.com

Albany County Fasteners

Screen Shot 2016-06-25 at 22.18.38Screen Shot 2016-06-25 at 22.19.01


Fastback 23

In my last post, I advised not to trim too much. Naturally, I wound up trimming too much in my very next session. I needed to trim the forward portion of the left side in order to fit the forward section of the skirt.

IMG_4806

The gap between the skirt and the rail is the amount I over trimmed.

IMG_4807

I tabled repairing that mistake. Since the epoxy would need to set, I would affect the repair as my last task for the session. In the meantime, I continued work on fitting the forward section of the canopy skirt.

IMG_4808

There is some interference with the fillet and instrument cover on the left side. I marked the area for further sanding.

IMG_4809

The instructions also detail adding an additional rivet location for the hinge. Here you can see the mark for where to place that rivet.

IMG_4811

Turning my attention to the hinge, I trimmed the hinge to fit.

IMG_4812

I clamped the hinge to the left side, and ensured the outer edge was flush.IMG_4813 IMG_4814

At this point, you trim an additional 3/16″ off the right side of the canopy skirt to allow the hinge to canopy to open. IMG_4816 IMG_4817

With the 3/16 removed, I positioned the canopy skirt on the fuselage and taped it in the four corners and at the front.

IMG_4818 IMG_4819

I marked the hinge locations for drilling, and knocked out the drilling in no time.

IMG_4820

Before leaving, I repaired my over zealous trimming from earlier. I used a scrap section of the canopy skirt and flox. After this is set, I will likely put some glass layers on the reverse side for additional strength.

IMG_4821