In my last post, I advised not to trim too much. Naturally, I wound up trimming too much in my very next session. I needed to trim the forward portion of the left side in order to fit the forward section of the skirt.

The gap between the skirt and the rail is the amount I over trimmed.

I tabled repairing that mistake. Since the epoxy would need to set, I would affect the repair as my last task for the session. In the meantime, I continued work on fitting the forward section of the canopy skirt.

There is some interference with the fillet and instrument cover on the left side. I marked the area for further sanding.

The instructions also detail adding an additional rivet location for the hinge. Here you can see the mark for where to place that rivet.

Turning my attention to the hinge, I trimmed the hinge to fit.

I clamped the hinge to the left side, and ensured the outer edge was flush.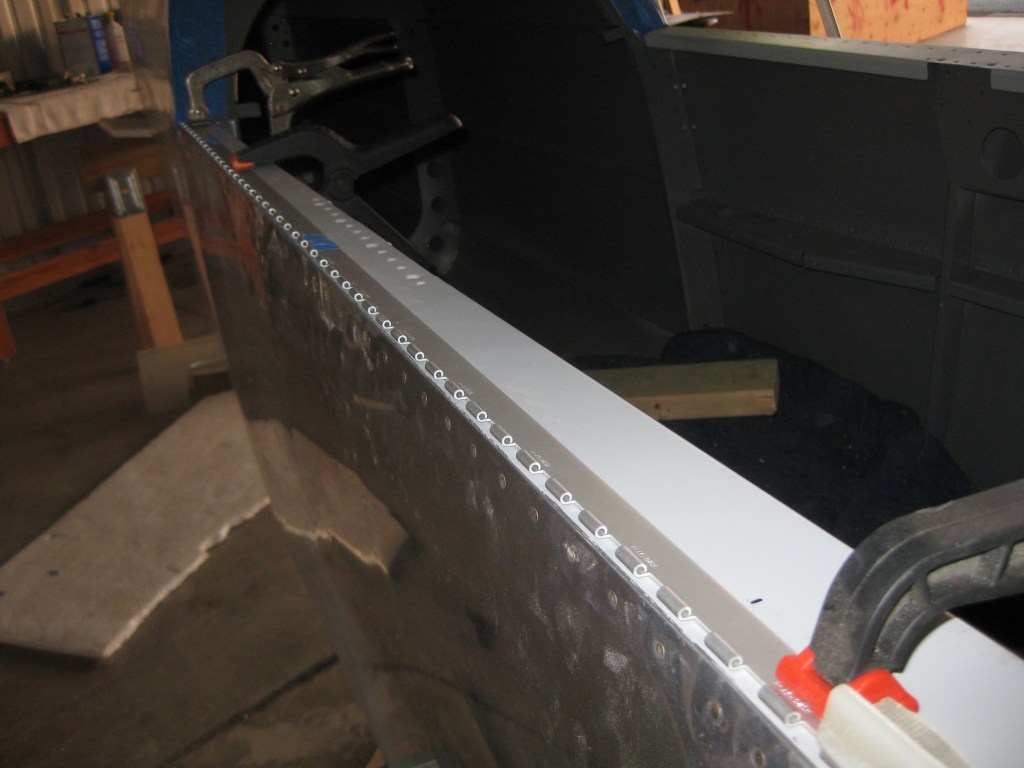

At this point, you trim an additional 3/16″ off the right side of the canopy skirt to allow the hinge to canopy to open. 

With the 3/16 removed, I positioned the canopy skirt on the fuselage and taped it in the four corners and at the front.


I marked the hinge locations for drilling, and knocked out the drilling in no time.

Before leaving, I repaired my over zealous trimming from earlier. I used a scrap section of the canopy skirt and flox. After this is set, I will likely put some glass layers on the reverse side for additional strength.
