Posts


Fastback 28

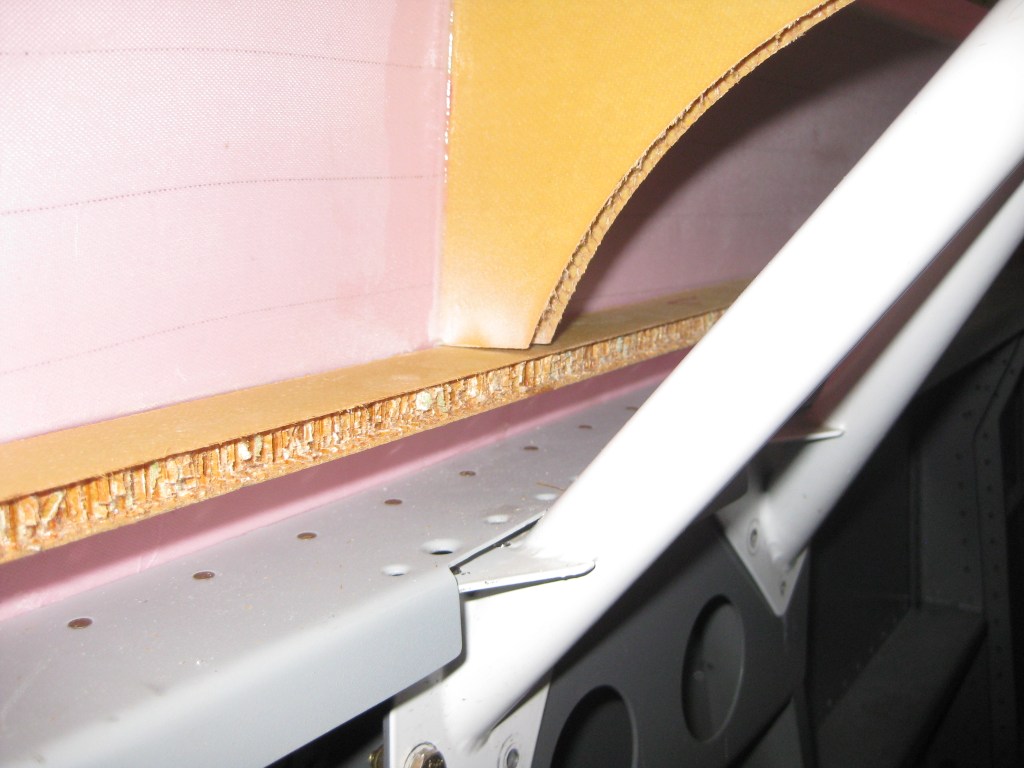
I began today by slowly shaping and fitting the lower canopy skirt reinforcement rails. These rails are positioned to affix to the bottom of the forward, center, and aft bulkheads 1 inch from the cockpit rails. They are a bit more challenging to hold in place than the bulkheads. In the first two photos you can see the forward and aft sections of the left reinforcement. This is prior to using any flox.

IMG_4838 IMG_4839

The edge at both the front and back of the rail on the outside required some sanding in order to match the curve of the fiberglass. All in all it was a pretty close fit.

IMG_4840

Once again I used my trusty tongue depressor sticks as a spacer.

IMG_4841

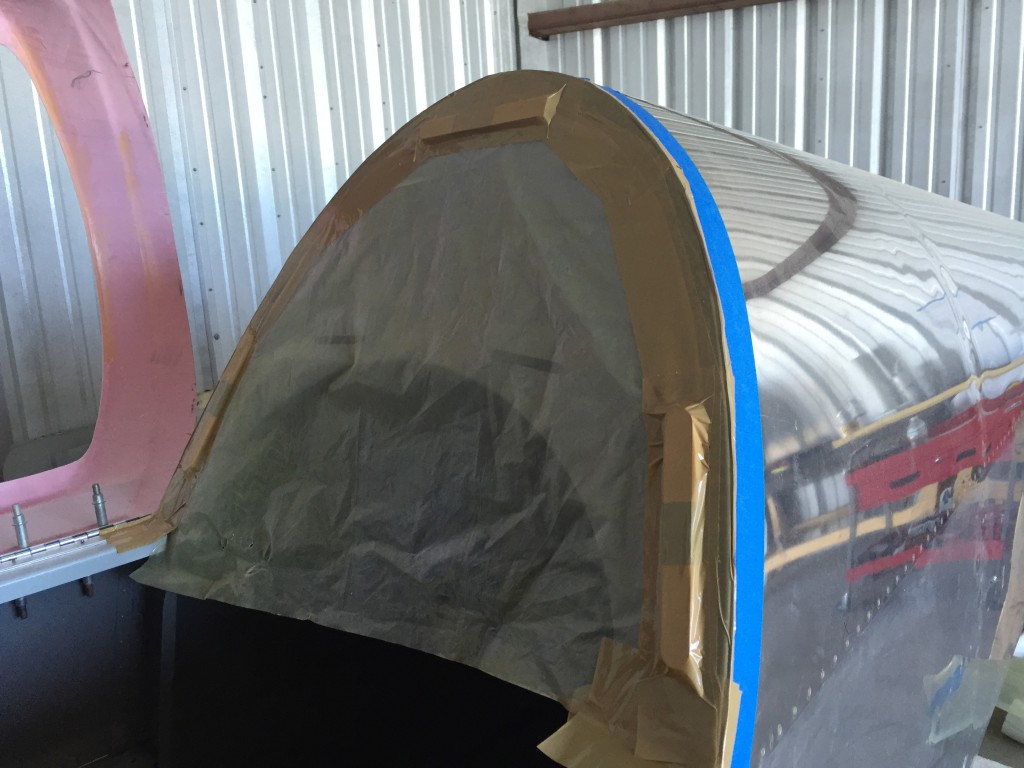
Lots of tape to prevent flox getting into places its not needed. This was particularly challenging on the side with the hinge. I COULD have taken the canopy off to affix these, but I prefer the frame to rest in its final position to ensure the end result is as true as possible.

IMG_4842

I used some tape and one clamp in the center to hold the rails in place.

IMG_4843 IMG_4844

As I said, this was more challenging that the other rails. Give careful consideration to how to clamp the rails in place and provide spacing from the other rails. I am almost certain that my flox bond will be less than perfect, particularly on the underside. I will likely need to do a second layer of flox with a syringe. Now I need to decide how to best do these layups.


Fastback 27

Before I did any more bonding, I took the opportunity to trim the canopy skirt for the canopy itself. To do this, you need to trim 7/8 above the joggle (point of canopy intersection). I marked a line all the way around the skirt. I found the best method to cut quickly is to use the pneumatic cutter for the first pass, followed by the dremel. When I cut the entire part at once, the cutters tend to walk or get bogged down. In fact, two passes turns out quicker and with straighter lines.

You can see the black line is where it will likely be completely cut. I decided to leave a little extra material here for the time being. It will keep the canopy more steady until I install all of the bulkheads, but more importantly, I’m not positive exactly how much I want to trim here.

After this I set about bonding the center bulkhead. I had to reinstall the roll bar. The bulkhead is 1 & 1/4″ aft of the roll bar, and 1 & 3/8″ off the rails. To keep the spacing, much as I did on the fore and aft bulkheads, I used popsicle sticks. They are about 1/16″ thick, and if you tape them tightly together you can account for any warping or deviation. I measured my little popsicle stick spacers and they were dead on. Best part, they are completely reusable. No need to cut up wood for this specific occasion. They are also light, so they stay where you put them easily enough. Getting clamps to stay where you like them to on the roll bar can be a challenge unless you have a circular shaped piece. With the popsicle sticks, you don’t even need that much.

I initially tried to clamp the bulkhead in place and then adjust. This was taking too long, so I made two more popsicle stick spacers for the bottom clearance. This made it easy to insert the bulkhead, check fit, remove, sand and repeat until I had the bulkhead exactly how I wanted it.

While the center bulkhead was curing, I pulled out the canopy. I didn’t do anything today, but I wanted to acquiant myself with the red cut line and the Show Planes instructions. Squire was pretty excited to see the canopy out of the box!

Before I left, I also set the top bulkhead in place.

Note that the top bulkhead doesn’t not abut the center bulkhead to form an intersection. You will need to create the intersection with flox / fiber.

Here’s a better picture showing you the upper intersection.


Fastback 26

The forward bulkhead is nice and secure. I had applied pressure in a few points overnight in an attempt to make the front of the canopy as true as possible. I’m very happy with the results. There are a few areas that will need further adjustment later on, but for now I can forge ahead.

IMG_0825

I have an Independence Day cookout to attend this afternoon, so I didn’t have much time. I wanted to get the rear bulkhead fastened with flox, so that I could move on to the center bulkhead tomorrow when I have a full day to work. Just like the forward bulkead, it should be 1/4 inch away from the fuselage bulkhead. I used popsicle sticks as my buffer. 4 sticks is exactly 1/4 inch. I secured them with packing tape so that they wouldn’t adhere to any overflowing flox. Given the rear tilt of this bulkhead, I full suspect it will leak in that direction.

IMG_0826

I clamped it in position, applied flox, and closed the canopy skirt. I secured the canopy skirt with tape.

IMG_0828

Here is the rear bulkhead after applying the flox.

IMG_0827

I grabbed some small wooden coffee stirrers at the hotel during my last trip. The small size was perfect for applying flox in some of the gaps and creating a small fillet. I only have 3, so I’ll have to check on Amazon for a cheap box.

IMG_0830_1 IMG_0829_1