Wings


Fuel Tanks 29 (3.5 hrs)

Mike Rollison was kind enough to lend me his drill press so that I could finally drill the holes for the access plates in the fuel tank baffle.  This would allow me access to remove the remaining rivet pieces for the incorrectly installed z-bracket mess-up.IMG_6280.JPG
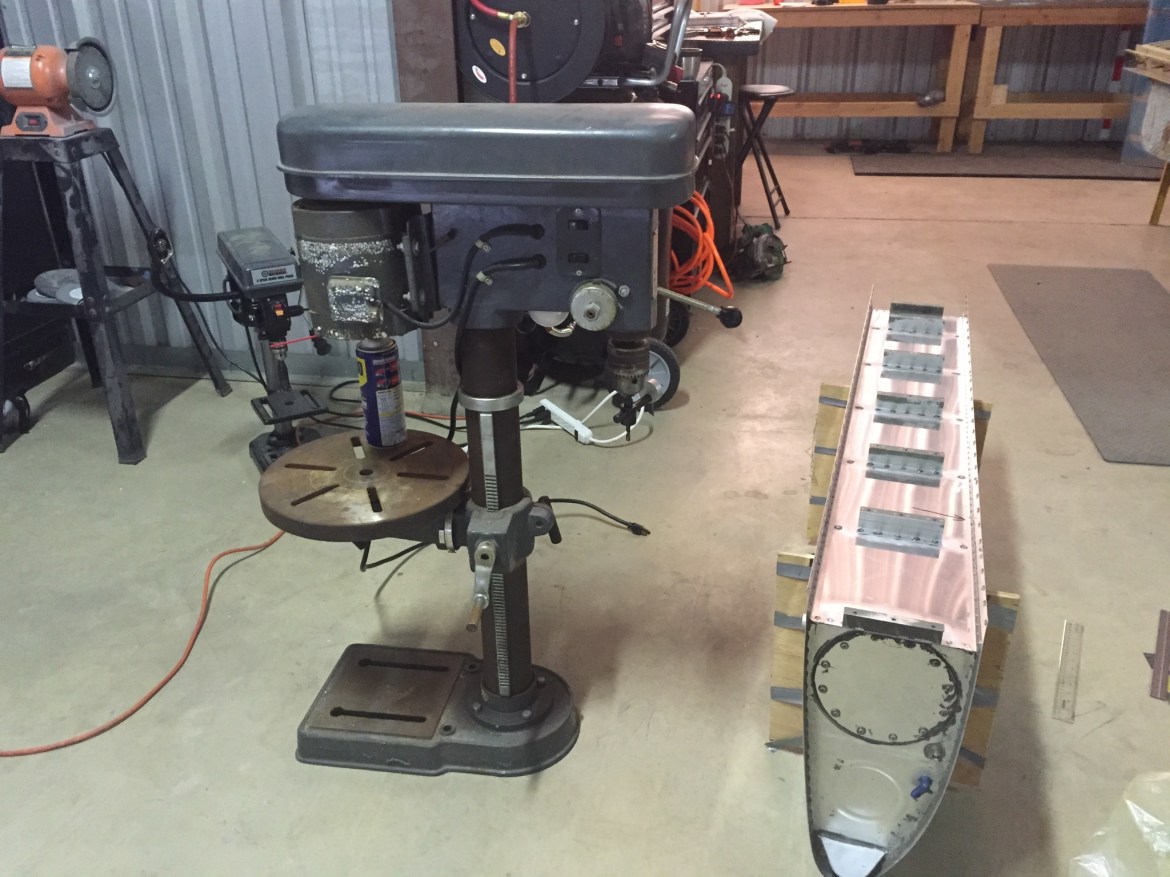
Here is the drill press with the circle cutter installed. IMG_6281.JPG

I marked the centerpoint. IMG_6282.JPG

Using the wing cradle I pivoted the head of the drill press 180 degrees and cut a perfect hole. IMG_6283.JPG

I originally intended to do only two access plates. I would then use my cheap borescope to check all compartments.  Upon a little more reflection, I saw now harm in doing four access plates and ensuring I had every single bit of debris out of both tanks.  The peace of mind is well worth the effort.  Before I install the plates with pro-seal I will use my mirrors and borescope camera to thorough check every single part of the interior of the tank. IMG_6284.JPG

IMG_6286.JPG

Next I measured out where the plates would be and double check to make sure I had all the spacing correct. IMG_6287.JPG

I drilled each plate in place. IMG_6288.JPG

I’ve been meaning to buy a shop vac for the hangar for a long time.  This was the perfect excuse… I needed to be able to clean all the metal bits from the drilling etc from the tanks.IMG_6289.JPGMy final task for the day was to deburr all the edges and holes for the access plates.  Everything is ready for pro-seal.  I just need to order some new pro-seal and clean the surfaces with acetone or MEK. Then the tanks should be ready for leak checking and final install!  Only took a year!!


Wings 36 (6.0 hrs)

First order of business for today was to move my empennage to the new hangar.  Previously I had created a way to hang the tail feathers from one of the beams.  However, the beams in the new hangar are wider, and lower.  It didn’t require much of a change though. IMG_6263.JPG

I had to install two bits of two by four to ensure the parts remain level and don’t fall with the additional width of the beam.  I still need to secure the vertical stab as I always worry that its much more prone to falling than the horizontal stab.IMG_6265.JPG

Next up I finished the riveting of the aileron gap fairing and flap brace for the right wing.IMG_6266.JPG


IMG_6267.JPG


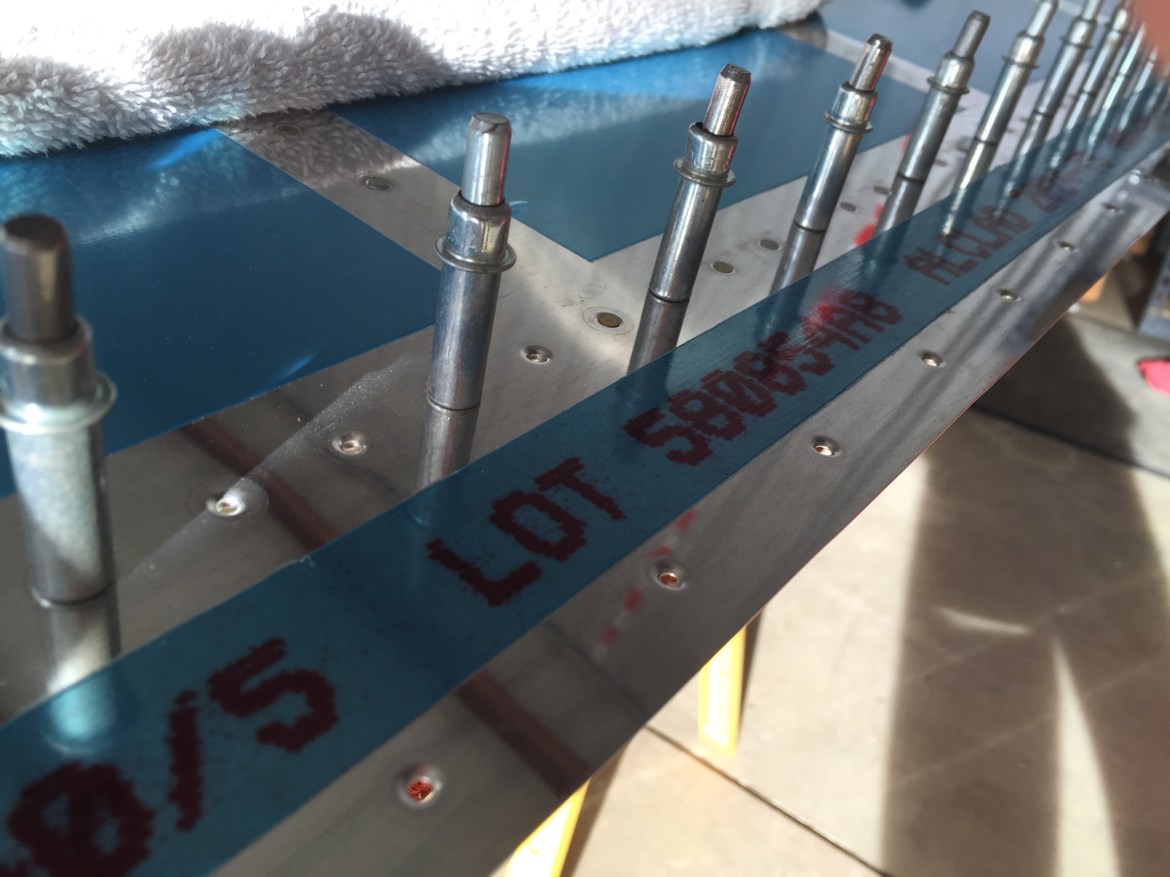
I swapped the wings and completed riveting the top skin to the rear spar on the left wing. I used the mushroom rivet set and tungsten bucking bar. IMG_6268.JPG

Next I I countersunk the aileron hinge brackets, and riveted them together. IMG_6269.JPG

IMG_6270.JPG

IMG_6271.JPG

I riveted both aileron hinge brackets to the rear spar. AN470 4-7s are just a tad long. A 6.5 would be perfect, and if you make a small riveting mistake its easy to get a bad shop head. IMG_6272.JPG

IMG_6273.JPG

My final task for the day was to begin fitting the aileron gap fairing and flap brace on the right wing. IMG_6274.JPG


Wings 35 (5.0 hrs)

Today I started with riveting the right wings aileron brackets.  This required me to do a quick countersink for the rivets closest to the bearings.  The flush side of the 426 rivets should be towards the outboard wing tips.  Then I placed the bearings in place and riveted the brackets.  This took some finesse as the AD426 4-11’s are long!  I had to play with several setups before I found a yoke and rivet set combination that could go allow enough space. IMG_6229.JPGIMG_6230.JPG

I slightly over-countersunk one rivet.  Its not drastic enough that I feel compelled to replace the part. I really hate the original countersinks I have.  I’ll try to post a photo comparison of the different countersinks. IMG_6252.JPG

Then I set up my saw horses, a large piece of plywood and a blanket as my make-shift table for the right wing. IMG_6227.JPG

Its been way too long since I riveted the top skins.  The past six months have been really slow!!!! I need to be in the shop more. I used the mushroom swivel set and a tungsten bucking bar to make quick work of the rear spar.  Only a couple mistakes along the way. IMG_6237.JPG

IMG_6236.JPG

I had a previous error from dimpling the rear spar. This required a reinforcement bracket and an oops rivet, both shown below. I’m really happy with how it came out.  You can see that mistake and solution here, in the post titled Wings 17 from March of this year. IMG_6254.JPGIMG_6253.JPG

The completed riveting job.  I’m very happy with the results. IMG_6241.JPG

Next up, it was time to rivet the aileron brackets to the rear spar.  This was a pain in the ass.  It took quite a lot of force to get these rivets to buck. IMG_6242.JPG

IMG_6244.JPG

IMG_6243.JPG

After completing the riveting for the aileron brackets, I clecoed the flap brace and aileron gap fairing in place. IMG_6245.JPG

IMG_6246.JPG

My final task for the night was to rivet the aileron gap fairing to the rear spar.  Quick work. I finished out the night with a good shop cleanup. IMG_6248.JPG