Fuel Tanks 29 (3.5 hrs)
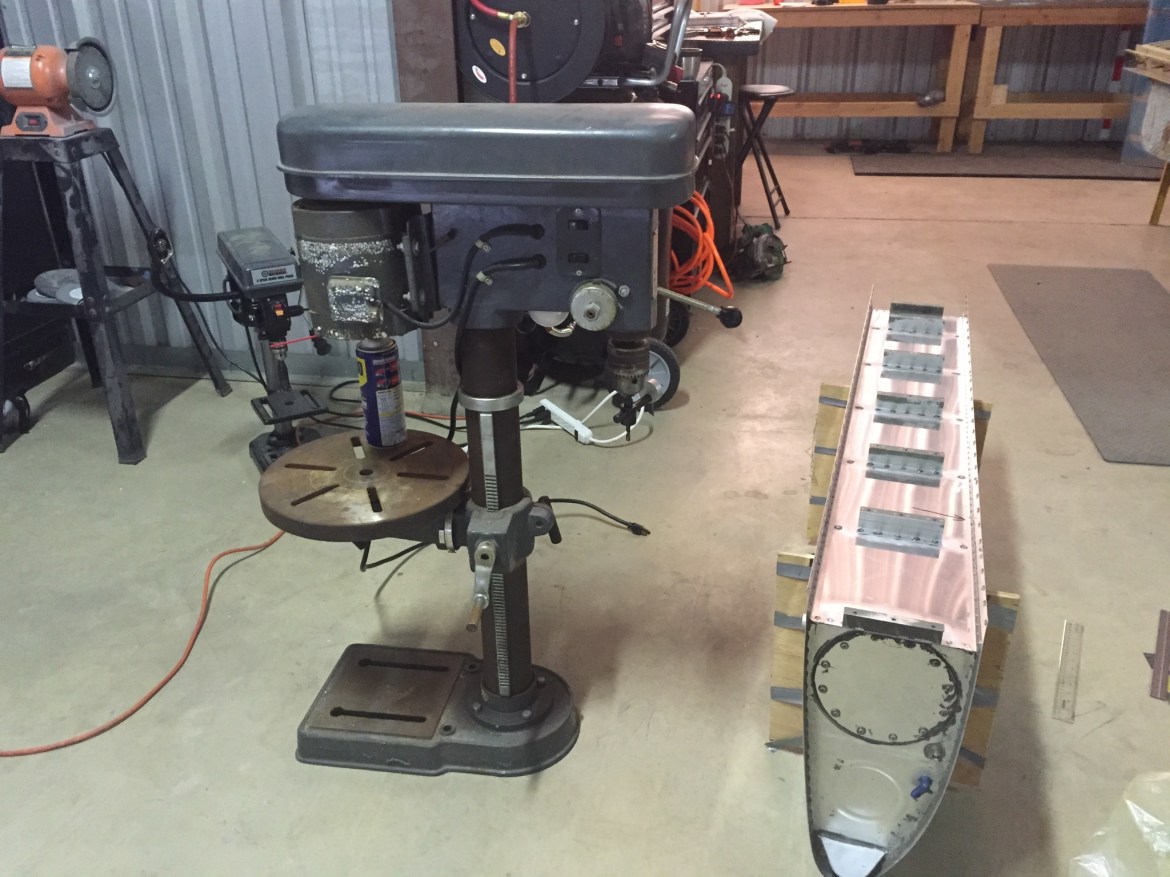
Mike Rollison was kind enough to lend me his drill press so that I could finally drill the holes for the access plates in the fuel tank baffle. This would allow me access to remove the remaining rivet pieces for the incorrectly installed z-bracket mess-up.
Here is the drill press with the circle cutter installed. 
Using the wing cradle I pivoted the head of the drill press 180 degrees and cut a perfect hole. 
I originally intended to do only two access plates. I would then use my cheap borescope to check all compartments. Upon a little more reflection, I saw now harm in doing four access plates and ensuring I had every single bit of debris out of both tanks. The peace of mind is well worth the effort. Before I install the plates with pro-seal I will use my mirrors and borescope camera to thorough check every single part of the interior of the tank. 
Next I measured out where the plates would be and double check to make sure I had all the spacing correct. 
I drilled each plate in place. 
I’ve been meaning to buy a shop vac for the hangar for a long time. This was the perfect excuse… I needed to be able to clean all the metal bits from the drilling etc from the tanks. My final task for the day was to deburr all the edges and holes for the access plates. Everything is ready for pro-seal. I just need to order some new pro-seal and clean the surfaces with acetone or MEK. Then the tanks should be ready for leak checking and final install! Only took a year!!

