Wings 35 (5.0 hrs)
Today I started with riveting the right wings aileron brackets. This required me to do a quick countersink for the rivets closest to the bearings. The flush side of the 426 rivets should be towards the outboard wing tips. Then I placed the bearings in place and riveted the brackets. This took some finesse as the AD426 4-11’s are long! I had to play with several setups before I found a yoke and rivet set combination that could go allow enough space. 

I slightly over-countersunk one rivet. Its not drastic enough that I feel compelled to replace the part. I really hate the original countersinks I have. I’ll try to post a photo comparison of the different countersinks. 
Then I set up my saw horses, a large piece of plywood and a blanket as my make-shift table for the right wing. 
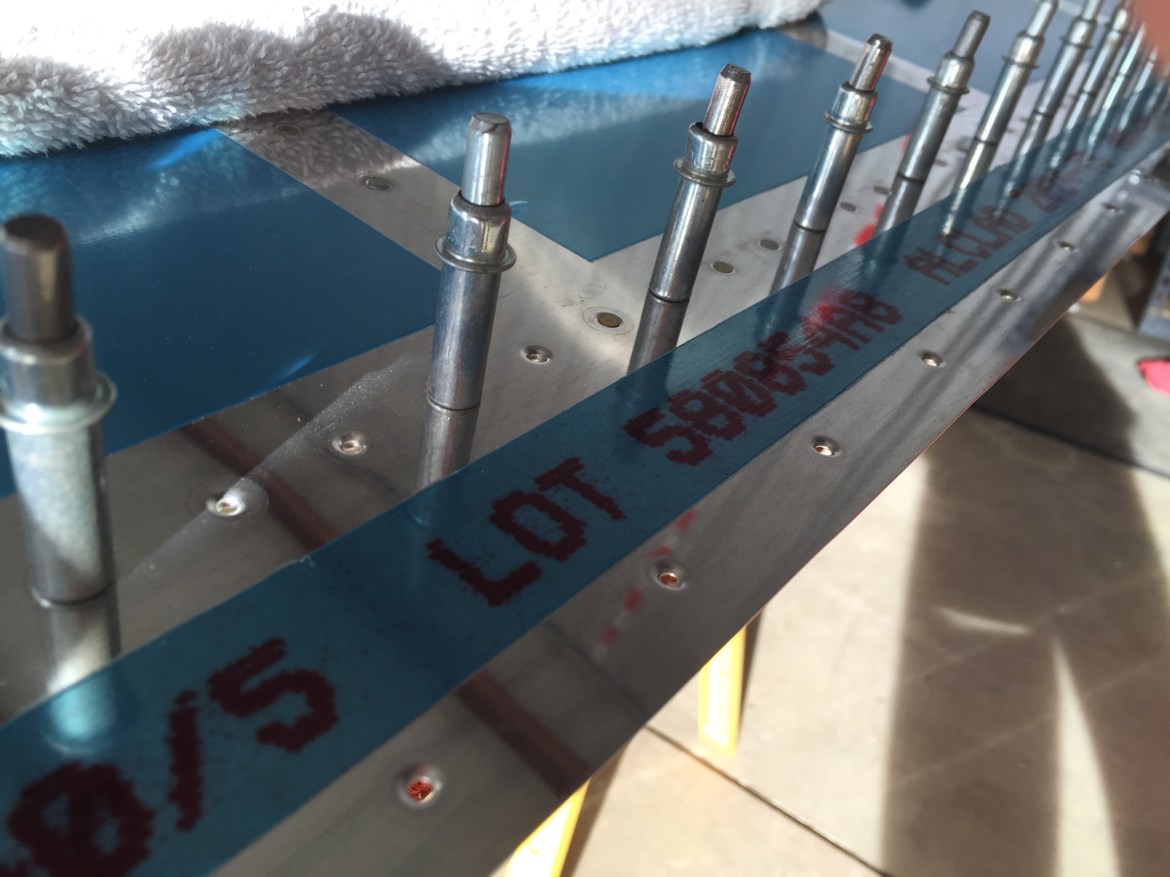
Its been way too long since I riveted the top skins. The past six months have been really slow!!!! I need to be in the shop more. I used the mushroom swivel set and a tungsten bucking bar to make quick work of the rear spar. Only a couple mistakes along the way. 
I had a previous error from dimpling the rear spar. This required a reinforcement bracket and an oops rivet, both shown below. I’m really happy with how it came out. You can see that mistake and solution here, in the post titled Wings 17 from March of this year. 

The completed riveting job. I’m very happy with the results. 
Next up, it was time to rivet the aileron brackets to the rear spar. This was a pain in the ass. It took quite a lot of force to get these rivets to buck. 
After completing the riveting for the aileron brackets, I clecoed the flap brace and aileron gap fairing in place. 
My final task for the night was to rivet the aileron gap fairing to the rear spar. Quick work. I finished out the night with a good shop cleanup. 


