Monthly Archives: July 2016


Fastback 32

With all of the fillets and edges now complete it’s time to turn my attention to using fiberglass for reinforcement.

IMG_0950 IMG_0951 IMG_0952

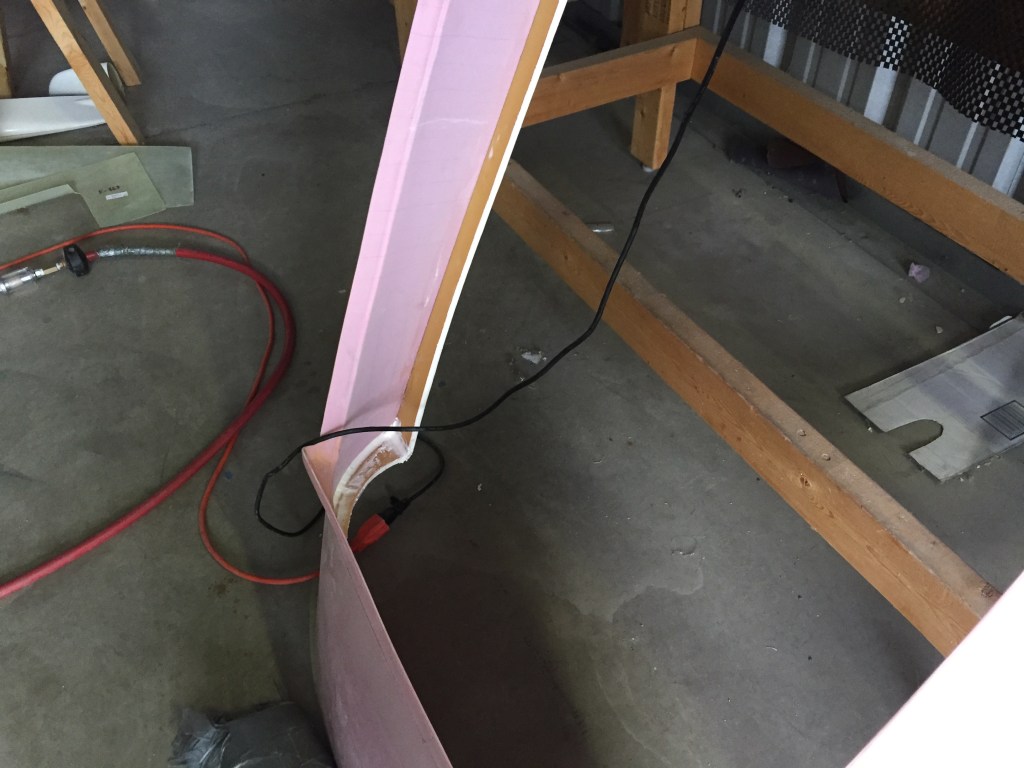
The first area I decided to work on was the center cross member intersection. I read that using peel-ply reduces the amount of sanding required so I applied the peel ply over the two layers of fiberglass.

IMG_0953 IMG_0954

For the fiberglass, I used a layer of 2 inch followed by another layer of 3 inches to create good transitions. Here are some of the results.

IMG_0955

IMG_0956

IMG_0957

IMG_0958

Someone was selling a Sam James plenum online – for about half of what it costs new. They also included two rings and instructions. I will sell the rings as they are too big for my purposes and I already have a ring set I intend to use. When I recoup the money in the rings I’ll have grabbed a new plenum for a third of the price!

IMG_0959

The next day I returned to remove the peel-ply. I wasn’t super impressed with the results of using it. Felt like more trouble that it is worth. Perhaps my technique leaves a lot to be desired, but I don’t think I will use the peep ply going forward.

IMG_0960

Then I began applying fiberglass to the rear bulkhead.

IMG_0961 IMG_0962

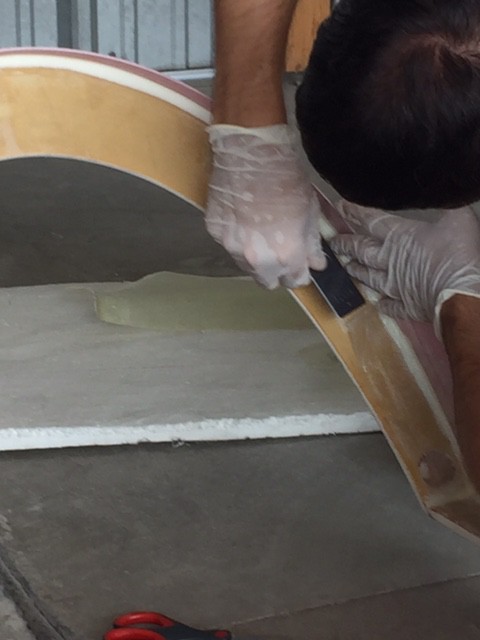
My friend Craig happened to stop by, and I had him take some photographs of the actual process.

Step 1. Cut the strips of fiberglass to length.

Step 2. Mix  epoxy.

Step 3. Using a previously setup trash bag as an application surface, lay the fiberglass on the trash bag. Slowly pour a small amount of epoxy in a line down the center of the strip. Then using either a hotel key card, or a rubber squeegee work the epoxy along the length of the fiber. The fiberglass should be translucent – completely saturated. However you want the absolute minimum amount of epoxy required to make the fiberglass translucent. Remove any excess. You can see me here applying the epoxy to a strip of fiberglass.

IMG_4929

Step 4. Carefully apply the strip to the intersection.

IMG_4931


IMG_4932

The hotel card, fingers, and a squeegee come in handy for difficult intersections. Try to avoid air bubbles! Particularly in the fillet / intersection region!

IMG_4934


IMG_4938

IMG_4939

Here I am applying the second layer. Notice the larger size.

IMG_4940

IMG_4941

IMG_4942

IMG_4943

Due to the curve you may need to make a few small incisions to allow the fiberglass to lay flat.

IMG_4944July 31


Fastback 31


I continued work on the fillets in each of the ribs and stiffeners using epoxy and micro-balloons. Because the micro will settle slightly, I position the canopy skirt in a position allowing gravity to help shape the surface.IMG_0903

IMG_0904

IMG_0905

After allowing the areas to harden, I began sanding excess micro and cleaning all the surfaces. IMG_0906 IMG_0907

You can see some natural gaps resulting from air bubbles and the like.

IMG_0908 IMG_0909 IMG_0910


Fastback 30

The first step today was to clean up any excess flox and epoxy from last night. I used a dremel and a sanding block to clean the fillets, corners, and surfaces.

IMG_4865

You can see the results here:

IMG_4866 IMG_4867 IMG_4868

Next I began applying micro balloon filets. Bryan from showplanes said the diameter of a dime is a good reference. Thats pretty darn close the diameter on the end of a tongue depressor so I used that. Here is the first fillet on the forward section of the forward bulkhead.

IMG_4869 IMG_4870

A few observations from my first time working with micro balloons and epoxy. You can likely quadruple the quantity of the material. I found a half pump of epoxy went a LONG way. The resulting paste is very light. Be sure to wear breathing protection as these glass bubbles won’t mix well with your lungs. For the fillets I had to mix the micro and epoxy almost to the consistency of peanut butter so that the curved fillet would retain its shape. The goal is to maintain as much viscosity as you can, without resulting in sag. This takes quite a bit of micro in the ratio.

IMG_4872 IMG_4874 IMG_4875 IMG_4876

I also began filling the edges of the honeycomb bulkheads and stiffeners. For this, I used a slightly more viscous mixture of micro to allow the mixture to flow down into the honeycomb slightly. You don’t want it so viscous that it completely seeps downward, but you want a nice bond and fill.

IMG_4878

I repeated the process for both the stiffeners. I used fast hardener today, and was able to rotate the canopy skirt relatively quickly.

IMG_4879 IMG_4881

My last 5 min project for today was to cut the empennage fairing into three pieces. This is my next project.

IMG_4884 IMG_4885