Fastback 32
With all of the fillets and edges now complete it’s time to turn my attention to using fiberglass for reinforcement.
The first area I decided to work on was the center cross member intersection. I read that using peel-ply reduces the amount of sanding required so I applied the peel ply over the two layers of fiberglass.
For the fiberglass, I used a layer of 2 inch followed by another layer of 3 inches to create good transitions. Here are some of the results.
Someone was selling a Sam James plenum online – for about half of what it costs new. They also included two rings and instructions. I will sell the rings as they are too big for my purposes and I already have a ring set I intend to use. When I recoup the money in the rings I’ll have grabbed a new plenum for a third of the price!
The next day I returned to remove the peel-ply. I wasn’t super impressed with the results of using it. Felt like more trouble that it is worth. Perhaps my technique leaves a lot to be desired, but I don’t think I will use the peep ply going forward.
Then I began applying fiberglass to the rear bulkhead.
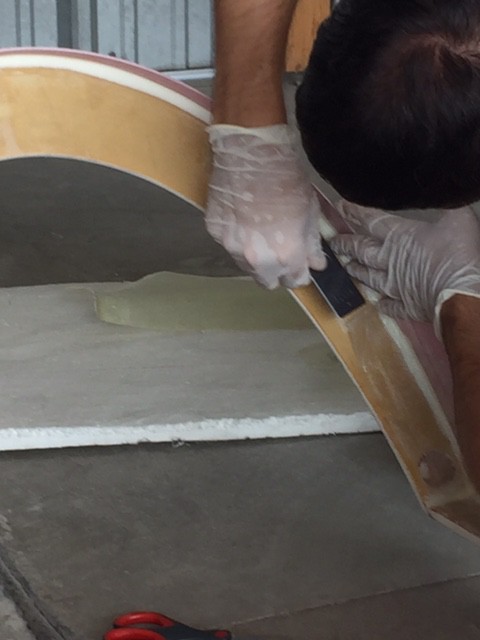
My friend Craig happened to stop by, and I had him take some photographs of the actual process.
Step 1. Cut the strips of fiberglass to length.
Step 2. Mix epoxy.
Step 3. Using a previously setup trash bag as an application surface, lay the fiberglass on the trash bag. Slowly pour a small amount of epoxy in a line down the center of the strip. Then using either a hotel key card, or a rubber squeegee work the epoxy along the length of the fiber. The fiberglass should be translucent – completely saturated. However you want the absolute minimum amount of epoxy required to make the fiberglass translucent. Remove any excess. You can see me here applying the epoxy to a strip of fiberglass.
Step 4. Carefully apply the strip to the intersection.
The hotel card, fingers, and a squeegee come in handy for difficult intersections. Try to avoid air bubbles! Particularly in the fillet / intersection region!
Here I am applying the second layer. Notice the larger size.
Due to the curve you may need to make a few small incisions to allow the fiberglass to lay flat.


