Continuing work on the right aileron, I wanted to have the overlap between the leading edge and trailing edge skins primed on both sides. Here I marked the overlap with a red marker. 
Then I setup for priming. I don’t normally prime in the hangar due to having other planes around. However, this primer dries before overspray is an issue, and this was a very small amount of priming to do. I decided to prime outside the hangar using the Preval aerosol sprayer.
I used some old flooring paper I had laying around to cover the rest of the skin before priming. 
Here is the end result of the priming. 
Next its time to start putting the counterweight and nose ribs together. Because corrosion will be more likely with dissimilar metals, I decided to also prime the rivets. I didn’t mix up a batch of the AKO primer, but instead just used the self etching primer in a can.
First you put the rivets in the rear of the counterweight assembly. This requires you to bend the nose rib tab slightly in order to allow access for the pop rivet tool. 
Then I clecoed the skin to the nose ribs and began installing the pop rivets along the length of the counterweight. 
I’m very happy with the result. The slightly oversized countersinks worked perfectly. The CS4-4 rivets laid almost perfectly. I used a hammer to tap the edges down to finish the job. Here is the end result. 


Here’s a mistake. DON’T rivet the bottom of the aileron nose ribs at this point. You’ll need the bottom open to rivet the top of the spar. I mis-read the directions, which are poorly written in this section and got ahead of myself. Luckily, they were easy to drill out. 
I had not yet riveted the reinforcement plates to these spar so I made quick work of that. 

This included the plate nut. 
Next I riveted the nose ribs to the spar. 
At this point I realized that riveting the top of the spar was going to be very difficult. I was having difficulty positioning and securing the aileron. After reviewing a few other build logs I found the solution pictured below. 
Unfortunately, I had no screws or bolts that would work to secure the aileron to the wood blocks. 
I figured I could drill out the blocks to #30 and use #30 clecos, but the wood was too soft. Well, I tried shoving the large clecos in the #30 holes… worked perfectly. 
Riveting the top spar is not easy. The rivets nearest to the ends allow you to reach your hand in the side to hold the bucking bar as shown here. The ones in the middle… well, I’ll get to those tomorrow. 
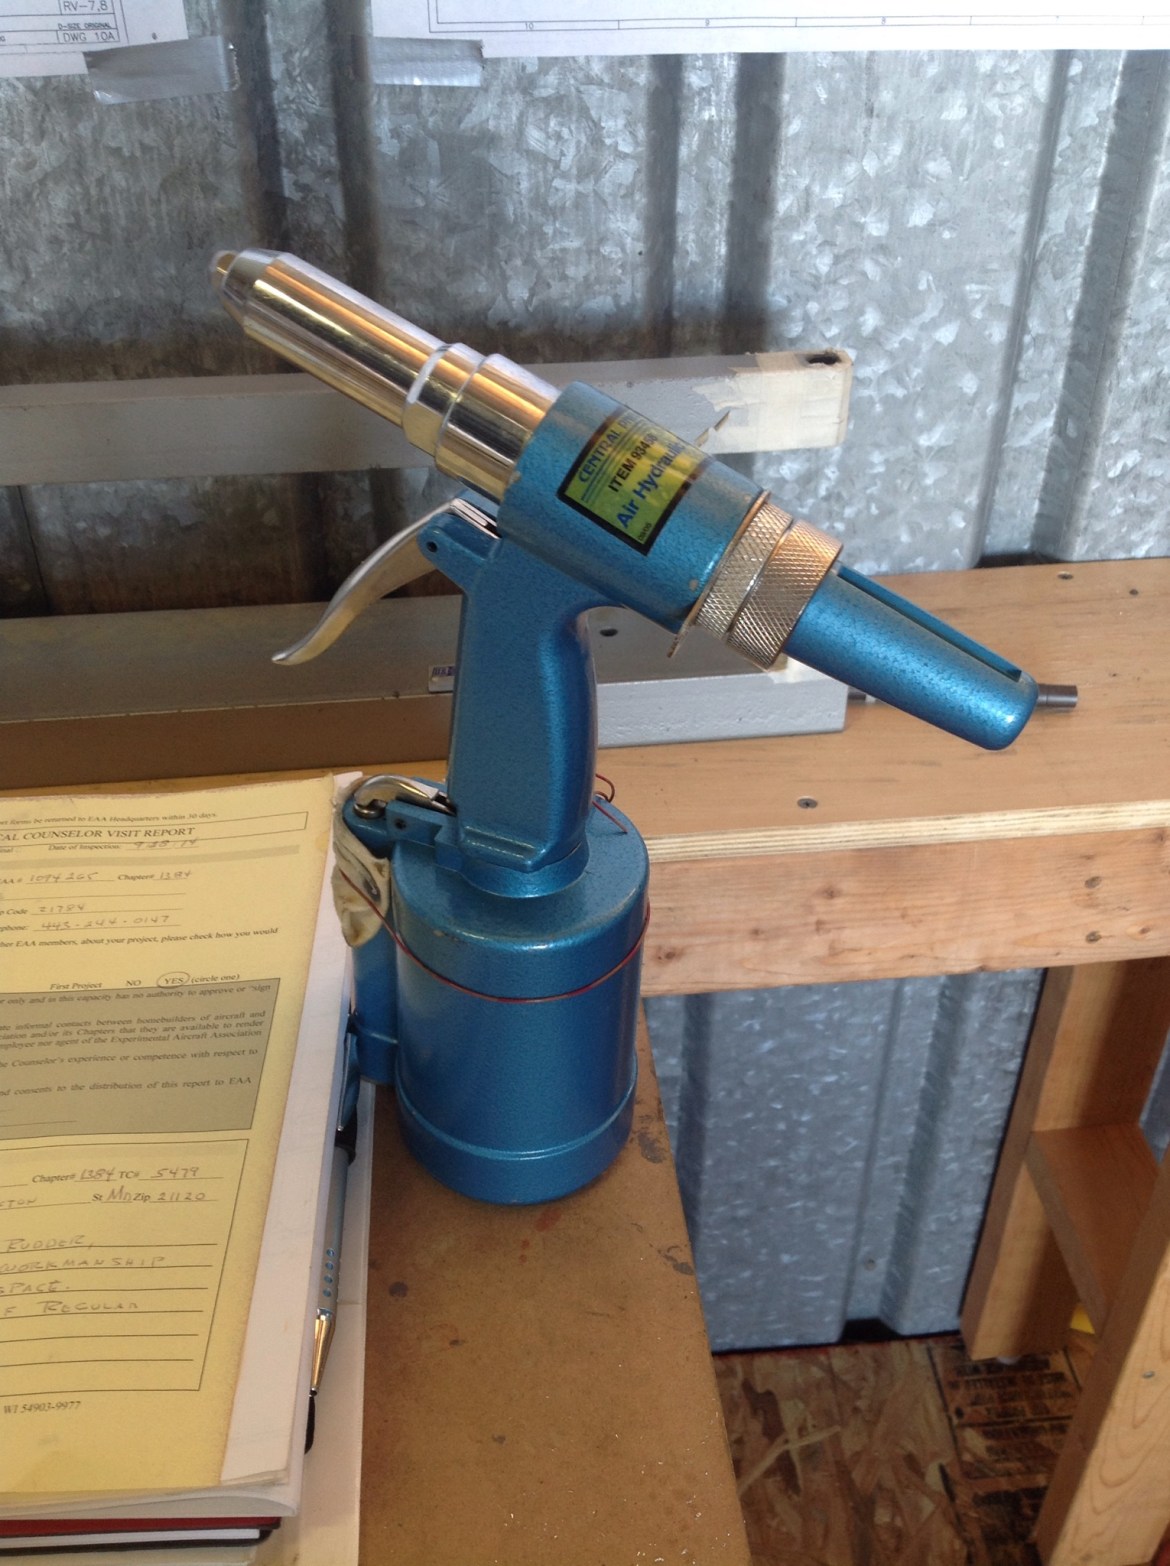
Mike Bullock dropped this off for me to use on the bottom spar. I’m eager to try it out, as this should make pop rivets a snap. 


