Ailerons


Ailerons 9 (3.0 hrs)

Last time I was able to prime the replacement left trailing aileron skin, and so this evening it was time to back rivet the stiffeners in place. I finally upgraded my AT&T account and I can now make my phone a wifi hotspot.  The phone has had the capability forever, but as I was on the old unlimited data plan I was forbidden from using it.  Its nice to be able to use a laptop and my iPad in the hangar!  Makes research much easier!IMG_5841.JPG

First step was to tape all the rivets in place. IMG_5842.JPG

IMG_5843.JPG

Then I put the stiffens in place and began to back rivet.  I use a large bag of lead shot to ensure the skin is perfectly flat on the back rivet plate. This is also a huge help for the last few rivets that are near the trailing edge bend.  The lead shot is very heavy and the weight prevents any mistakes as a result of lifting the upper surface. IMG_5844.JPG

Back riveting always produces great looking rivets. IMG_5847.JPG

Here is my expensive back riveting tape.  They sell specialty rivet tape through the normal suppliers, but this works just as well and it is conveniently located in the aviation section of your local grocery store. IMG_5848.JPG

After the back riveting was complete I bent the trailing edge with the wooden brake, and then clecoed the parts together for final drilling. IMG_5849.JPG

I used the same procedure as last time for drilling the counterweight pipe. IMG_5850.JPG

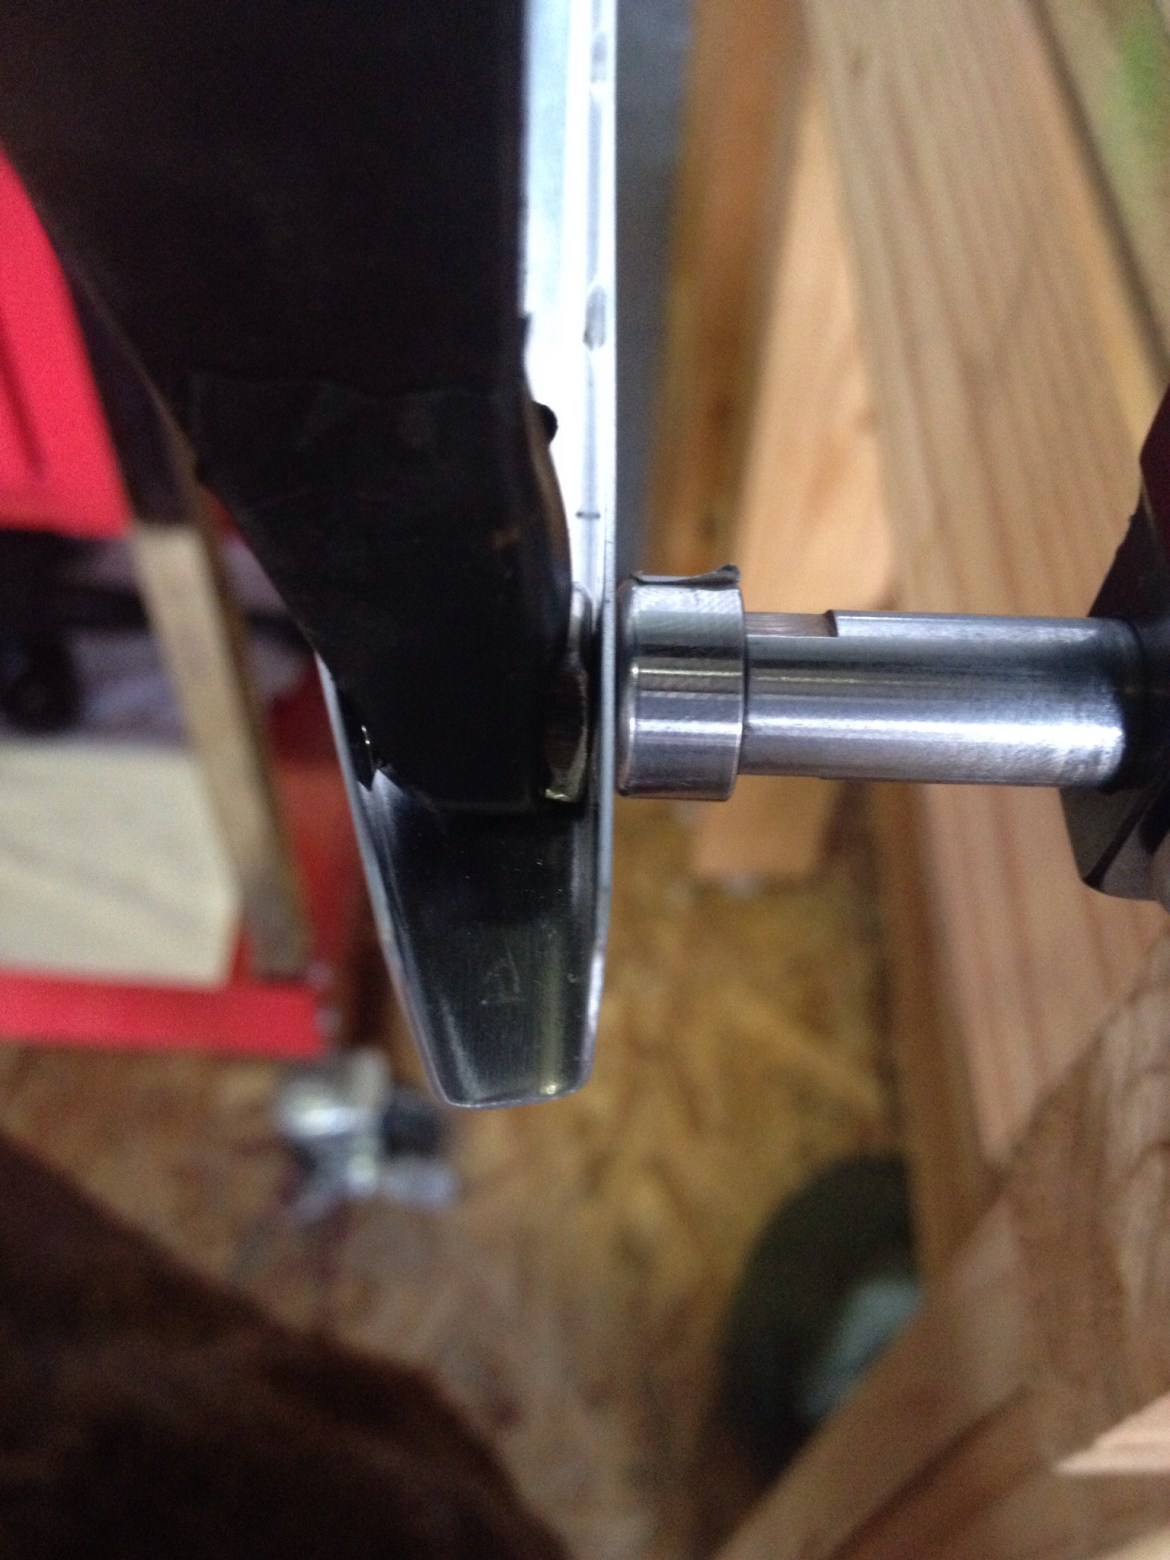
I paid much closer attention to my countersinks this go around.  I discovered on my last attempt that my drill was not always perfectly perpendicular to the pipe and as a result some of my countersinks were a bit cockeyed. The end result was fine, but still, this was an improvement. IMG_5851.JPG


Ailerons 8 (2.0 hrs)

I primed a good portion of the aileron components this evening at my Uncle’s garage.  Really not much else to say.  Priming is priming and I’ve covered how I go about it numerous times.  I’m hoping to have the ailerons complete by the end of this weekend. IMG_5838.JPG

IMG_5839.JPG


Ailerons 7 (2.0 hrs)

This evening I set about final preparation of the right aileron.  Primarily deburring and dimpling the remaining structure.

I had an extra 3/32 dimple die set.  The male die was a little off, having at some point it its life being used for something it should have been. So its been sitting unused. The tight space at the trailing edge of the outer ribs presented a problem, and this little spare die was the solution. I ground down the male portion of the die so that it would not protrude from the back of the female close quarters die. This way I could use the no-hole yoke, close quarters dimple die, and modified male die, to get into very tight places. I have to be careful to make sure everything is aligned properly, but if you go slow, the male die will ensure the female die is properly aligned. IMG_0162.JPG

Here is a picture of the process.IMG_0163.JPG

The end result came out perfect.  The far dimple looks like its off, but that is artifact of the picture.  I’m very happy with the result, as it was difficult to even get the close quarters dimple die set in this location. IMG_0164.JPG

Not much to say for a post concerning deburring and dimpling. IMG_0165.JPG