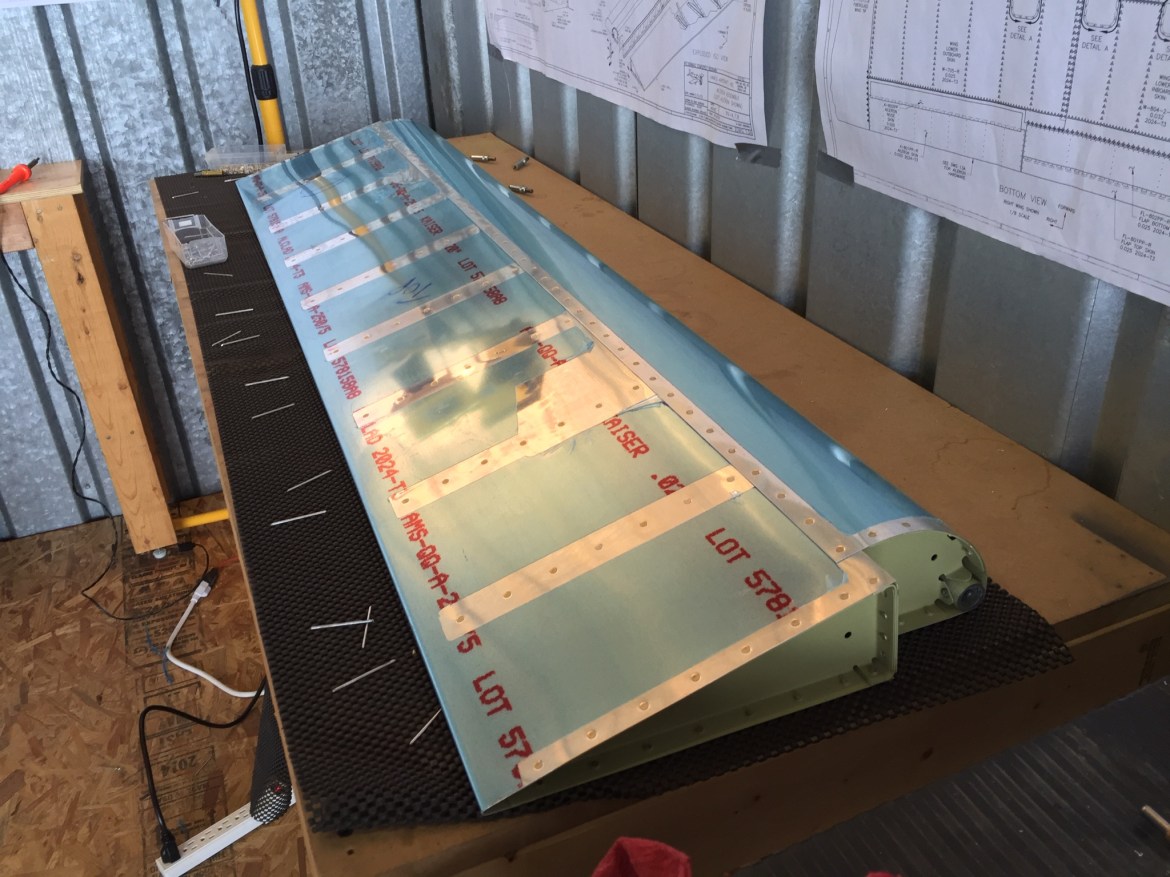
Now that the flaps and ailerons are complete its time for connecting the bell crank and pushrods. This should be a relatively quick project. Unfortunately, today’s weather cut my shop time short.
I started out by measuring the two push rods. Be careful, there are separate measurements for the RV-7 and the RV-8. 

I wrapped a yellow post it note around each pushrod to get a perfectly circular measurement. As always, I marked the bad side with “X”s so that I know which side of the line to cut. I will clean up with a file before priming. Speaking of priming, I haven’t quite decided on which primer I will use. I sometimes use the basic self-etching primer in a can for small parts, but these parts are important enough that I may break out the AKZO. We’ll see which I pick.


Before I cut the rods, I wanted to make sure I understood how everything connected. I also needed to do some organizing. Turns out there are several types of bolts that I have never separated into different bins. I took care of that quickly. I also cleaned out some of the holes on the powder coated bell crank. Van’s does not do a good job of deburring these parts prior to powder coating. Steel isn’t nearly as susceptible to stress cracks as aluminum, but still its slightly annoying. I debated cleaning it up further, which would require additional primer. In the end I decided if its good enough for Van’s, its good enough for me. 
Then I cut the push rods to size. 

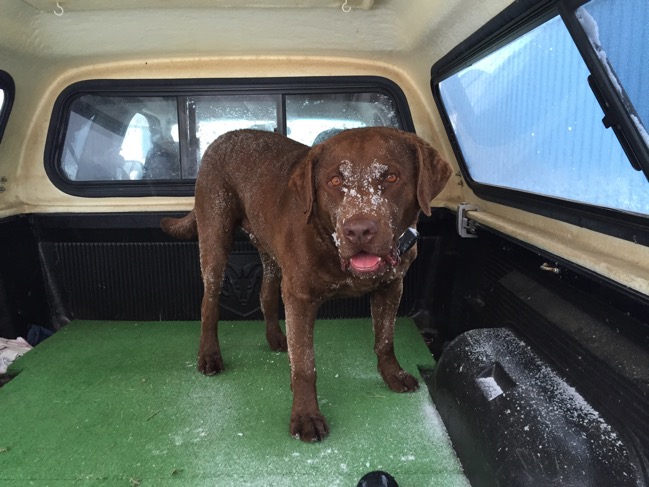
There is a lot more snow than it looks like in this picture. The wind is pushing it into drifts. By this time we had close to a foot, and it was still coming down. I figured I shouldn’t push my luck and decided to head home. 
Squire quite enjoyed himself!
Four wheel drive or not, with the windshield wipers struggling, I’m glad I went home before dark. It gave me the opportunity to shovel. YAY!


