Fuselage


Fastback 2

The first step in the instructions calls for the modification of the vertical stab to accommodate the aft fuselage top skin angle, however I’m going to return to this step later. I like the Show Planes instructions, but after today a few things to keep in mind. The bulkheads are not pre-drilled. You need to carefully mark rivet locations, flute, mark the center line and meticulously drill. Don’t go fast or you could wind up with a mess. Additionally, the rotating fuselage stand was an absolute blessing today. I used it in multiple positions to complete the work.

Today’s first task was to assemble the bulkhead immediately aft of the rear passenger. The first thing I immediately noticed with the kit is that the pre-punched holes are just slightly smaller than Van’s and clecos can be hard to set. The smaller F807s fit underneath the larger F807 angle to accommodate the raised center section overlap for the two halves.

After this was match drilled, I needed to bend the portion of the bulkhead below the longeron cut out to 17 degrees. I don’t need to be too precise with this, as the skin will help to align the part later. I used Mike’s digital level to approximate 17 degrees.
The instructions also call for removing the corner of the bulkhead at 63 degrees to accommodate the upper longeron. However, this has already been completed on the bulkhead’s provided. Additionally, the instructions call for the shoulder harness cutouts to be made in the bulkhead itself, but the ones provided have this completed already as well. Clearly, Show Planes have made some updates to the kit, but the instructions still need updating. No bother, I like finding out that work has already been completed. Next I secured all of the bulkheads in place by clecoing them to the fuselage.


I temporarily installed the skins so that I could mark the approximate rivet locations on each of the bulkheads as these are not predrilled.   In addition to marking the rivet locations, I drew a centerline on each of the bulkheads to assist with lining up the skins. Then I fluted and straightened each bulkhead as appropriate.

I reattached the skin by clecoing both sides to the upper longerons. Then I had to ensure alignment with the skin. This wasn’t as easy as I hoped. I had to constantly pull and push the bulkheads to get the alignment I was looking for. To do this, I used either a long bit of pipe I had laying around, or I the strap with the hook for the inner two bulkheads. Slow and diligent progress achieved excellent results. Here are some pictures of the final work:


Fastback 1

If you have read my decision points page, which is seriously out of date, you’ll know that I’ve been considering the Show Planes Fastback conversion kit since day one. Last year’s visit to Oshkosh, all but sealed the deal. Recently I made the plunge, purchased the kit, and after about 8 weeks it was delivered to my home this Friday.

Bryan from Show Planes has done an excellent job of communicating the shipping process and answering any questions I’ve come up with. After seeing the kit, and the directions that accompany it, I’m thoroughly impressed with Show Planes, and happy with the purchase. I’m going to endeavor to very clearly detail this part of the build process as it one of the more unique parts of my build. According to the paperwork, I’m serial number 86, so I’d guess that there are less than 50 of these flying out of the nearly 1500 RV-8’s out there. Finally… something somewhat unique!

The crate weighed less than 200 pounds, so it was easy to load in the back of my truck and haul to the airport. When I got to the airport, I found a welcome surprise waiting in my hangar! Spotted Cow by New Glarus Brewing! I wonder who my secret admirer is?? Someone who has recently traveled to the mid-west I’d imagine… <3<3

Once at the airport, offloading was easy.   

Here is the crate with the lid popped off. You can see the new aft fuselage skin, as well as some of the fiberglass. The rear seat back top and the instrument panel top are shown, as well as the new fiberglass canopy frame (pink).

A few more parts photos. I completed the inventory of the entire kit in less than 30 minutes. No parts were missing, and nothing was damaged. The kit is very well labeled.

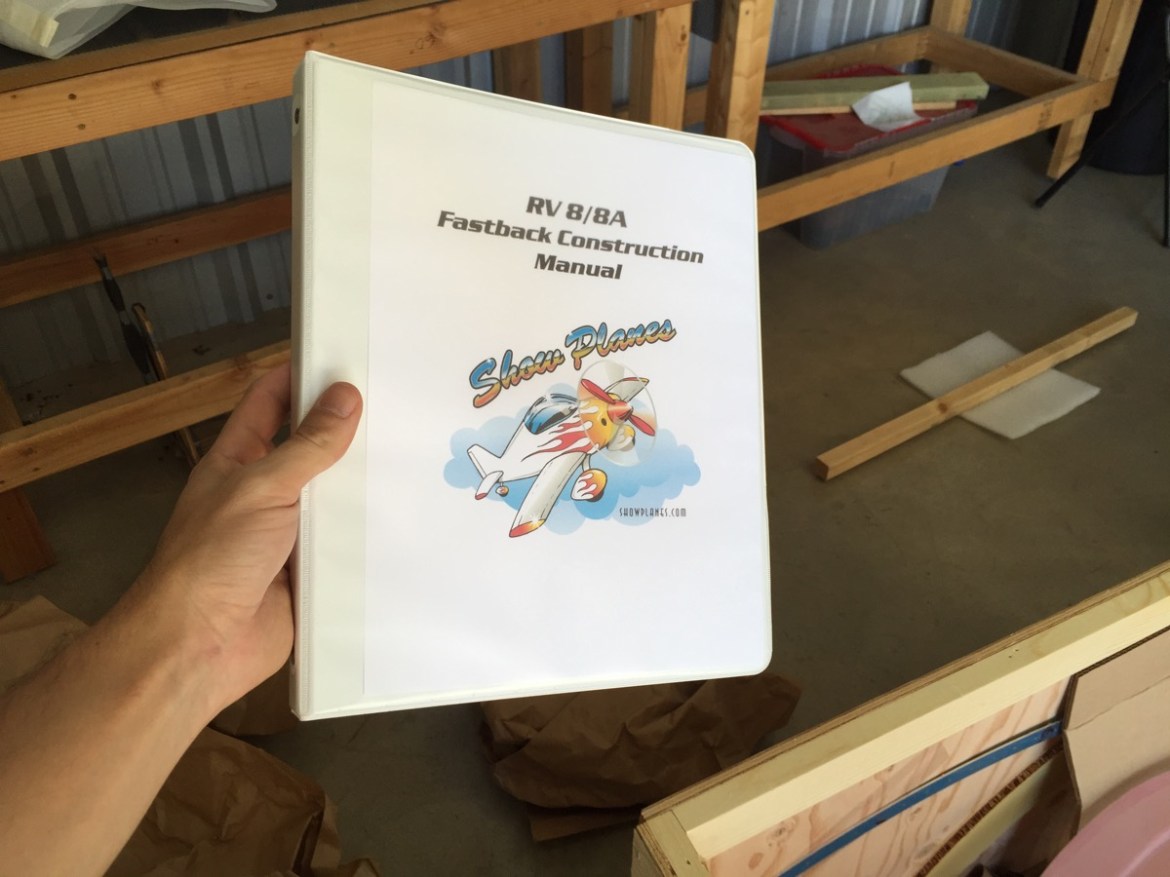
Bryan has included the directions in a nice binder… a pleasant surprise.   

The inside of the binder was an even bigger surprise. The instructions are extremely well done. Step by step instructions complete with photographs and diagrams. Van’s could learn a lot from these guys!

Here is the canopy frame. Hot pink!    

The roll bar will need to be welded to the existing frame between the seats. I plan to add two supports to this bar to create triangles at the front and back for additional strength.


Fuselage 17 (5.0 hrs)

Time to finally start priming interior parts! Unfortunately, today was met with several hold-ups. I’ll come back to those further down.

In addition to building a proper, albeit ugly, paint booth, I’ve been studying up on proper paint techniques and procedures. Here is a set of videos on YouTube that speak about tools, techniques, and safety equipment.

I started by priming the outside of the old aileron skin I had laying around. 

Slight orange peel, but not terrible. I was trying to practice proper application techniques in preparation for spraying actual paint, but two things made this difficult. First, the stupid cheep orange air hose from Harbor Freight absolutely gushes oil. Now, keep in mind, this hose has never been used with an oil compressor or oil unit. The oil is literally seeping out of the cheap plastic! In the middle of the priming session, I stopped, switched filters, as the first one was saturated, and attempted to blow the oil out of the line. It made it better, but still didn’t solve the problem entirely. Secondly, my cheap Harbor Freight gun is no longer spraying an even pattern. Now, I can’t really fault a $19 gun, that thus far has served me well over two years. But, its going to be time for an upgrade to a professional (or semi professional) setup if I plan to paint the entire plane myself. 

I primed almost every part that will never see a topcoat of paint. Floor stiffeners, the undersides of the floors, and the like were all completed today. With the paint gun issues, and the oil in the line, I didn’t want to take a chance with any of the parts that would see paint.   

The new primer is fairly easy to work with. It takes a little longer to dry than AKZO, so I’ll report back on how tough it is.   
 

So after, my first day in my paint booth, I’ve learned several things. I’ve already covered the gun and hose, but the paint booth will also need a few adjustments. I need a set of shelves, as going in and out of the paint booth is difficult and problematic. I also probably need more airflow. I’ll need to give this careful consideration. Perhaps a third fan and more inlets. I will also open up the rest of the barn more to create maximum airflow. Even with a brand new mask and filters, I still feel a little light headed. I couldn’t smell anything through the mask, and it was of the appropriate type. I think the times that I took it off outside of the booth over the course of the day was enough.  All in all, I’m happy with the booth and my setup. More tweaks and practice to come.