Here is a good photo of the work from the previous session after a little sanding. I started off the work session by cleaning up the previous fiberglass work with a sanding block. I also did some filing on the elevator counterweights and associated intersections, and verified that all the clearances will be appropriate after the work is completed.

If there is one thing I learned in the first fiberglass session it’s planning. If you use fast hardener, you really need to plan your session appropriately. You’ll also want to plan carefully if you want to avoid wasting epoxy. With this in mind I decided to prepare the rudder tip and vertical stab tip. (I am not going to complete the rudder bottom until I purchase my strobe light and I have verified clearance with the tail wheel springs. Some builders have reported interference on landing)
I needed to countersink the fiberglass and dimple the rudder for the tip. First I torqued and applied loctite to the counterweight.

I don’t have a great picture, but for both the rudder and the elevator tips you are likely to have clearance issues with the pop rivets closest to the trailing edge. There are two techniques that can work here. First you can set the most visible rivet first, and then using a hand puller, slowly squeeze and apply pressure to get the rivet to set. Alternatively, you can use a different size pop rivet in this location. For the elevators I used the first method. For the rudder, it was clear that there was no way a CS4-4 rivet was going to work. I opted for a smaller rivet.
Next it was time to turn my attention to the vertical stab tip. Here is where I plan to deviate. I do not intend to fiberglass the tip of the vertical stab. I’d like to mount a camera here in the future, and as a result I want the tip to be removable. I haven’t decided how to mount the camera, or even what camera I will use, so that decision can wait.
The first step in the installation of the vertical stab tip was to measure, and trim to size.

Then it was time to drill. I drilled #30 and set the dimples for #6 screws. These are slightly smaller and I think more aesthetically appealing. Plus they use smaller holes through the fiberglass.

After dimpling, and countersinking, you can see the intended result.

Sometimes I think about taking a picture, and my mind remembers that as having actually taken a picture. I could have sworn I took a photo of the tip with the nut plates installed. But, apparently I did not. Suffice it to say, I used the appropriate nut plates and AN426AD3-3.5 rivets. You can use soft rivets or you can slightly under squeeze the hard rivets. I did the later. I’m quite happy with the results.
At this point, I turned my attention back to the fiberglass work. I was ready to do multiple fiberglass sections in one section. I would cut all of the fiberglass and prepare all of the surfaces before mixing any epoxy. While I was cutting the fiberglass the wind picked up. I looked out at the airport to realize a thunderstorm was imminent. Really imminent. No sooner then the realization dawned on me, then I saw sheets of rain at the far end of the runway. Crap! My truck window are cracked. I sprinted 25 feet to the truck and wound the windows up. In that 10 seconds the rain was upon me. In the next 10 seconds that it took me to race to close the hangar doors the wind and the rain became so torrential that more than half of the hangar as soaking wet! The wind was so strong that several unlatch end hangars were blown open, and I struggled to close and latch both doors!
Well, so much for fiberglass work. All my fiberglass was soaked, and so was much of the hangar. I did my best to dry everything up and clean up. I turned the fans on and decided to return to fiberglass in the next session.

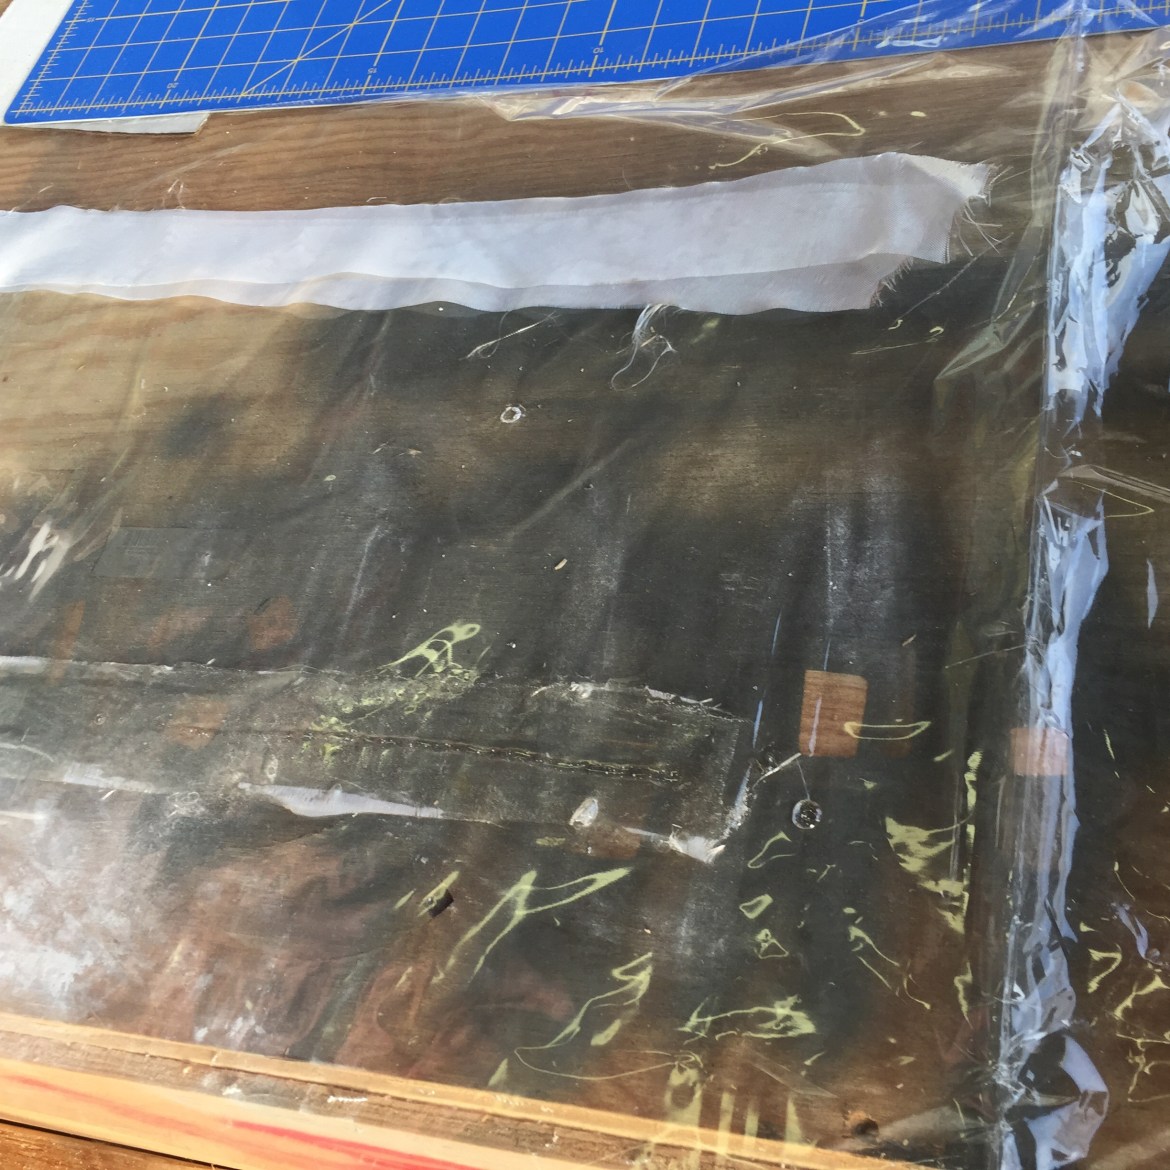
Here you can see some of my fiberglass strips after drying for quite awhile. The back ones are still wet.

I still need to bend my custom instrument panel. To do this, I need a good, highly accurate bend line. I put the panel in place with screws and clamps and made a new bend line. I will try to get this bent courtesy of my buddy Chad this week.


