After fabricating the new instrument panel, I needed to bend the bottom. Unfortunately, the first brake was too small. I have a friend who does HVAC and they have this behemoth brake. It took some experimenting but we were able to get the panel bent.

Here is the panel installed.


Unfortunately, I had to trim a little bit of the bottom of the frame to get the bend to work. 


The original Show Planes cover / instructions pre-date the -1 kit, and the frame previously was not pre-drilled. This creates some edge distance issues. I couldn’t use the exact spacing recommended, so after a little thought, I came up with the spacing below for the nut plates. Its not perfect in terms of edge distance, but its for nut plates. Just to be on the safe side, I made a backing strip. No need to introduce any cracks from vibration.

I used the cover and a light to match drill.

Then I drilled for the nut plate rivets.

Here is the final product.

I countersunk the cover. BUT, I started countersinking the wrong side. Whoops! I easily fixed it with some flox.

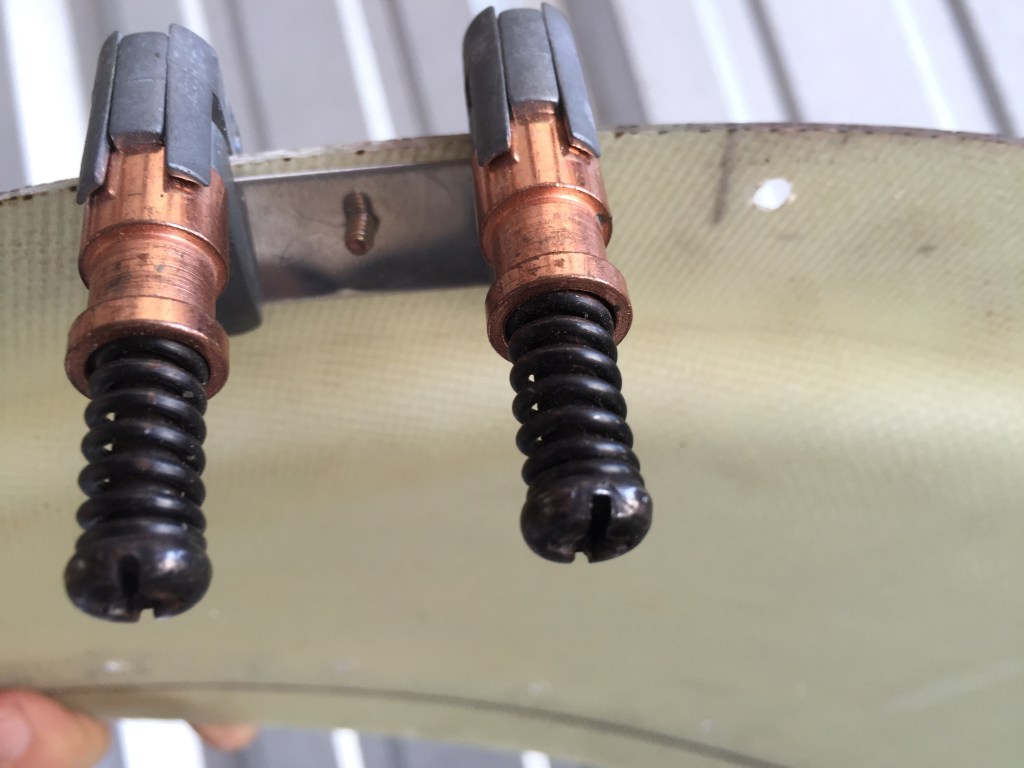
I believe I’ve mentioned this before, but there are two types of countersink bits out there. The one below… sucks. It takes a huge bite out of whatever you are countersinking, and is a pain in the rear.

I much prefer the countersink bit shown here.

To countersink the fiberglass, I used a backing strip to keep the countersink bit from wandering.

(Here is a picture of my flox countersink repair)


