In a previous post I cut the instrument panel cover at an angle. Looking at the way the canopy frame is constructed, this is both impossible, and un-necessary. The canopy frame will provide the function I was after, and as a result, the cover MUST be trimmed flush. I made quick work of trimming with my dremel.
After trimming, I taped the instrument panel. I will file / sand the fiberglass cover to be perfectly flush with the panel.
I also began drilling for the nut plates on the forward section of the cover. I will come back and install the nut plates later.
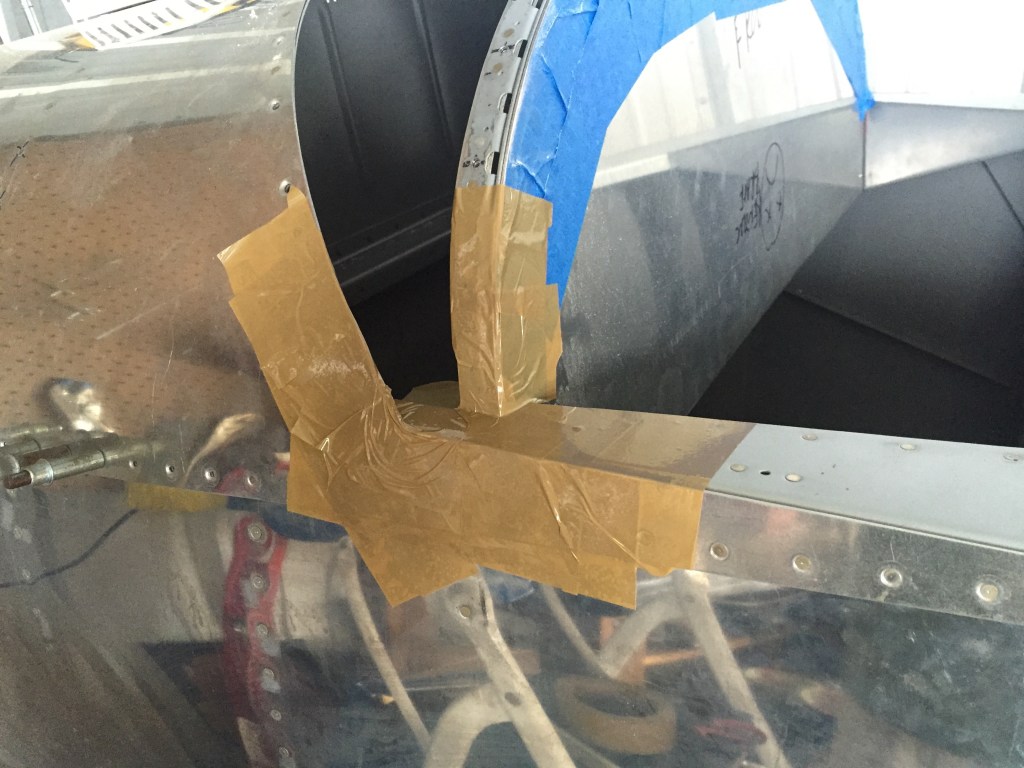
Time to turn my attention to the fillets. I will do these in stages. The first stage is to join the side fillets to the cover. I will then begin work on the canopy frame. When the canopy frame is further along, I will complete the fillets. This will allow me to incrementally adjust both for optimum fit.
Step number one: tape everything before breaking out the flow and epoxy.
Here is the filet clamped in place with a flox mixture joining the two fiberglass parts.
With that curing, I turned my attention to fitting the right fillet. Its a slow process. Measure, trim, check. Sand, check, sand, check… complete.
I also ran the fiberglass strips for the remaining exposed rivets on the horizontal stabilizer aft of the tip.


