Monthly Archives: June 2015


Fuselage 14 (2.0)

Tonight I began working ahead in the instructions in order to have as many parts for priming as possible. Here is the pile of parts I have so far.  

I also needed to complete the gear installation. The alignment was done previously and all the main holes have been drilled, however, both of the wear plates required two outboard holes to be match drilled.  

Here is where the inner wear plate still needed to be drilled.   

The results of that drilling from inside the fuselage.   

The outboard wear plate required a little more access in the bottom skins before it could be drilled.   

I enlarged those holes enough to drill a proper straight hole through. The predrilled holes in the skins are not properly aligned. And then I still had a little more material to move from where the bottom skins rub the gear legs themselves.  

Here is an after photo.  

Next I skipped ahead to a few parts for the elevator control horn and bearing. These will need to be primed.     

Lastly, I cut the main control rod to length.      


Making a home paint booth

Since I began this project I intended to paint the entire aircraft myself. I’m confident with all the experts around that I can do it successfully. To that end, I began setting up a paint shop in my father’s barn. Yes, I won’t be painting the airplane for quite some time. Perhaps another few years, but in the mean time I have lots of parts to prime, and the interior will need painting. Painting at the airport isn’t feasible, and painting at my uncle’s or at friends is only ok on rare occasions. This paint booth will be of sufficient size and quality for the final paint job.

The barn is full of dust, and a mess currently. Here’s the before shot. My dad is retired and no longer uses the barn for anything other than storage. We decided to use the center aisle. This gives me a space of 10′ high, by 12′ wide, and 25′ long. More than enough for the plane.   The first step after a basic cleanup was to affix the plastic to the ceiling. Quick work with the staple gun. Then the walls. And finally the floor! There is still a lot to do. The exhaust fan is only up temporarily, and I’ll need to duct that to the outside and seal it up. I have a few furnace filters that will be used for the air inlet, which also hasn’t been added. I plan to use the spare particle board laying in the hangar for some basic flooring which will help hold the plastic in place. Also the seems will need to be taped closed, and I plan to use some wood strips to hold the plastic in place in the more difficult spots. And finally, I will need to add some better lighting. I suspect critters and time will cause some damage to my shop, but plastic is cheap, and I have a ton left over. Repairs will be cheap and easy. Now I might have a year or two (or three) before final painting, but this is going to make priming a breeze.


Fuselage 13 (3.0 hrs)

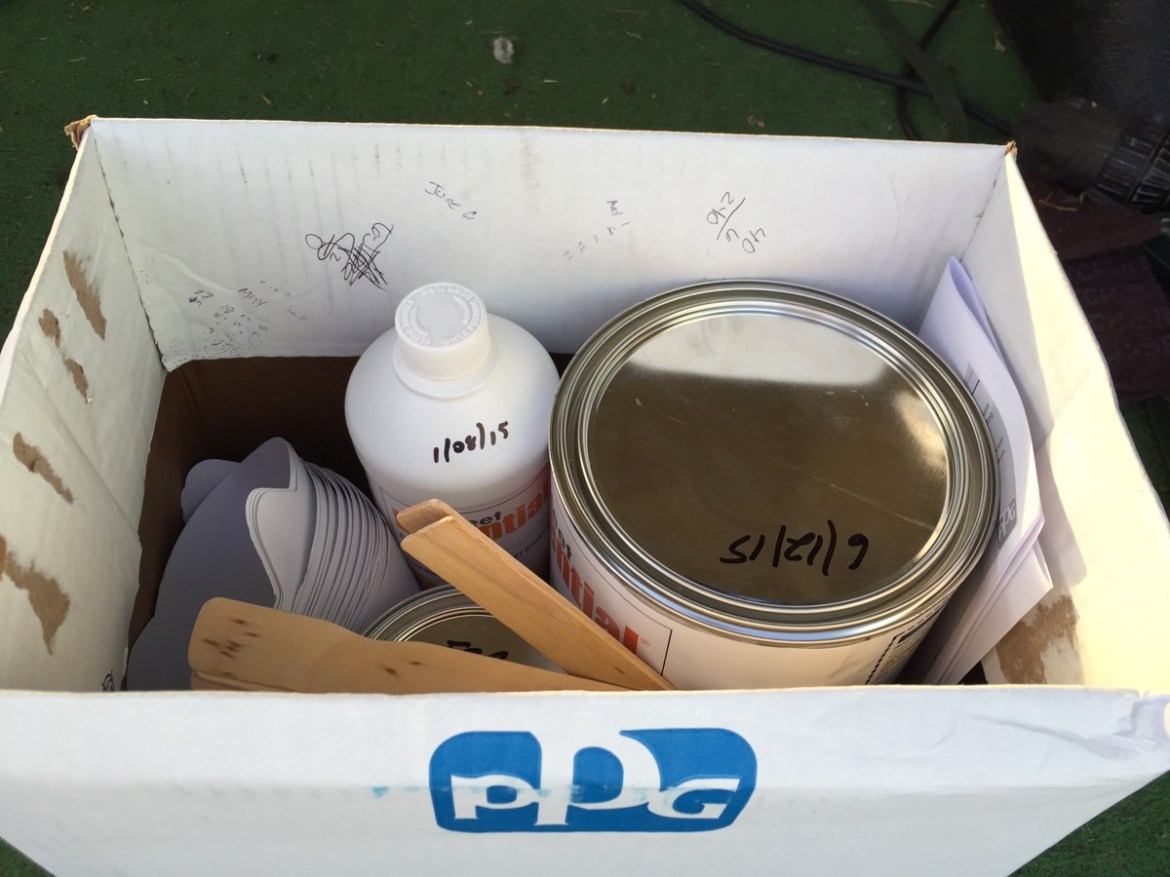
First on the plate for today was to rivet the nut plates for the forward lower consoles that I drilled in the previous session.Then I turned my attention to my the front seat ramp. There’s not a lot to do here. A few nut plates to match drill and then deburr and its ready for priming. There are two tabs that need to be removed. Shown here.The dremel makes quick work of them.  I completely deburred all the parts for the front seat ramp and dimpled the appropriate parts. Then the directions instruct me to turn my attention to the upper side consoles. One problem. I don’t have the upper consoles. They aren’t even on my inventory, so I’m a bit stumped as to why they are in the directions at this point, or why they are missing from my inventory. A call to Van’s Aircraft on Monday should answer the question.Additionally, today I bought primer for the interior parts of the plane. I’m going with PPG light grey primer for the interior. The final interior color will be very dark grey. I’ve seen both light and dark interior cockpits, and just like in a car, a light cockpit means lots of reflections.