Yearly Archives: 2014


Ailerons 13 (2.0 hrs)

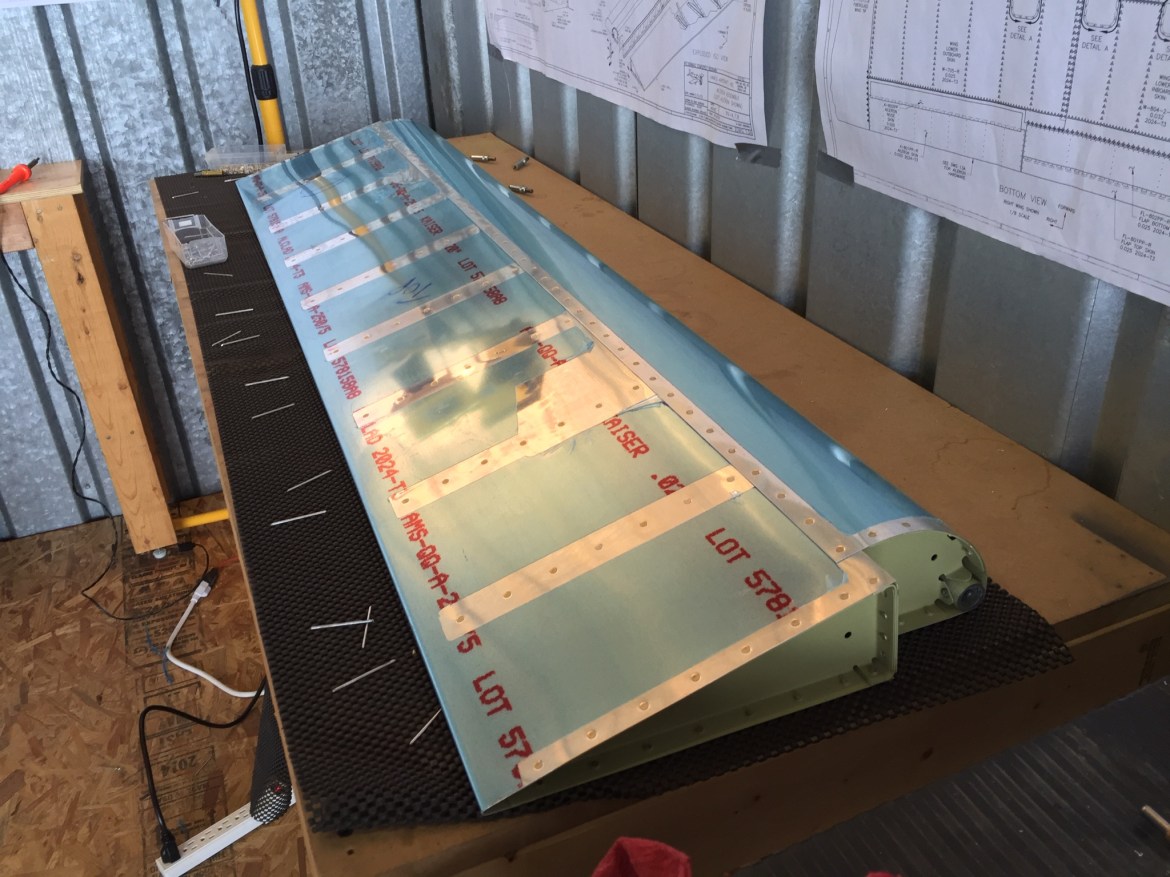
I continued where I left off on the top spar.  This is a pain in the butt. Here you can see my flashlight illuminating the rivets already completed. IMG_5899.JPG

After I finished the top of the spar, it was time to rivet the tops of the nose ribs. And the main ribs. IMG_5900.JPG

Then it was time to move on to the bottom. I dip each pop rivet in primer prior to riveting the counterweight pipe.  Additionally, I fixed Mike’s pneumatic pop rivet tool.  It works pretty well, but boy does it leak oil.IMG_5901.JPG

A few pictures of the final product.  Ailerons are complete!  There isn’t a lot left to do on the wings!IMG_5902.JPG

IMG_5904.JPG

IMG_5905.JPG


Ailerons 12 (1.0 hr)

So it looks like I’ll be moving to a new hangar… one with a concrete floor!  There are two available and I’ve decided to move into this one.  As a bonus its just across from Bullock’s Tool Lending Emporium which is perfect for a sponge like me. IMG_5887.JPG

This evening I started the assembly of the left aileron. First up was attaching the counterweight to the nose ribs.IMG_5889.JPG

Then I riveted the spar reinforcement plates and plate nut to the spar. IMG_5890.JPG

IMG_5891.JPG

Then it was time to put the aileron in my little jig / stand.IMG_5893.JPG


I started to rivet the top of the spar, but I didn’t get far as I didn’t have the time or the energy this evening. IMG_5895.JPG


Ailerons 11 (5.0 hrs)

Today I started at my Uncle’s to prime the remaining components in the left aileron.IMG_5860.JPG

And then it was time to turn my attention back to completing the right aileron. Riveting the center of the spar is difficult to say the least. Here’s how I went about it.  It is uncomfortable to say the least. Notice that I have taped my sweatshirt to my glove with paints tape to protect my arm. IMG_0041.JPG

Keeping the bucking bar aligned is difficult, especially since the flange and web of the spar are not at a 90 degree angle.  I taped on a small part of a tongue depressor to help line the bucking bar without being able to see it. This allowed me to lay the bucking bar flat on the spar and match the desired angle for the shop head of the rivet. IMG_0038.JPG

IMG_0039.JPG

It took quite awhile to finish the top of the spar.  Given the awkward positioning, progress is very slow. Next it was time to rivet the end ribs.  Which was easy peasy.IMG_0042.JPG

IMG_0044.JPG

IMG_0043.JPG

Then on to the bottom.  Now that the top of the spar is complete… finishing up takes no time at all. IMG_0045.JPG

And finally I put the aileron hinge points in place. IMG_0046.JPGIMG_0048.JPG

The Collins Foundation brought their WWII bomber to the airport this weekend. I never actually went out to check it out. I’m not sure why, but I’m not really into static displays. Regardless, as I left for the day I snapped this photograph. IMG_5861.JPG