Wings 32 (3.5 hrs)
After completing the ailerons, it was time to get back to work on the wings. Specifically, I need to install the flap braces, aileron gap fairings, and the aileron hinge points. First step was to figure everything out. I like to lay everything out and sometimes even put it in place as best I can so I can be sure I fully understand how everything goes together. Here are the flap braces and aileron gap fairings. 
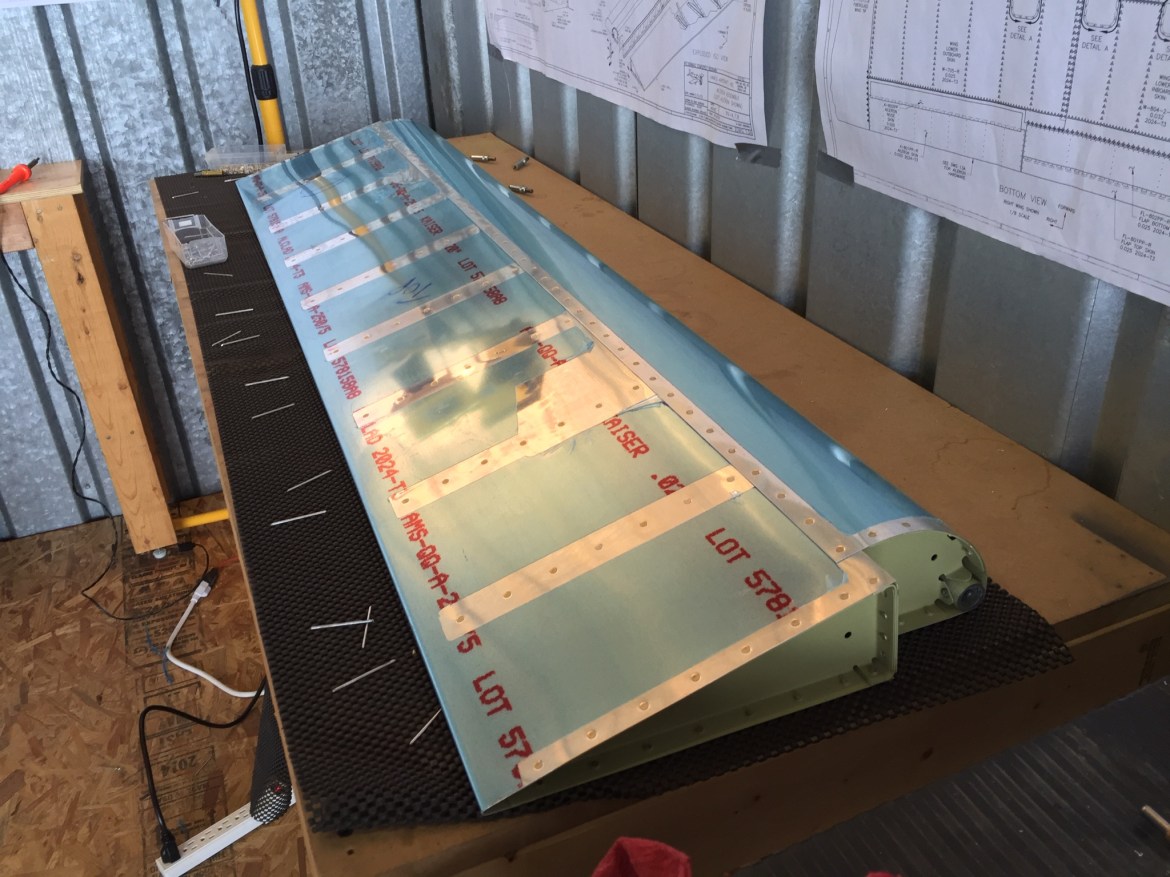
I padded two saw horses with bubble wrap and blankets and then placed the right wing bottom side up. I’m going to prep the components for both wings so i can do one priming session. Unfortunately this will mean switching the wings out. 
I immediately noticed an error. I had installed two rivets that shouldn’t be installed yet. It was awhile ago, so I’m not sure how that happened. I usually tape over the holes that need to remain open, and I did leave the center rivet open. Odd. Anyways, these were a bit of pain to drill out.  Because these were long rivets and somewhat awkwardly placed, I could not use my nifty rivet removal tool. Instead I used a center punch and countersink to get a hole started in the center of the rivet head. I then hand spun the drill to get it started.
The first one, shown here, came out perfectly. The second one, while adequate, was much more difficult. 
Next, I needed to trim the flap brace to match the spar reinforcement plate. Van’s uses their standard notching system to indicate where to cut just like the aileron and elevator stiffeners. 
Here is the flap brace ready to be cut. 

Next I clecoed the flap brace in place. Before I began match drilling this, I moved on to the aileron fairing and hinge points. 
Everything clecoed in place for my own internal satisfaction. 
My last task for the day was to prep all of the aileron hinge points. I match drilled, deburred and scotchbrited all the parts. Thick aluminum pieces from Van’s frequently need to be hit heavily with the scotchbrite wheel, and these were not different. Deburring them to my satisfaction took awhile. 


