Monthly Archives: September 2014


Ailerons 7 (2.0 hrs)

This evening I set about final preparation of the right aileron.  Primarily deburring and dimpling the remaining structure.

I had an extra 3/32 dimple die set.  The male die was a little off, having at some point it its life being used for something it should have been. So its been sitting unused. The tight space at the trailing edge of the outer ribs presented a problem, and this little spare die was the solution. I ground down the male portion of the die so that it would not protrude from the back of the female close quarters die. This way I could use the no-hole yoke, close quarters dimple die, and modified male die, to get into very tight places. I have to be careful to make sure everything is aligned properly, but if you go slow, the male die will ensure the female die is properly aligned. IMG_0162.JPG

Here is a picture of the process.IMG_0163.JPG

The end result came out perfect.  The far dimple looks like its off, but that is artifact of the picture.  I’m very happy with the result, as it was difficult to even get the close quarters dimple die set in this location. IMG_0164.JPG

Not much to say for a post concerning deburring and dimpling. IMG_0165.JPG


Ailerons 6 (2.5 hrs)

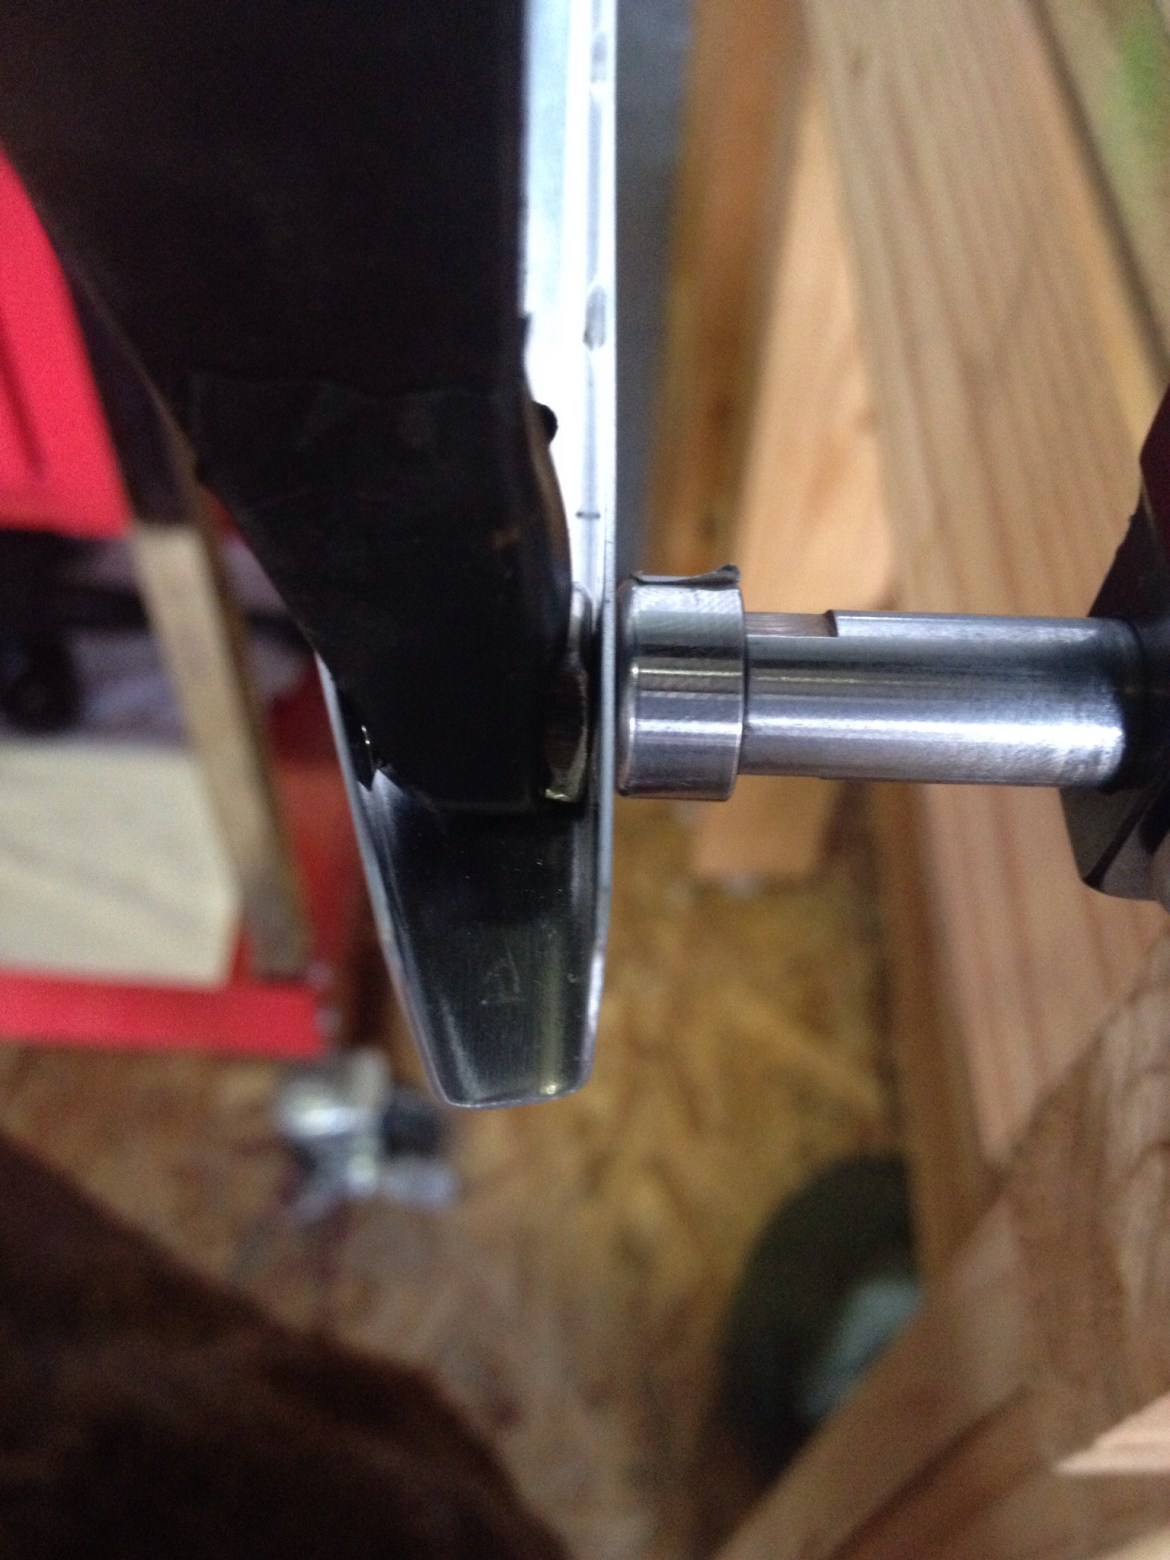
Today I finished final drilling and dimpling the leading edge skin for the right aileron.  The counterweight attaches to the leading edge skin at the point where the curve in the skin is greatest.  As a result, you cannot use a standard dimple die to dimple the skin for the CS4-4 pop rivets.  The method recommend (not in the instructions) is to use to counter sink the counterweight pipe and then use that as your dimple die.

Here I have the counterweight pipe, after countersinking, attached to a 2×4.  IMG_0005.JPG

IMG_0004.JPG

With the counterweight securely in place, I clecoed the leading edge skin.IMG_0008.JPG

I used the steel rod from my c-frame and a male dimple die to achieve the dimple below. IMG_0010.JPG

IMG_0011.JPG

I was at the airport for a long time today, but I didn’t get much work done. We also had an EAA Chapter meeting and that made for a lot of visitors and hangar talk. Zack Chattler was nice enough to give me two very heavy duty rubber mats for the floor. The heavy weight is perfect for holding down the wood and providing a stable surface.

IMG_0006.JPG

Also, our EAA Technical Counselor, John Raffensparger, took a look at my project.  He was very pleased with the quality of the build and so far, no squawks!IMG_0012.JPG


Photos, Videos and More

This evening I finally got around to clearing off my hard drive to make room for some video editing. I was able to finish up several videos that have been languishing for far too long. I’ve also corrected the issue that was preventing a large number of photos from the latter half of 2013 from displaying. And finally, I have made a number of other updates to the site most notably on the Media Gallery page.