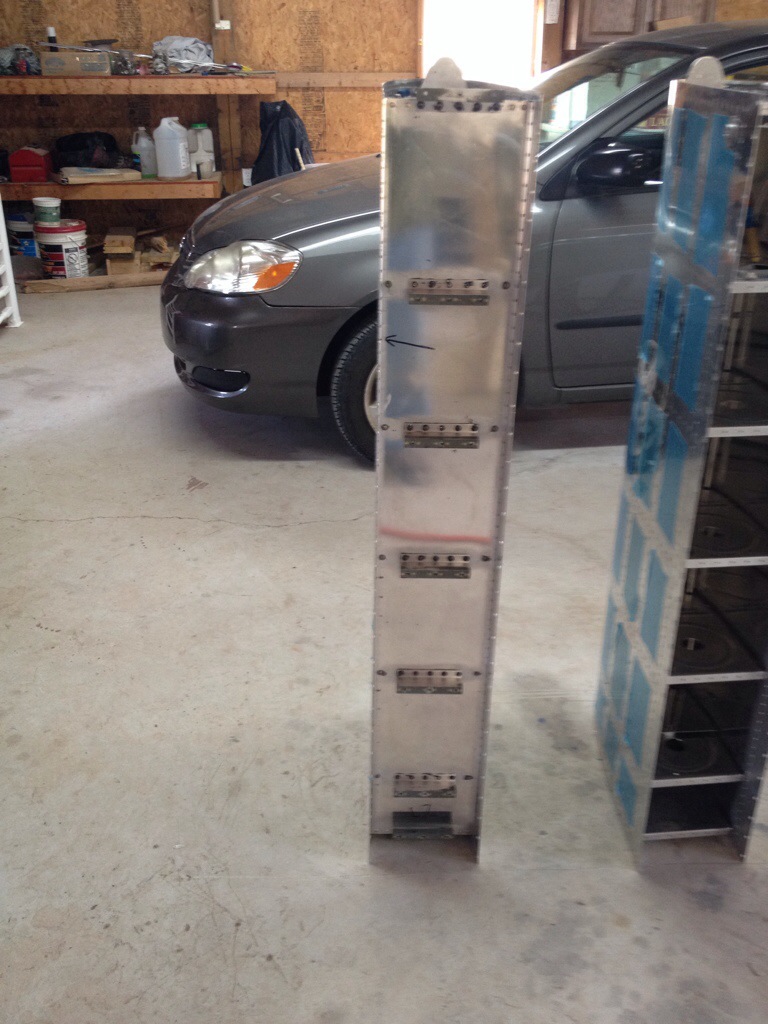
I’ve been putting off working with sealant for quite some time, because… well I hate it. But the time has come to finally finish the fuel tanks. Earlier this week I ordered fuel tank repair kits for the right tank. I’m going to cut access holes into the rear baffle of the left tank to remove any remaining rivet pieces. I should have done this from the start instead of wasting so much time with other methods, but being a newbie I was very hesitant to do something I saw as “invasive surgery.” In reality its a quick and easy fix, especially compared to replacing a baffle (which I still need to do on the right tank).
I started the day by rearranging the shop and laying out the parts for sealing. 


My original sealant has now expired… which tells you how long these fuel tanks are taking! For the last little bit I got the 6oz tube. I’m not mixing it in the tube though as I don’t want to waste any. 
Before I proceeded, I cleaned the rivets, z-brackets and baffle with acetone to remove the last remaining proseal and impurities. This took a little help from some scotch brite and several applications of the acetone. 
My sealant mixture was not the best for two reason. First, my digital scale is a complete piece of harbor freight shit. The auto shutoff is so quick its easy to have it shut off in the middle of a measurement… and when you turn it back on… it re-tares which unless you recall what it said before totally messes you up. Further the dispenser opened suddenly and I wound up with more activator that I wanted. Hopefully it will hold up. The color looked pretty close to what I remember but maybe a little bit on the dark side. 
I installed all the z-brackets… correctly this time! (I quadruple checked)
And the access plate. I did not use the cork ring.. Just plain ole’ proseal. Now observant readers might ask, “why did you install the z-brackets prior to the new access plates?” My primary goal right now is to get the wings moved down to my new hangar which is much clsoer to my home. In order to do that, I need to get the wings to a point in which they are rigid enough that I no longer need the wing stands. In my mind that means leading edges, fuel tanks, and top skins attached. I can remove the fuel tanks easily later, but for now I need to install them in order to ensure my scarf joints are correct and sure up the wings. I hope to have the kit moved to the hangar before my trip to Oshkosh at the end of this month. 


