I did a lot in the past two days, and unfortunately did a poor job of record keeping. I started out addressing and experimenting with my rudder rivet problem from my previous post. I first tried to trim the AN470AD4-5 rivets just slightly to aleviate the cracking. This didn’t work. Next I tried using a longer AN470AD4-6 rivet trimmed down to the -5 length. This worked, but cutting all of the rivets would be a pain in the butt. Jack Savage told me to heat them in the oven prior to riveting. This also worked, but I don’t like unknowingly changing the properties of the metals. Finally I set the rudder aside as Mike Bullock had agreed to meet me at the airport and give me some rivets he had. Once I tried his rivets, they worked perfectly. I’m convinced I have a bad batch of rivets… they seem extremely brittle.
While I had the rudder set aside, I worked on the elevators. I back riveted all of the stiffeners to both skins. Unfortunately I discovered I had not drilled, dimpled, or primed the trim reinforcement plate. I caught up on that work as quickly as one can. Unfortunately, after I set all of the rivets, I decided two rivets need a couple extra taps. Not paying attention on the second rivet, it was slightly off the back riveting plate. Its pretty nasty looking, but structurally ok. I did my best to take as much of the dent out as possible. This will be one area that will certainly have to have some touchup prior to paint! Thank god it son the underneath!
Here’s the back riveting setup.
I had two rivets towards the trailing edge not come out perfectly. I decided to drill them out. 


Drilling them out went perfectly and the new rivets seated perfectly. 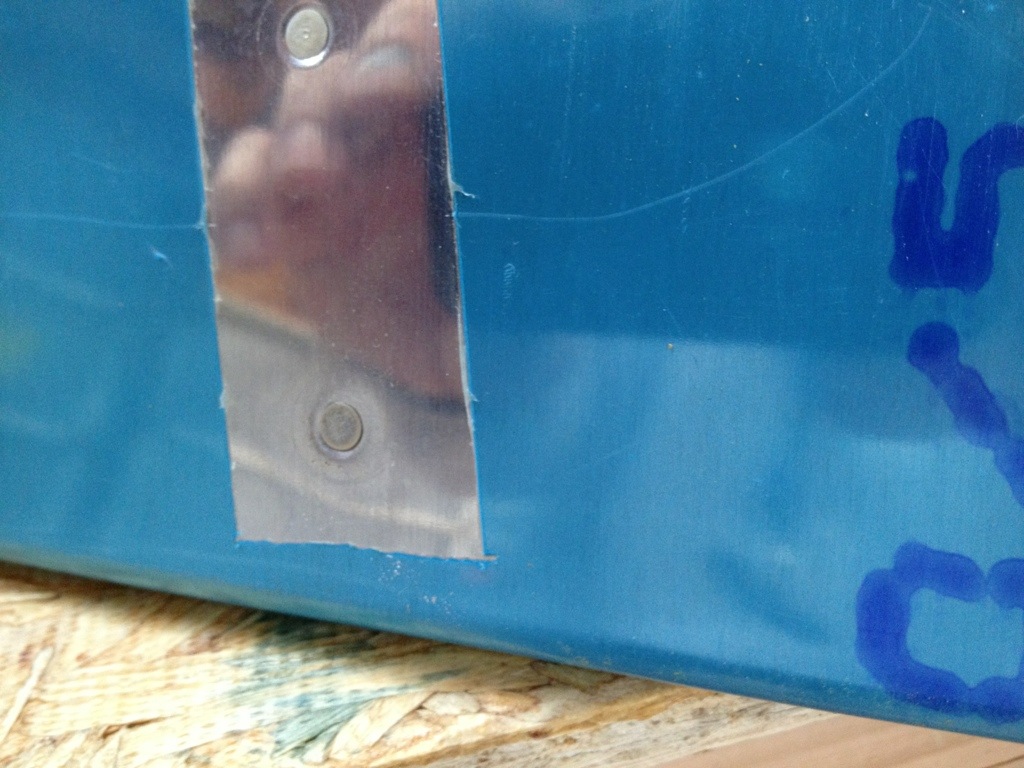

Here’s the trim reinforcement plate that I had totally skipped…
And two photos of my oops… 🙁


