Posts


Fastback 55

Last night before I left I added micro balloon filler to the front fairing / flox fillets. Here is the micro after it dried. I used a bit too much, but thats ok – I wanted a nice gradual fillet to cover up the large amounts of flox.

IMG_4878

I then proceed to sand and sand and sand. Luckily micro is easy to sand.

IMG_5126

The end result came out pretty well. I actually did more sanding after the following two photos, and also added some body filler to top edge to even out the few inconsistencies there. I will post additional photos in my next shop session.

IMG_5124

IMG_5125


Fastback 54

I’m very sick of sanding and fiberglass work. I’m ready for a new challenge. Sigh.

Here is the flox fairing after the second application. As you can see I was able to build it up a good distance from the previous session. The tape mold worked nicely.

IMG_4869

IMG_4868

The first step was to sand everything down and even. The left side has a slightly different geometry than the right, and doesn’t result in quite such a smooth line.

IMG_4873

IMG_4874

IMG_4875

I also continued my taping and have both the interior and exterior taped. One more layer and then I will add plastic to both sides for protection. This should allow me to prime, bond, et al without risk.

IMG_4876


Fastback 53

Two primary projects in this session – continued work on the front canopy fairing / filleting, and drilling the canopy.

First up, here is the fairing after the first set of flox was set and the canopy removed.

IMG_4857

IMG_4855

The top edge is pretty rough, and thin.

IMG_4856

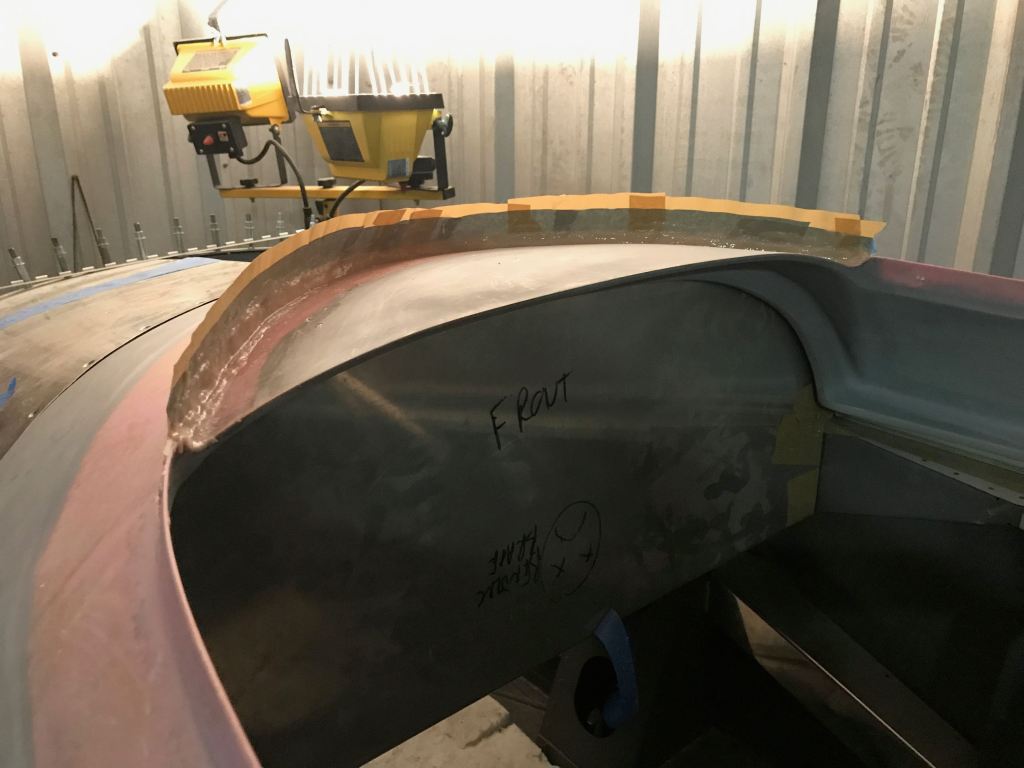
I sanded this down, and then made an impromptu mold using some packing tape. I would use this to build the flox up a little bit higher and thicker. It doesn’t need to be perfect as there will be adhesive between the canopy and the flox fairing anyways.
IMG_4859

Next up I set about drilling out the canopy for adhesive rivets. These call for 1/4″ holes that are slightly countersunk on the outside. I used a three step process to this. First I drilled the holes with a smaller drill bit. Then I countersunk with the cage. This made sure that my countersink stayed centered (the reason for the smaller hole). Then I used a uni-bit to final drill to 1/4″.

IMG_4860

IMG_4861

IMG_4863

Here you can see the results. I also deburred the inside and outside of every hole, both for clecos and adhesive rivets.

IMG_4864

The little imperfections that show up – those aren’t cracks, chips, or rough edges but just dust clinging to the areas due to static. I’m very happy with the drilling quality. I also began doing a thorough job of taping up the canopy.

IMG_4865