Two primary projects in this session – continued work on the front canopy fairing / filleting, and drilling the canopy.
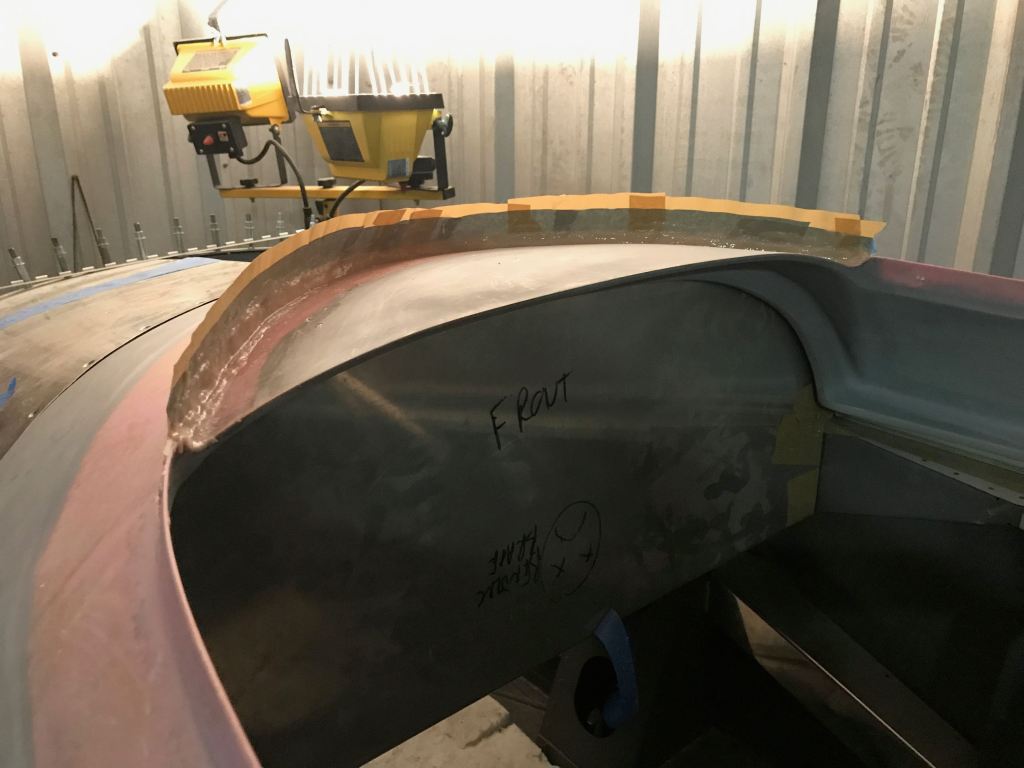
First up, here is the fairing after the first set of flox was set and the canopy removed.


The top edge is pretty rough, and thin.

I sanded this down, and then made an impromptu mold using some packing tape. I would use this to build the flox up a little bit higher and thicker. It doesn’t need to be perfect as there will be adhesive between the canopy and the flox fairing anyways.
Next up I set about drilling out the canopy for adhesive rivets. These call for 1/4″ holes that are slightly countersunk on the outside. I used a three step process to this. First I drilled the holes with a smaller drill bit. Then I countersunk with the cage. This made sure that my countersink stayed centered (the reason for the smaller hole). Then I used a uni-bit to final drill to 1/4″.


Here you can see the results. I also deburred the inside and outside of every hole, both for clecos and adhesive rivets.

The little imperfections that show up – those aren’t cracks, chips, or rough edges but just dust clinging to the areas due to static. I’m very happy with the drilling quality. I also began doing a thorough job of taping up the canopy.
