Time to finish up the flaps! Here is the right flap clecoed and placed in the makeshift cradle I made yesterday 
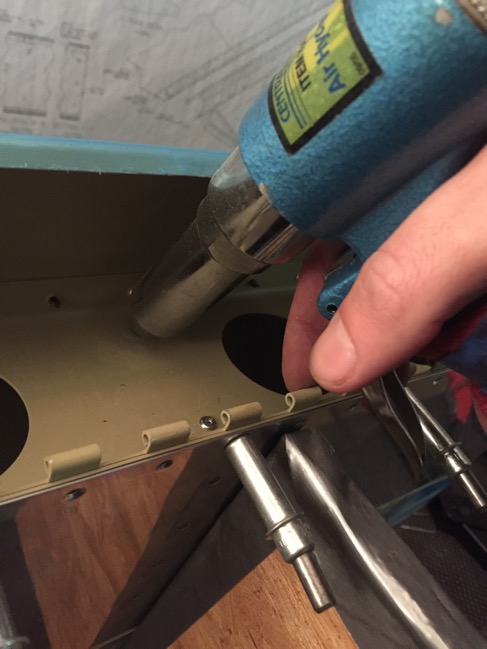
The first step was to rivet the rear spar while I could still access it. I used my long thin tungsten bar as shown in this picture. While it was a bit of a pain in the ass, it didn’t take too long to finish it up. 
No real pictures of the next step… I riveted all the interior ribs. I then riveted the inner rib that will be closes to the fuselage and provide the connection point for flap controls. Use MK-319 BS blind rivets. I also opted to use the same type of blind rivet for the rivet immediately under the nutplate.
After I riveted all the ribs, it was time to set up the pneumatic squeezer for the outside rib and the spar. I made quick work of the rib. 
Then it was time to blind rivet the spar to the ribs. I double checked that everything was complete before closing up the flaps, as I would no longer be able to access the areas to fix mistakes.
The last two steps were to use the squeezer to rivet the lower spar edge and hinge, and then to buck the top skin and spar. My wife sent me a message as I was starting that it was snowing and I should leave the hangar soon since I was in her car… which is a bit squirrelly on the road. I looked outside… no snow. In the quick time that I finished the spar, we had close to 2 inches on the road! Time for some e-brake slides between the hangars on my way out!
Here is the final product! One flap done… one more to go. I should be done tomorrow!

