Wings 4 (8.0 hrs)
Since last weekend I didn’t get barely anything done on the project, I wanted to devote as much time as possible this weekend. I started by drilling the conduit holes for routing the wiring in the wings. I’ve decided on two conduit routes (shown here). The first is the 3/4 inch hole that runs between the third and fourth lightening hole at the bottom. This will be the primary conduit line and runs to both wingtips. I also enlarged the tooling hole near the main spar. This goes as far as the bell crank and can be used for pitot heat and the roll servo. I’m still contemplating extending this to the wingtip.
Next I deburred all of the conduit holes and then clecoed the ribs, main spar, and rear spar together. I final drilled the ribs and spars together and deburred all the holes. My final step was to begin preparing for priming. All of the ribs got the scotchbrite treatment and final cleaning for priming.
I didn’t take any photos of the conduit drilling process. I used a step bit for the holes. A good tip is to take a marker and draw a line on the outside of the step bit at the correct diameter so you don’t accidentally go too far. It takes several times of drilling before the ink wears away.
Here you can see the spars and ribs clecoed together. 
The tooling hole drilled out to 5/8″
Beginning the deburring and scotchbrite primer prep process. 
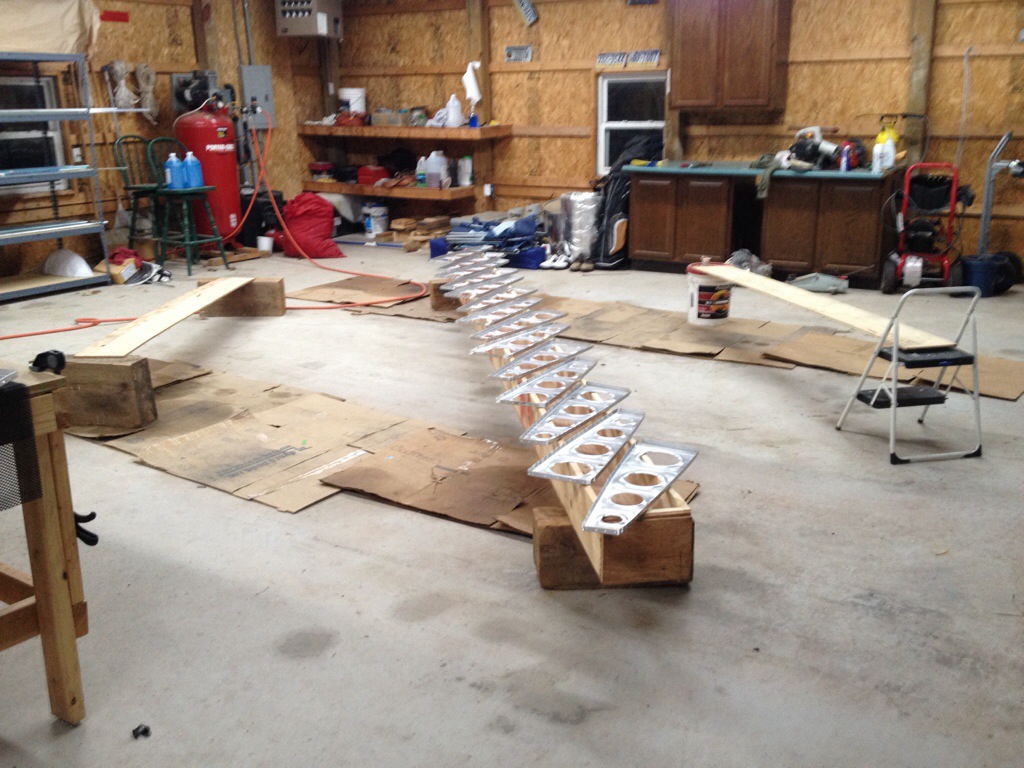
I labeled each of the ribs on the left from the tip to the root L1 to L14 and the same for the right wing. After scuffing the surfaces with the scotchbrite pads, I used the long shipping crate and laid the ribs out in order. I wanted to keep everything in order so that when I used the acetone to clean the ribs I wouldn’t lose track of what went were. 


