Fuel Tanks


Fuel Tanks 14 (7.0 hrs)

The tanks are slow going and this post includes work from last weekend that I had forgotten to include.

Last weekend I knocked out the fuel cap flanges and drain assembly. Normally, this would have been a relatively quick procedure, but I made a boneheaded mistake. I riveted the flanges but forgot the vent line clip. I drilled out the rivet and fixed the error, but then again every step you take is slowed by the application of sealant.

Today I riveted and sealed two interior ribs on the left tank. It’s been many months since I riveted with the mushroom swivel set and a bucking bar. Adding sealant to the equation only made me more nervous. My fears were not justified, and the riveting was a breeze. After two ribs, I have my technique and timing fairly well nailed.  About 50 grams of sealant is perfect for two ribs.

Here is the completed fuel cap assembly. 20140208-212613.jpg

20140208-212709.jpg

Interior of the fuel drain.20140208-212731.jpg

Blurry picture of the exterior of the fuel drain.20140208-212740.jpg

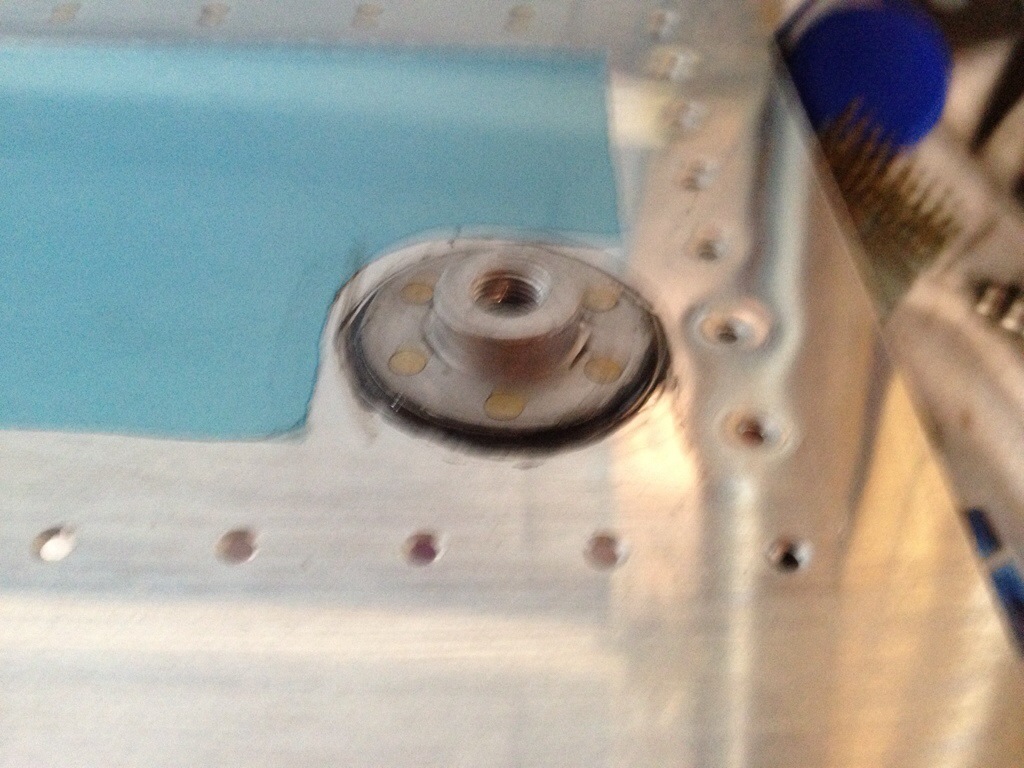
Interior of the fuel flange. 20140208-212750.jpg

Rib sealing…20140208-212809.jpg

20140208-212826.jpg

20140208-212843.jpg

Progress so far. 20140208-212851.jpg


Fuel Tanks 13 (5.5 hrs)

Riveting and sealing has begun.  I bought syringes, tongue depressors, and gloves yesterday and boy, I sure used them today.  The sealant has the consistency of cold honey, or mozzarella cheese… it makes a mess everywhere.  It took some time for me to get my technique down, but by the end of today’s session I’ve got it down pat.

I didn’t make enough sealant to begin with.  I would recommend about 60 grams per tank for all of the stiffeners.  My first syringe was a 35cc syringe.  Not big enough.  Later I moved on to the 60cc syringe which was much easier to use.  Plus, if you need to use a smaller syringe for a tight spot, its easy (and avoids the mess) to use the bigger syringe to dispense some sealant into a smaller one.20140126-163014.jpg

Not too many pictures on the first tank, as I didn’t want to touch my phone with messy hands.  Here is the end result. 20140126-163022.jpg

20140126-163031.jpg

The first tank is much messier as I gave up on the 35cc syringe halfway through and used a tongue depressor instead.  Some people put tape down and spend lots of time on making it neat.  Its sealant.  It doesn’t need to be neat, it needs to be sealed. 20140126-163051.jpg

On the second tank, I used the 60cc syringe.  Perfect.  Application is easy, neat, and you avoid waste. 20140126-163058.jpg

20140126-163105.jpg

20140126-163114.jpg

End result on the second tank.  The 60cc syringe fits perfectly over the shop head of the rivets.  With a little finesse I was able to perfectly coat each shop head with sealant.  The large syringe is awesome. 20140126-163123.jpgThe final act for the day was to take the skins into the basement.  The temperature is in the 20’s today and I’d prefer the sealant set in warmer conditions.  The basement is about 63.

All in all, today was a productive day.  In the next session I’ll do the fuel caps, vents and start on the ribs.


Fuel Tanks 12 (4.0 hrs)

Fuel tank trap doors.  I actually made these twice. I wasn’t happy with the first set.  The hinge pin was bent on both ends and the resulting doors didn’t quite swing freely enough, so I removed the pins and redid the upper portion of the hinge.  This time around I also used a small shim behind the plate that helps the door lay flat.  The hinge pin is only bent on one side… the baffle (and some proseal) will prevent it from coming out.  20140125-185242.jpg

20140125-185251.jpg

I didn’t make these today.  Jack and I made them during the last session in the shop, but I had forgotten to take pictures so here they are.  These are the anti-hangup guides for the flop tubes.  There are two more anti-hangup guides, but I will fabricate and install those after the ribs are riveted in place. 20140125-185259.jpg

I started preparing to rivet and seal the stiffeners by cleaning all the mating surfaces and rivets with MEK.  This afternoon I bought some cheap veterinary syringes and tongue depressors, but forgot to take them out of the car and my wife proceeded to take the car to the barn.  So, I will not begin sealing tonight.20140125-185309.jpg

20140125-185322.jpg

Everything all cleaned up. 20140125-185337.jpg

I bought some new toys, I mean tools, from Amazon.  Soldering iron with adjustable temperature and stand. Also 4 different tip sizes. 20140125-185348.jpg

Heat gun and reflectors. 20140125-185358.jpg

The tank sealant and digital scale are waiting.20140125-185411.jpg

I also rearranged my shop furniture in anticipation of the next stage.  Squire is excited to begin sealing. 20140125-185422.jpg

20140125-185430.jpg