Fuselage


Fastback 27

Before I did any more bonding, I took the opportunity to trim the canopy skirt for the canopy itself. To do this, you need to trim 7/8 above the joggle (point of canopy intersection). I marked a line all the way around the skirt. I found the best method to cut quickly is to use the pneumatic cutter for the first pass, followed by the dremel. When I cut the entire part at once, the cutters tend to walk or get bogged down. In fact, two passes turns out quicker and with straighter lines.

You can see the black line is where it will likely be completely cut. I decided to leave a little extra material here for the time being. It will keep the canopy more steady until I install all of the bulkheads, but more importantly, I’m not positive exactly how much I want to trim here.

After this I set about bonding the center bulkhead. I had to reinstall the roll bar. The bulkhead is 1 & 1/4″ aft of the roll bar, and 1 & 3/8″ off the rails. To keep the spacing, much as I did on the fore and aft bulkheads, I used popsicle sticks. They are about 1/16″ thick, and if you tape them tightly together you can account for any warping or deviation. I measured my little popsicle stick spacers and they were dead on. Best part, they are completely reusable. No need to cut up wood for this specific occasion. They are also light, so they stay where you put them easily enough. Getting clamps to stay where you like them to on the roll bar can be a challenge unless you have a circular shaped piece. With the popsicle sticks, you don’t even need that much.

I initially tried to clamp the bulkhead in place and then adjust. This was taking too long, so I made two more popsicle stick spacers for the bottom clearance. This made it easy to insert the bulkhead, check fit, remove, sand and repeat until I had the bulkhead exactly how I wanted it.

While the center bulkhead was curing, I pulled out the canopy. I didn’t do anything today, but I wanted to acquiant myself with the red cut line and the Show Planes instructions. Squire was pretty excited to see the canopy out of the box!

Before I left, I also set the top bulkhead in place.

Note that the top bulkhead doesn’t not abut the center bulkhead to form an intersection. You will need to create the intersection with flox / fiber.

Here’s a better picture showing you the upper intersection.


Fastback 26

The forward bulkhead is nice and secure. I had applied pressure in a few points overnight in an attempt to make the front of the canopy as true as possible. I’m very happy with the results. There are a few areas that will need further adjustment later on, but for now I can forge ahead.

IMG_0825

I have an Independence Day cookout to attend this afternoon, so I didn’t have much time. I wanted to get the rear bulkhead fastened with flox, so that I could move on to the center bulkhead tomorrow when I have a full day to work. Just like the forward bulkead, it should be 1/4 inch away from the fuselage bulkhead. I used popsicle sticks as my buffer. 4 sticks is exactly 1/4 inch. I secured them with packing tape so that they wouldn’t adhere to any overflowing flox. Given the rear tilt of this bulkhead, I full suspect it will leak in that direction.

IMG_0826

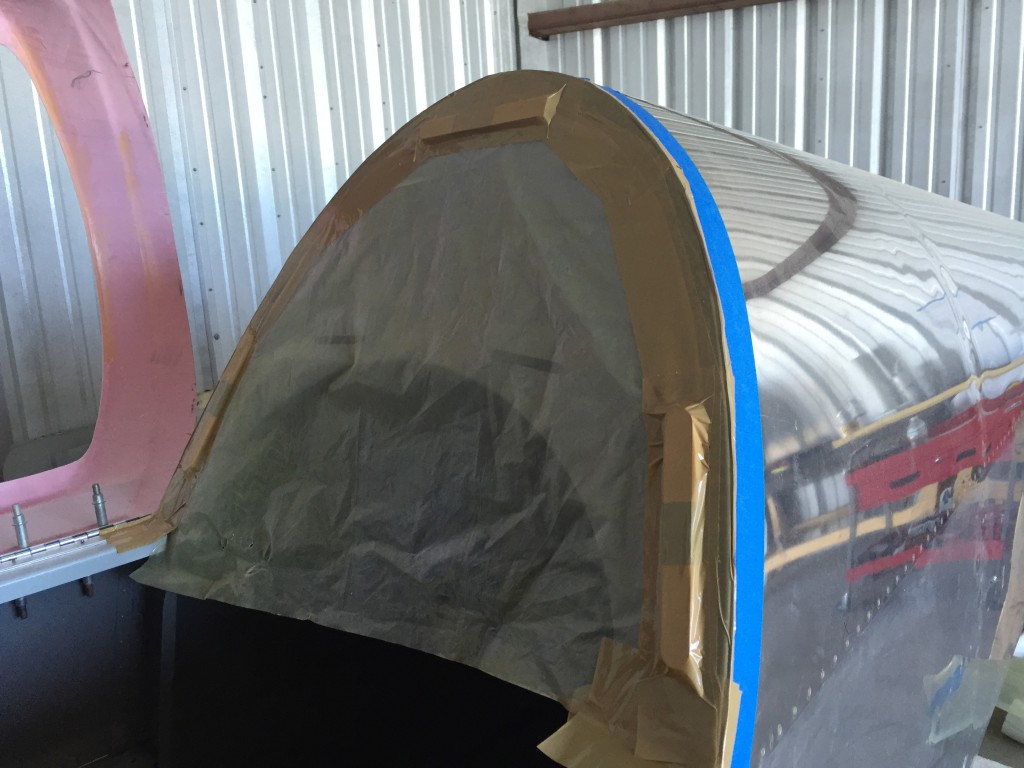
I clamped it in position, applied flox, and closed the canopy skirt. I secured the canopy skirt with tape.

IMG_0828

Here is the rear bulkhead after applying the flox.

IMG_0827

I grabbed some small wooden coffee stirrers at the hotel during my last trip. The small size was perfect for applying flox in some of the gaps and creating a small fillet. I only have 3, so I’ll have to check on Amazon for a cheap box.

IMG_0830_1 IMG_0829_1


Fastback 25

I ordered some torx screws to replace the philips screws in the aircraft. Here there are after organizing.

IMG_0812

With temperatures outside in the 90s, the hangar is probably well over 110 in the day. The working time for the fast hardener is about 15 seconds, and given I have a substantial amount of fiberglass work ahead of me, I decided to save myself the excruciating effort of running all over the place in a race against time. I bought the slow hardener. And in this heat, its not really “slow”.

IMG_0813

I also bought the hysol adhesive that will be used to adhere the canopy to the canopy skirt.

IMG_0814

First project for today was to cut and drill the hinge cover. I placed the hinge in position, got a good measure of its correct positioning, and then removed the hinge for drilling. I held the two parts together and used the hinge to match drill.

IMG_0816

I’m very happy with the results. Its a near perfect seal when installed.

IMG_0815 IMG_0817 IMG_0820

My final project for the evening was to prepare and fasten the forward canopy skirt bulkhead. Show Planes provides honeycomb inserts for this, and they are bonded using a mixture of flox. It took quite some time to get things fitting just perfectly. Patience and incremental adjustment is key for this work. When you move one part, you invariably move another.

IMG_0821

Here you can see the flox mixture in place with the canopy skirt closed and clamped into position.

IMG_0824