Main Fuselage


Fuselage 14 (2.0)

Tonight I began working ahead in the instructions in order to have as many parts for priming as possible. Here is the pile of parts I have so far.  

I also needed to complete the gear installation. The alignment was done previously and all the main holes have been drilled, however, both of the wear plates required two outboard holes to be match drilled.  

Here is where the inner wear plate still needed to be drilled.   

The results of that drilling from inside the fuselage.   

The outboard wear plate required a little more access in the bottom skins before it could be drilled.   

I enlarged those holes enough to drill a proper straight hole through. The predrilled holes in the skins are not properly aligned. And then I still had a little more material to move from where the bottom skins rub the gear legs themselves.  

Here is an after photo.  

Next I skipped ahead to a few parts for the elevator control horn and bearing. These will need to be primed.     

Lastly, I cut the main control rod to length.      


Fuselage 13 (3.0 hrs)

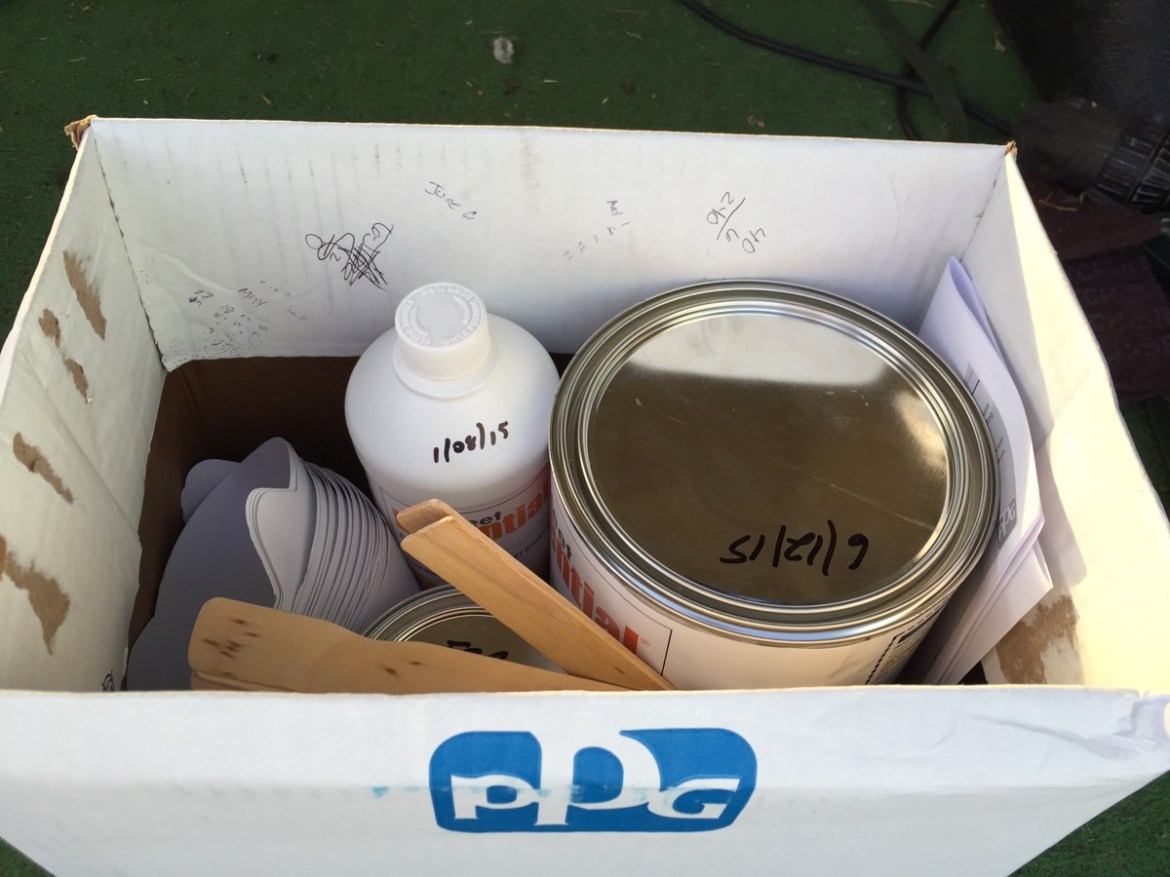
First on the plate for today was to rivet the nut plates for the forward lower consoles that I drilled in the previous session.Then I turned my attention to my the front seat ramp. There’s not a lot to do here. A few nut plates to match drill and then deburr and its ready for priming. There are two tabs that need to be removed. Shown here.The dremel makes quick work of them.  I completely deburred all the parts for the front seat ramp and dimpled the appropriate parts. Then the directions instruct me to turn my attention to the upper side consoles. One problem. I don’t have the upper consoles. They aren’t even on my inventory, so I’m a bit stumped as to why they are in the directions at this point, or why they are missing from my inventory. A call to Van’s Aircraft on Monday should answer the question.Additionally, today I bought primer for the interior parts of the plane. I’m going with PPG light grey primer for the interior. The final interior color will be very dark grey. I’ve seen both light and dark interior cockpits, and just like in a car, a light cockpit means lots of reflections.   


Fuselage 12 (3.0 hrs)

After a ton of deburring and cleaning up in the last shop session it was time to dimple many of the parts for the floors of the cockpit. For the floors I needed the c-frame to dimple many of the areas. But for the other parts the hand held tool worked just fine. After I completed all the dimpling it was time to turn my attention to the front cockpit side consoles. On the left (shown below) the fuel selector valve will be fitted.I needed to fit the cover plates in place and drill the auxiliary longhorns for the nut plates that would hold the outsides of the cover plates. Not shown, is marking the hole for the fuel selector valve. Drilling of the nut plates was straight forward.