Trim Tab


Trim Tab 7 (1.0 hr)

Tonight I installed the elevator trim tab and rib-let.  All went well, and I’m happy with the result.  The trim tab will be complete when I install the blind rivets on the end tabs… a quick task.  I am not going to install the trim servo until much later in the build. I still need to roll the elevator leading edges, and then I’ll essentially be done with the empennage for this stage of the build.  The tips will still need to be done, as well as installing the control surfaces and controls but that will all come in good time.

First pic is of the installed rib-let. 20130815-192951.jpg

Next up the installed trim tab. 20130815-193003.jpg

20130815-193016.jpg

20130815-192957.jpg


Trim Tab 6 (1.0 hr)

Last night I was going to get done what I wound up doing tonight, but when I arrived in the garage I realized I had quite the mess of tools and very little room to work.  So I cleaned up quickly and called it a night. Tonight I finished match drilling the trim tab hinge.  Here you can see the hinge clamped in place prior to drilling.  After I completed drilling I deburred and cleaned all the parts. All that remains for the trim tab is to rivet and install!20130814-195425.jpg

I decided to give the rattle can self etching primer a try for these small parts.  A time saver for sure, but I’m not particularly a big fan.  The trim tab is easy to pull off and inspect for corrosion so I’m not as concerned about using the time intensive and better AKZO primer.  20130814-195431.jpg


Trim Tab 5 (2.0 hrs)

Rib-let fabrication.  Part two.  I was determined that my second attempt at a proper rib let would be my last attempt, and thankfully it was.  I’m really happy with how it turned out.

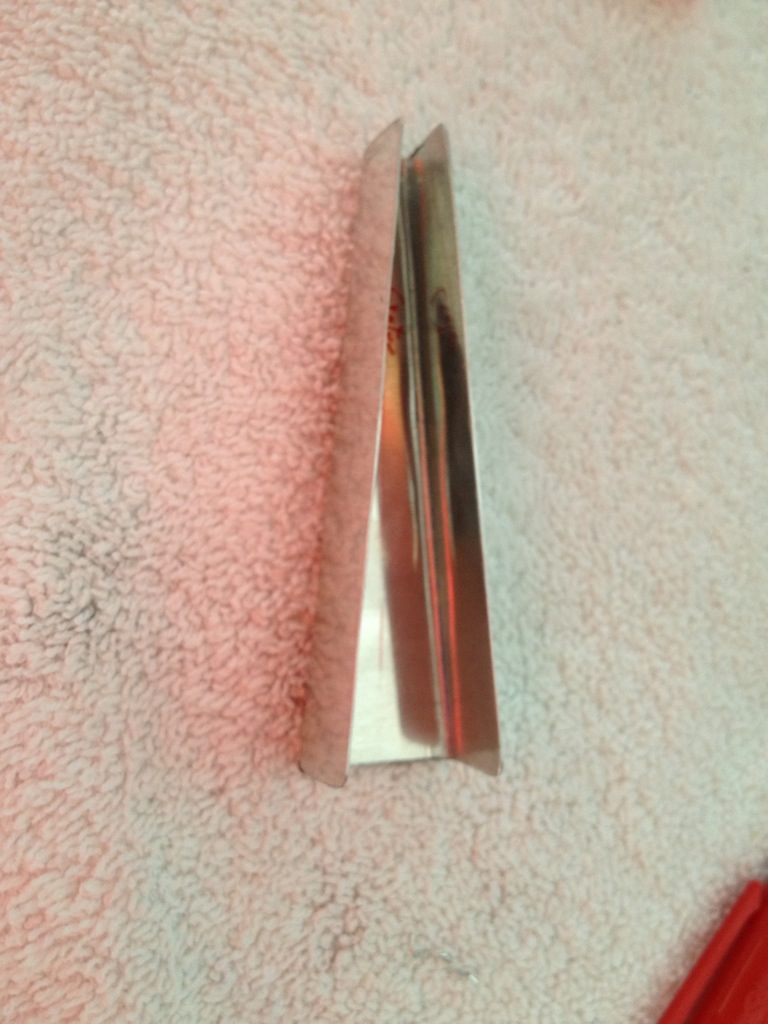
Using the measurements I made previously, I drew the angle out on a piece of paper and used that to mark the .020 aluminum sheet to make sure that the web and flanges had the correct angles.  I made the rib longer than needed so that I could slowly trim it down to where I was happy with it.  The point of the rib towards the trailing edge was the only part that was off, and only by a hair.  With a little work and magic I was able to get a very good fit. The first two photos show the result of my bend.  I used a pair of seamers and a block of wood to make the bends. 20130812-192857.jpg

20130812-192905.jpg

Here is one of the two clamps I used to hold it in place for the first hole to be drilled.  20130812-212124.jpg

Here is the end result after drilling and dimpling.  Its just a tiny rib, so I’m more than OK with using pop rivets.  I want the concave side of the rib inside so that the elevator can eventually be closed with epoxy / fiberglass (when I learn what all of that is about).  Regardless, the flat edge out looks better IMHO.  N888PB’s mascot is of course posing in the background. 20130812-212131.jpg

20130812-212137.jpg

Last note of the evening.  Mike was kind enough to give me the brackets he used for his wing stand.  Awesome!  This is definitely a time saver.  He also has the other wing stand for storage and completion of the leading edge and he said I could use that…. which will be an even bigger time saver.  Pictured below are the upper and lower brackets for one side of the wing stand.20130812-212143.jpg