Elevators


Elevators 12 (1.0 hr)

I was a bit late posting this week.  This post is actually from Monday night… I think.  I set about clecoing the skin to the skeleton and the elevator horns.  Two issues arose.  First, the one elevator horn was not aligning properly.  A little reshaping of the end rib flange to web radius and some strong arming of the clecos did the trick.  The more concerning issue is an area towards the root of the right elevator that is “oil canning”.  I’m not sure how to proceed.  I hope that riveting and bending the leading edge will exert enough pull on the skin to tighten it up.  The other option is to put a small stiffener in diagonally with proseal.  I’m leaning towards just pushing on and seeing what the result is.  If there are any negative flight characteristics, I can always rebuild later.

20130605-232700.jpg

Here is the misaligned rudder horn.

20130605-232713.jpg

20130605-232721.jpg

20130605-232707.jpg

20130605-232728.jpg


Elevators 11 (4.0 hrs)

I started out today by bending the elevators.  I was much more careful bending them this time to avoid the errors of bending the rudder.  The bends came out perfect! 20130527-204920.jpg

On a side note, here is my new vertical stab holder I built.  I plan to expand on this and hang the rudder there as well.  I’m trying to plan ahead now that the wings are within sight…. despite not being ordered.20130527-204941.jpg

20130527-205008.jpg

Final drilling the spar reinforcement plates.20130527-205016.jpg

The counterweight skin and rib.  This was a collasal pain in the butt.  The counterweight skin did not match the holes in the two adjoined ribs.  After consulting Van’s Airforce archives, I found that this is a common issue.  Some people recommended just drilling the holes out resulting in slightly imperfect or oblong holes.  With the added stress of the counterweight I did not want to reduce the strength with less than perfect holes.  The holes on the ribs were wider than on the counterweight skin.  In order to reduce that distance the radius between the flange and the web of the ribs needed to be reduced.  20130527-205023.jpg

20130527-205029.jpg

I used the dead blow hammer to reduce the web-flange radius.  This took quite a bit of trial and error but eventually worked.  Another trick here is to cleco the skin in place without the counterweight.  After all the clecos are installed, then shove the counterweight in between.  The entire process took some finesse but eventually I had all the holes lined up and every cleco properly seated. 20130527-205036.jpg

20130527-205045.jpg

Some pictures from the final skeleton.  Next step will be to cleco the skins and begin final drilling…20130527-205101.jpg

20130527-205158.jpg

20130527-205205.jpg


Elevators 10 (4.0 hrs)

I did a lot in the past two days, and unfortunately did a poor job of record keeping.  I started out addressing and experimenting with my rudder rivet problem from my previous post.  I first tried to trim the AN470AD4-5 rivets just slightly to aleviate the cracking. This didn’t work.  Next I tried using a longer AN470AD4-6 rivet trimmed down to the -5 length.  This worked, but cutting all of the rivets would be a pain in the butt.  Jack Savage told me to heat them in the oven prior to riveting.  This also worked, but I don’t like unknowingly changing the properties of the metals.  Finally I set the rudder aside as Mike Bullock had agreed to meet me at the airport and give me some rivets he had.  Once I tried his rivets, they worked perfectly.  I’m convinced I have a bad batch of rivets… they seem extremely brittle.

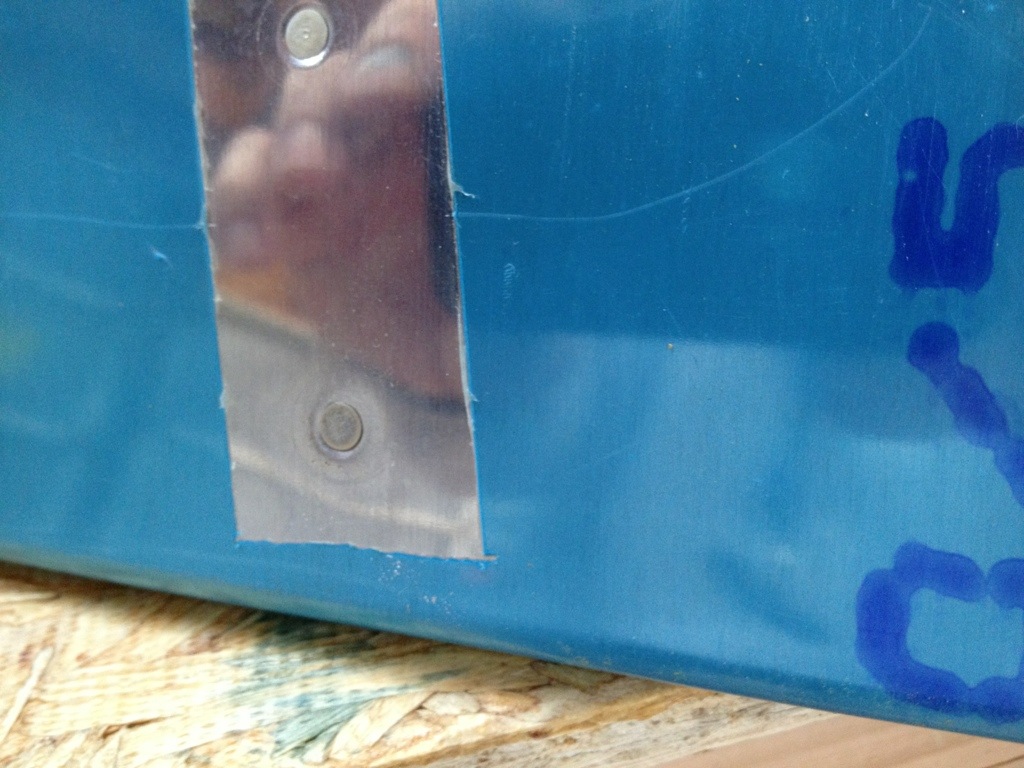
While I had the rudder set aside, I worked on the elevators.  I back riveted all of the stiffeners to both skins.  Unfortunately I discovered I had not drilled, dimpled, or primed the trim reinforcement plate.  I caught up on that work as quickly as one can.  Unfortunately, after I set all of the rivets, I decided two rivets need a couple extra taps.  Not paying attention on the second rivet, it was slightly off the back riveting plate.  Its pretty nasty looking, but structurally ok.  I did my best to take as much of the dent out as possible.  This will be one area that will certainly have to have some touchup prior to paint!  Thank god it son the underneath!

Here’s the back riveting setup.20130526-221210.jpg

I had two rivets towards the trailing edge not come out perfectly.  I decided to drill them out.  20130526-221242.jpg

20130526-221250.jpg

20130526-221339.jpg

Drilling them out went perfectly and the new rivets seated perfectly. 20130526-221345.jpg
20130526-221406.jpg

Here’s the trim reinforcement plate that I had totally skipped…20130526-221414.jpg

And two photos of my oops… 🙁20130526-221427.jpg

20130526-221439.jpg