Lots to report in today’s post. First up, I was able to sit in Jack Savage’s front cockpit, as well as take a look at Alan Billings’ setup. I’m in the process of thinking through the entire design of the cockpit and ergonomics are an important part of this. Alan has a unique modification for his tip over canopy that I love and totally plan to replicate. He has created a self locking arm for holding the canopy up and preventing it from falling in either direction. Here are some photos. 


After my cockpit tours, I got back to work on the cockpit floors. Lots of match drilling for floor stiffeners to complete. 
I also put the rear seat together. Because I’m doing a fastback conversion, I do not yet have the final piece for the top of the rear seat. In the meantime, I match drilled and deburred the parts I do have on hand. 
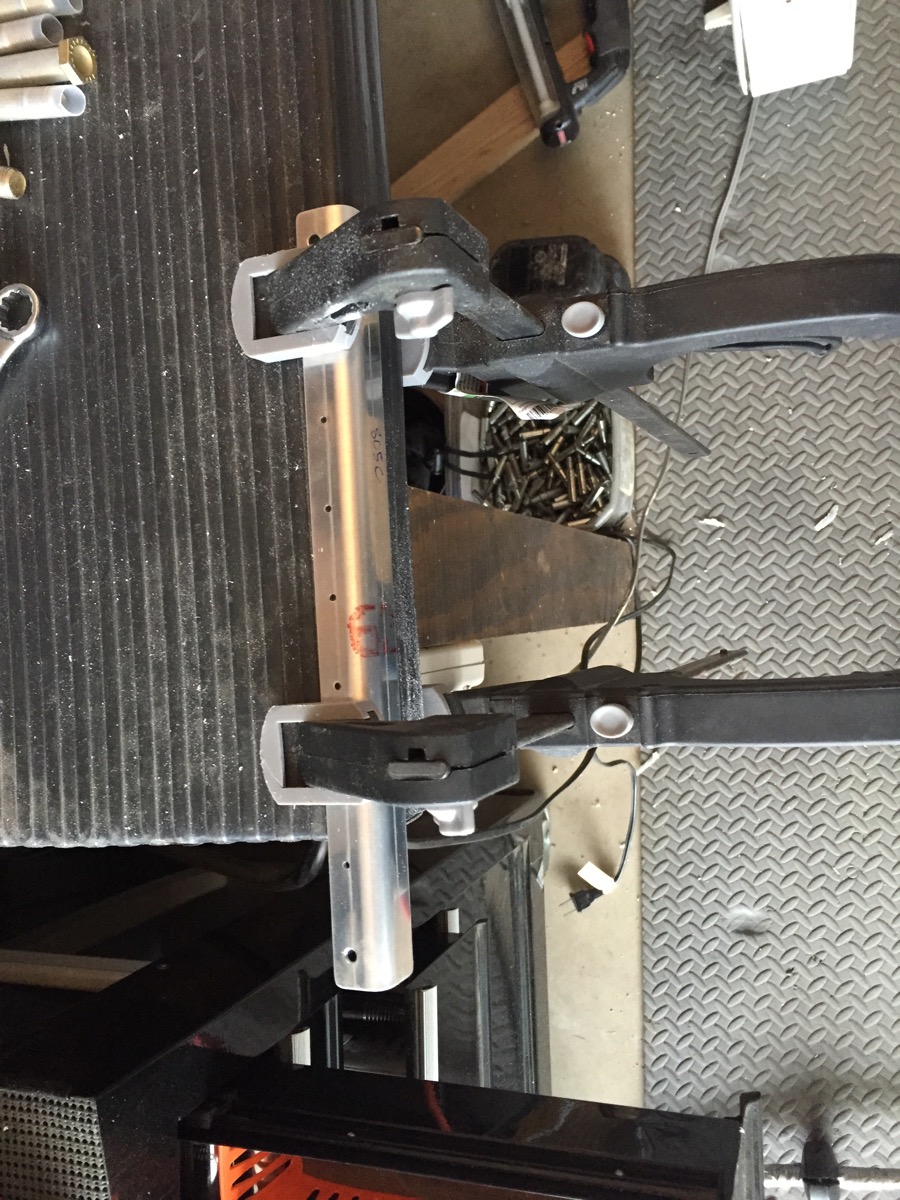
In order to completely match drill the structure for the back seat and the floors, I needed to complete the rear seat hinge. First step, cut to length.
This calls for removing four eyelets from the center section to allow access for two separate hinge pins to be inserted from the middle. Here I have marked the eyelets for removal. 
And the end result: 
Note the centerline marking required to remove the correct eyelets. Never skip a chance to mark something. Most of my mistakes occur when I don’t take the time to clearly mark and annotate. 
Next up, time to match drill the hinge pin to the bottom of the rear seat. 
Here is the rear seat all together. 
In order to install the hingepin on both the bottom of the seat and on the floor, you need to drill alignment holes per Van’s diagrams. Then use a center line to align the remaining holes. Cleco, match drill and done. 

The hinge overlaps two floor panels. As a result it is necessary to fabricate a shim. The shim prevents a bow in the hinge and will allow the hinge pin to be easily removed. 
I also bought a tool pouch to cut down on the amount of time I spend looking for tools in the hangar. I really like it. Its just the right size for the most common tools, and isn’t so big that its cumbersome or uncomfortable. 
Lastly, I began playing with the instrument panel design. My intent is to have a redundant and capable IFR platform. I will expound more on this in a later post, but for now here is my first legitimate design.
Front and center are two Grand Rapids HX EFIS displays. Working from left to right we have the TruTrak Gemini backup gyro, a PS Engineering Audio panel, an iCom radio (this may change), a Garmin GTN 650 GPS/NAV/COMM (the most expensive bit on here) and the Grand Rapids Engine Information System (EIS). The compass isn’t going to stay where I have it in this picture. Finally there will be an annunciator panel located at the top center. Why an annunciator panel? I want the clearest, loudest, and brightest notification of any will-kill-me-quickly problems that can occur. I’ve boiled this down to a Master Alarm (catch all), Oil Pressure (engine is about to quit), Low Fuel (engine is about to quit because its out of fuel), and Alternator (degraded capability if I’m IFR) warnings. I do not plan to include status indicators in the annunciator panel. Only dire warnings. I’ll have indicators elsewhere for other functions. 


