Fastback 22
Long day in the hangar today, but an exciting one! I finally can officially say I’ve begun work on the canopy!
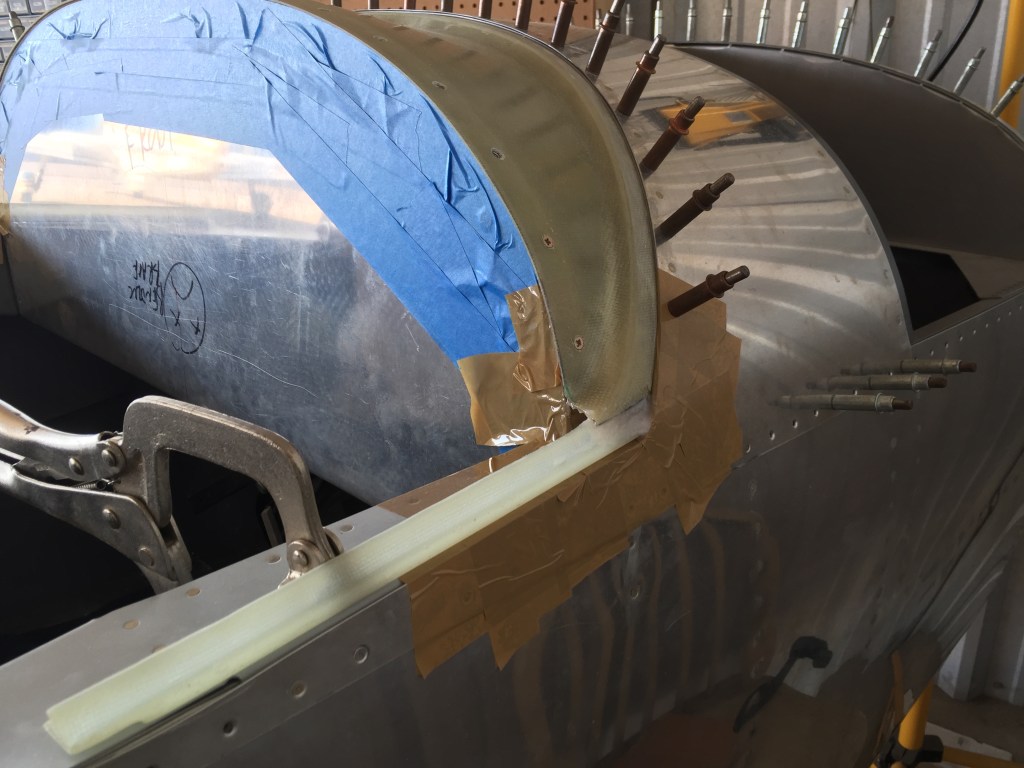
Step number 1 is to place the canopy frame in place, and ensure proper positioning. This is done in two ways. First you measure the canopy frame from the front. The foam insert should be approximately 3/4 of an inch behind the skin reinforcement shown here.
Next select four points on the frame. (Basically the corners). The points should be on the same position relative to one another. Here you can see the points I selected on the right hand side. I then mirrored these points to the left side. I measured these four locations to the joggle. And by joggle, I’m referring to the line where the canopy and canopy skirt will intersect. I also selected four points on the outside of the canopy frame and measured here. Finally, I used a level to check my sanity. (Don’t use the level as the primary method of positioning the canopy frame.)
After I was positive the canopy skirt was positioned properly I marked the forward cut line, and the points at which the rails intersected on both sides.

At this point, I needed to return my attention to the instrument cover. The next step requires the instrument cover be installed to check the fit of the canopy skirt after trimming to ensure there isn’t any contact between the forward foam reinforcement (used to measure the 3/4 inches above).
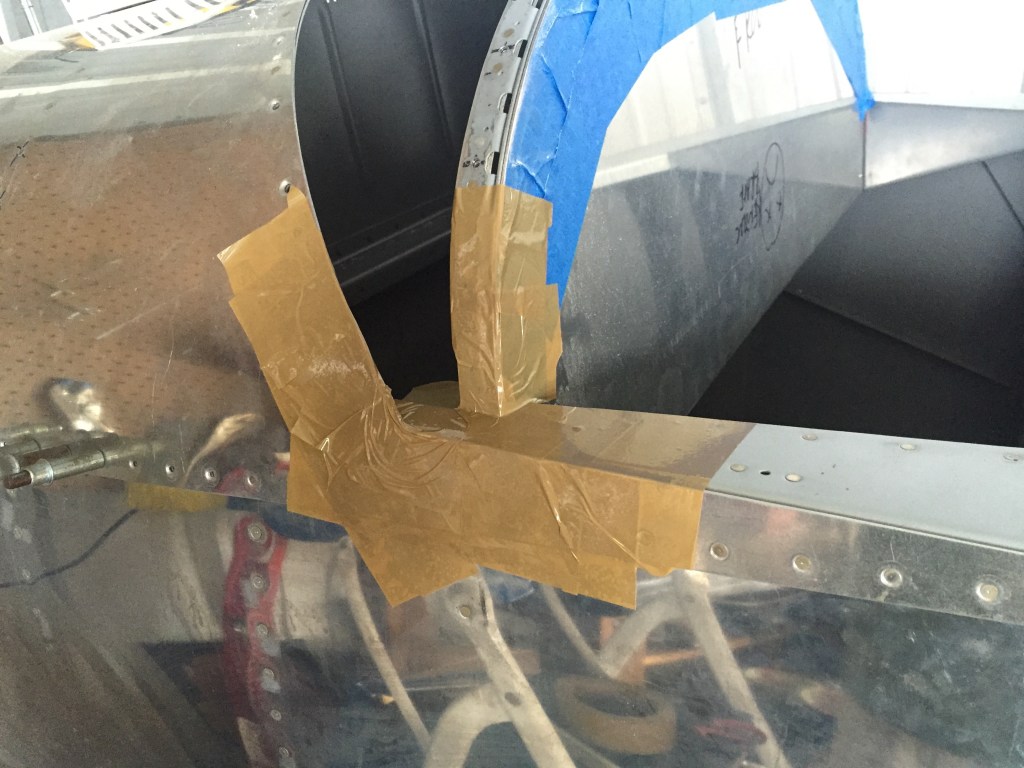
Here you can see the intersection from the fillet on the right side.
And the left side.
I installed all the nut plates so that I could be 100% sure the instrument cover was properly positioned.
Here is the canopy skirt after trimming with the instrument cover installed beneath. Note, that the cover does NOT go forward of the skin, and nests on the canopy cover. The result is a smooth transition.
I also did the initial trim on the right side in order to begin the hinge installation. Be careful. Always measure twice, and when cutting err on the side of leaving extra material. Its easy to make small adjustments with a dremel and file to remove a little more material.
At this point, there aren’t too many more pictures, or much to explain, however there was a lot of time spent. I carefully filed the forward intersection for a nice fit. This required multiple instances of installing the frame, and then removing. Each time checking for alignment. I do not need to make it perfect at this point, but my goal is to incrementally adjust this puppy with the end result being a very true and flush fit.


