Service Bulletin 14-01-31 (1)
After my last session in the hangar, I decided I would make a list of projects to complete while waiting for the painting of the cockpit interior. There are several things I could continue to work on inside the cockpit, but I’d like to avoid removing items only to later reinstall to the maximum extent possible. With that in mind, the first task on the top of my list is a big on. Service Bulletin 14-01-31. If you’re a builder or a flyer of Van’s Aircraft, you’re likely already aware of this one. Van’s identified cracks in the front spar of the horizontal stabilizer and issued this service bulletin as a corrective measure. Technically, to comply with the SB, you do not need to make the modifications until cracks are detected. However many people, myself included are doing it as a preventative measure. That being the case, this is no small or easy project.

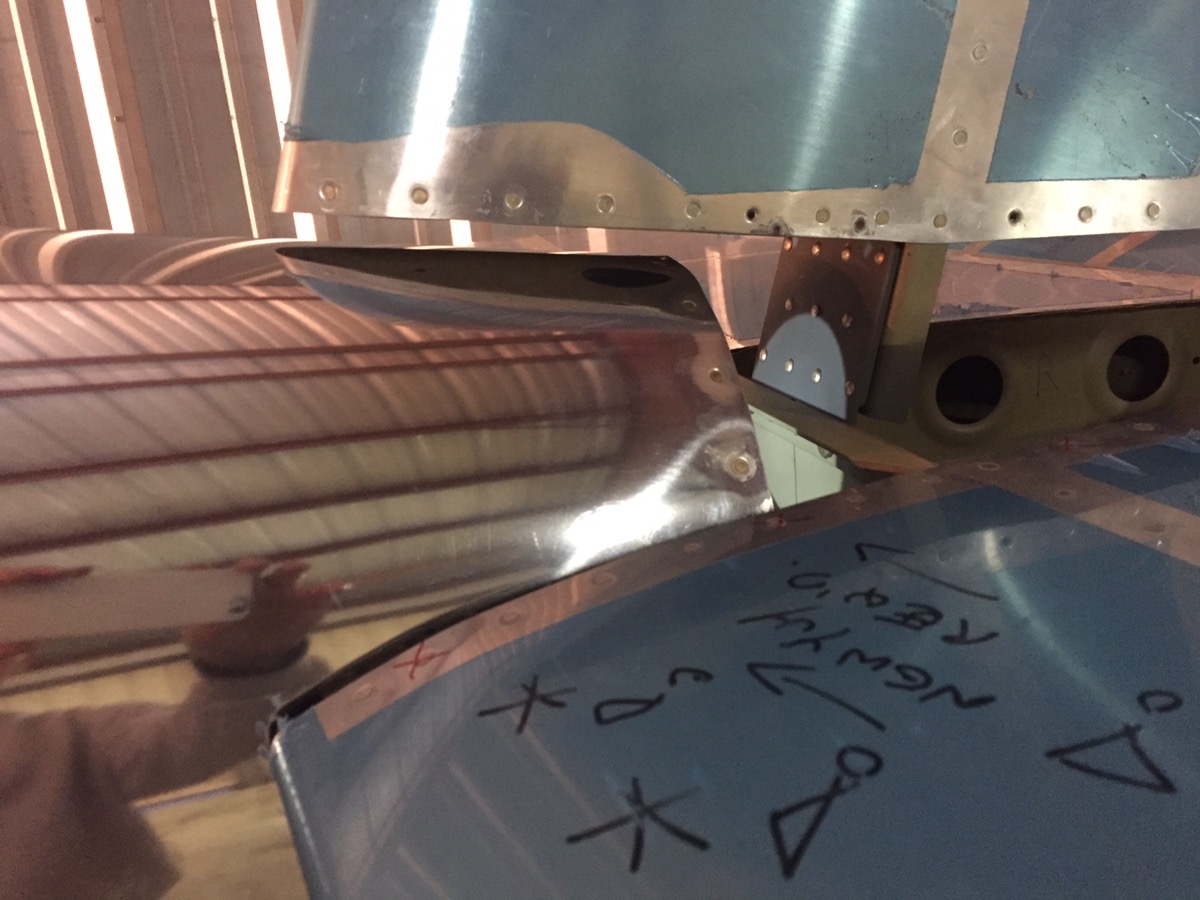
In a nutshell this SB adds two reinfocements to the front spar at the point they intersect with the first rib. You can see these reinforcements in the following photo. To accomplish this, the innermost ribs and both reinforcement angles must be removed. What makes it tricky is that some of these rivets will be difficult to access, and therefore the likelihood of making a mistake is fairly great. I’ve given a lot of thought as to whether or not to do this now, or to wait. Its not going to become more enjoyable with time, and I certainly won’t want to do it after the airplane is flying and painted! 
I’ve given careful consideration as to how I’m going to do this. I have an excellent rivet removal tool that makes the rivets it can access a breeze to remove safely and properly. Using it, I removed all the rivets in the skin, per the directions on the top side of the stab. The instructions call for removing all the rivets connecting all four ribs (2 per side) to the skin, plus the two most inboard rivets from the front spar. Some other builders who have completed this repair have removed more rivets on the skin in order to gain better access. For now, I’m sticking with the instructions, and I’ll deviate if and when it is necessary to do so. I’m giving some consideration to buying new ribs and angles as a prevantive measure as well. For now, I’m going to see how removal goes, and I will replace parts as appropriate. Here you can see what I accomplished tonight. (I also had to remove the horizontal stab from the fuselage)
As you can see, the rivet removal tool and good technique leaves a flawless result. If I can manage this on the inner rivets we’ll be in business!