Fuselage 31 – Elevator and rudder attach
Lots of tasks for today. First up I needed to finish the elevator installation. This required three tasks; trim / notch the rear spar to allow full travel of the elevator horns, trim the right horizontal stab skin to allow clearance of the counterweight arm, and finally match drill the bottom of the elevator horns for connection to the control rods.
I tackled the control horn, with the help of my buddy John, first. The process is simple. 
First, measure the required edge distance per the drawings (3/8″ from the front and bottom of the AFT MOST horn). Then drill a pilot hole.

Use a drill press to drill a block of wood that fits neatly between the two horns, and use this as a guide to keep the drill perpendicular and even. Clamp the block in place and final drill, keeping a careful eye that the drill is level and perpendicular. 

Next up, notching the rear spar. I reinstalled the horizontal stab quickly to mark the required section for removal.

I forgot to take pictures of the end result before mounting the stabilizer on the fuselage. Here’s a photo after its mounted.
 Now its time to turn my attention to installing the static lines. I’m using the basic Van’s static kit. Yes, there are more expensive ones. Yes, some people don’t like the look of the stock pop-rivet static ports. I think they look fine. Reports indicate they work as good, if not better than pricier alternatives. Replacement will be simple! For the RV-8 the static ports are placed 4 inches below the longeron and 1 inch forward of the second bulkhead aft of the rear seat. (Both measured from the rivet centerline). Drill and install the pop rivets. I then used a hammer to pop the center portion out the back side. John held a block of wood to make the job clean and easy.


Time to continue work on the control system installation. I riveted together the bell crank that is aft of the rear seat and connects the two elevator control rods. 
We also started installing the upper bulkheads. The aft upperdeck will soon be installed.

A few remaining items for the control rods. I still needed to prime the inside of both the elevator control rods, and rivet one.

My plane is going to be a mix of orange, silver, dark grey, and occasional black. I’m planning to make some internal parts bright orange. Here you can see all the push rods during painting. As these will not really be visible, I’m just using cheap rustoleum rattle can paint. As these parts were primed quite awhile ago, I scuffed the primer with scotchbrite and then wiped with acetone before applying the paint.

I reinstalled both stabilizers, and the control surfaces. Absolutely no binding. Everything seems to be precisely as it should be. I’m very happy so far. 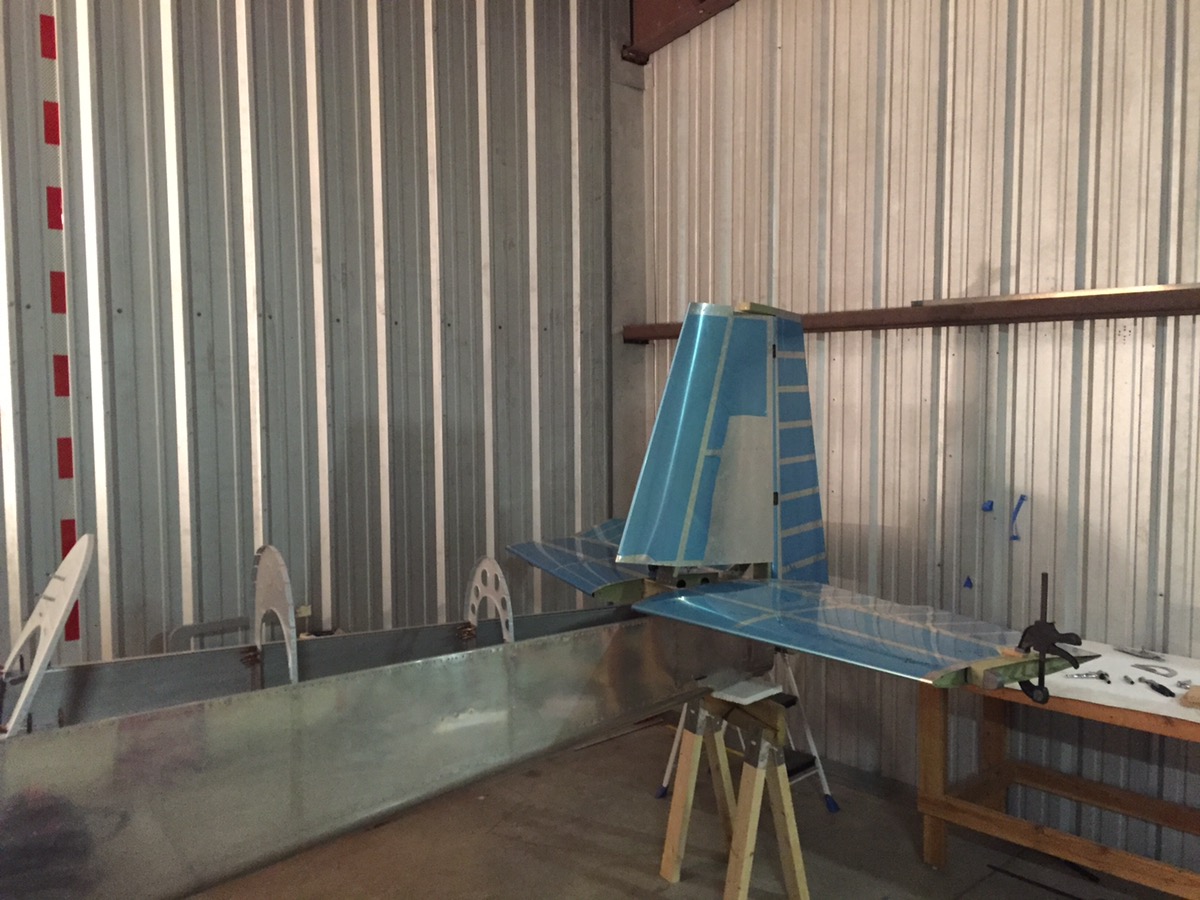

I made several holding clips for routing the static tube and primed those as well. 
Next time, it will be time to complete the controls!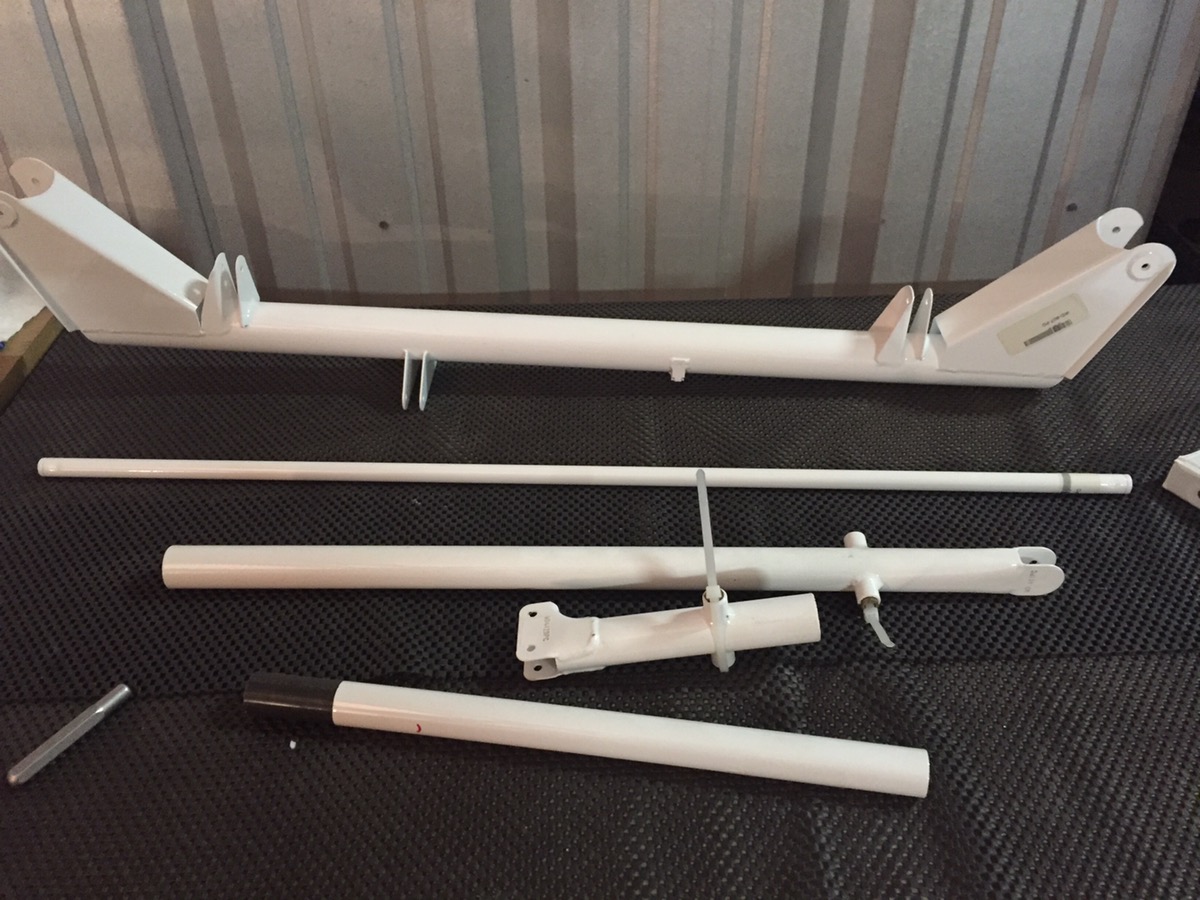
Session time: 9.0 hours