Monthly Archives: July 2015


Paint Booth

I continued work on the paint booth over the weekend. The first layer of plastic is super thin, and I should have known, not sufficient to withstand the negative pressure (it was cheap!). Regardless it serves a good purpose to create a semi-clean workspace in a barn, that is anything but!  

My first order of business was to install the furnace filter intakes, and the fans facing outward.

Next I began installing the thicker 4mil plastic. I completed both of the walls and most of the ceiling. Then I used 3.5 mil plastic for the two end walls.

The thicker plastic is only 10 feet wide, so I have a small strip on the ceiling at this point that will require some additional plastic.  

I used furring strips to hold the plastic to the wall with 1/2 inch staples.
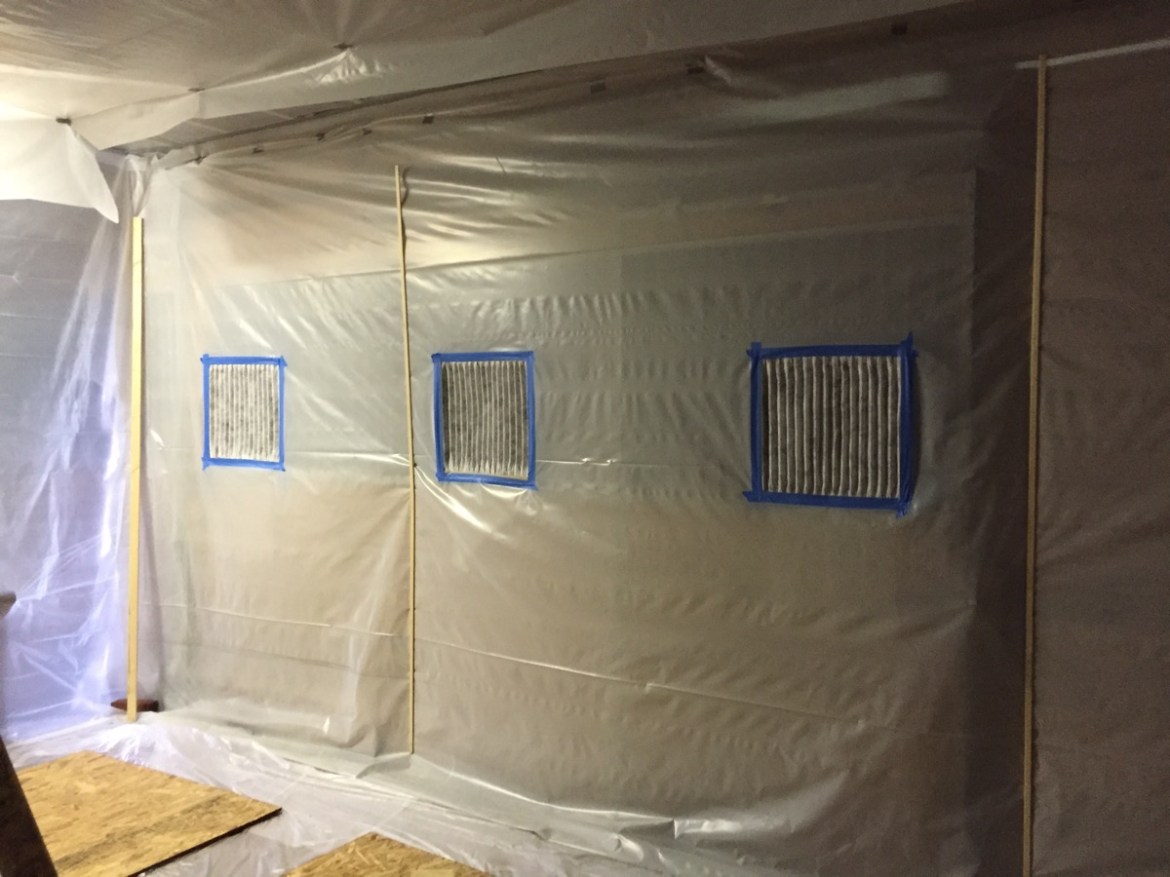
  

In the next shop session, I finished the ceiling segment and installed another layer of the 0.31 mil plastic underneath the “floor” boards shown here. I then taped the floor seems with duct tape. Show in this photo is the condition of the booth with both fans on. The negative pressure is rather intense, but everything is holding up just fine.

Another photo of the negative pressure effects.   

As you can see the floor billows out a little but the spare wood holds it in place. Bricks hold down the walls, and I still have a few furring tips to install. I also have some 1x1s to install in the corners. After that a little more duct tape sealing and some stapling and the sealing work will be essentially complete.
  

This photo is the entrance. The entire wall is a sliding barn door. Since this will be the entrance point, I can’t use a furring strip. The heavy duty rubber mats I have act as a good seal for the bottom. To close the door on the right and left I will use duct tape and possibly a board that I can screw and unscrew for opening the door.

I still need to hang the four lights, and then complete the sealing work and this puppy will be ready for action.


Finish kit + cowl and extras

A few months ago, Mike Regen stopped by my hangar while fueling up at KDMW. We’d not met before, and its always good to meet a fellow builder. Mike is building an RV-8 in Gaithersburg, Maryland. He invited me down to look at his build, with a big bonus of potentially having several spare items for sale. This weekend I was able to make the trip down.

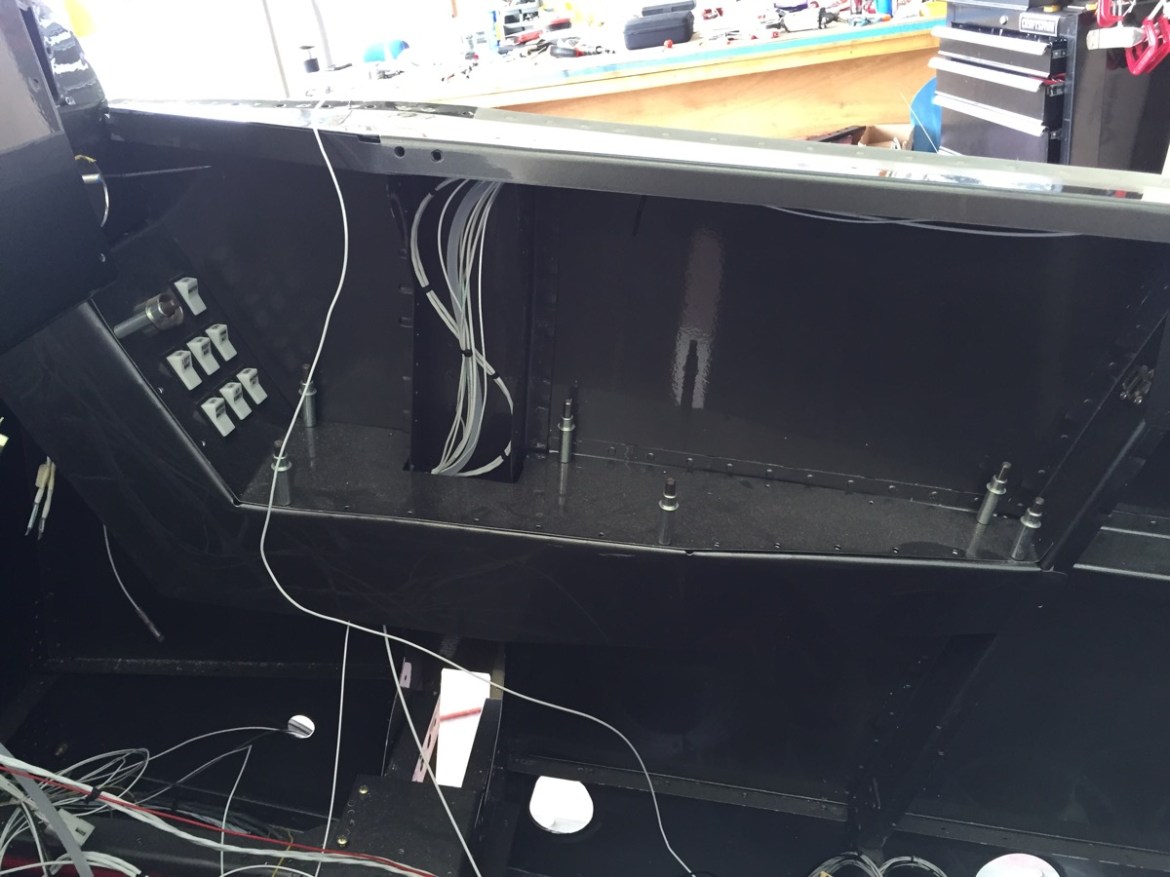
There are a lot of customizations on Mike’s RV-8 that I really like. Here is the first one. He’s built a custom housing for the GRT EIS that mounts in the lower left of the cockpit. He was even nice enough to give me the template for it, should I chose to go that route.  

Here is what it looks like with the EIS in place.

Mike has also installed the larger side consoles with the inclined section for buttons. This is a mod I’m particularly fond of, and I’m giving more than passing consideration to doing this as well.
  

Here you can see the EIS in its final location.

I took several photos of his firewall forward setup, as I plan to install the Sam James plenum, but not the Sam James cowl. The RV-8 requires a prop extension if you use their cowl, and while it is necessarily a show stopper for aerobatics, I see absolutely no reason to extend the arm on which all those forces are acting. Instead, I plan to modify the Van’s cowl for the Sam James inlets and rings.
  

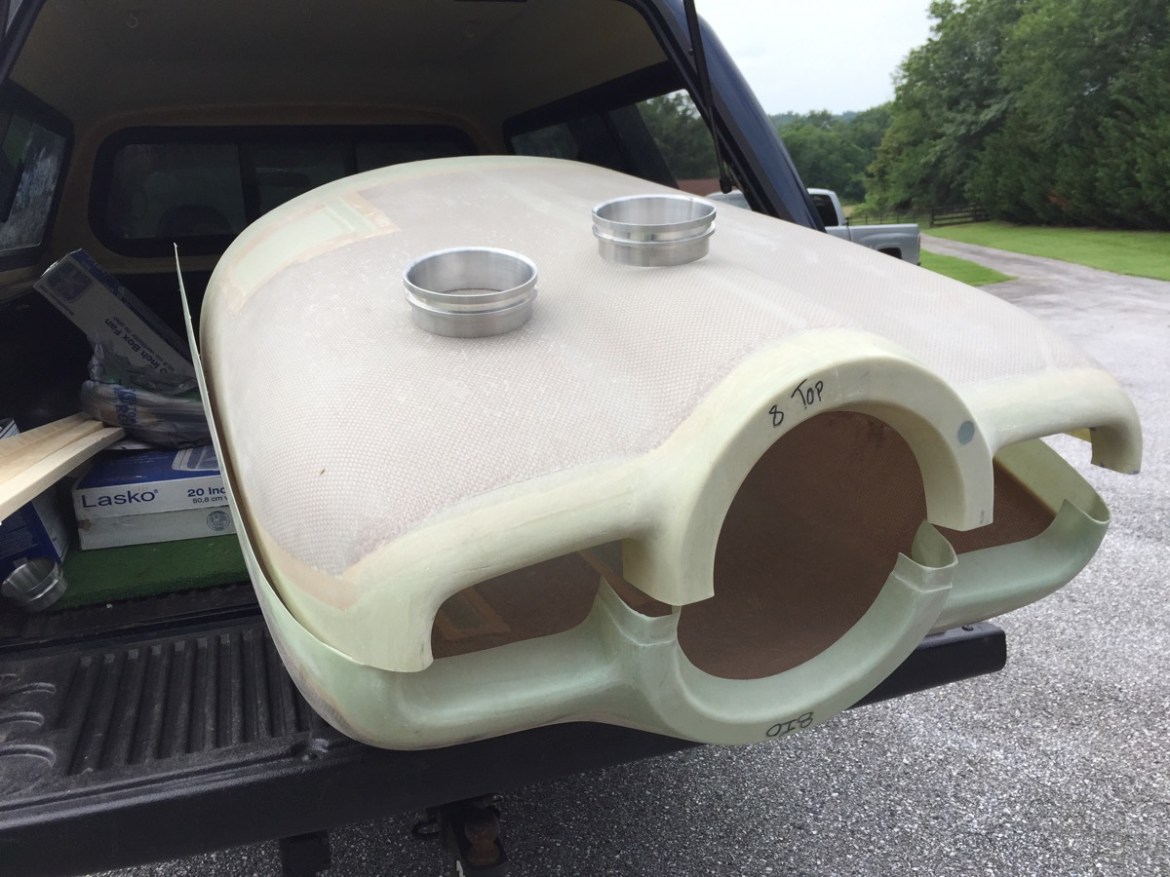
Speaking of the cowl… Mike also had the original Van’s cowl, and he was willing to part with it! I purchased several items from Mike, to include the cowl, axles, Sam James inlet rings, Sam James insert, and a brake reservoir.   

Here you can see the Sam James inlet rings.

This is the eventual modification I will need to make.   

Moving on, I began installing my filters to my compressor in preparation for painting the interior of the fuselage.

I have a large filter / condenser at the tank, and another smaller one at the end of the hose. Additionally, I have some disposable filters, if that is needed.   


I’ve saved the biggest news for last. I ordered my Finishing Kit from Van’s this week! Between the items purchased from Mike, and the items deleted from the Showplanes order, the kit was about $2000 cheaper than normal. I also removed or switched several other items such as the tires and tubes. I am going with the light weight closed bearing tailwheel, and I also added the seat cushion set. I want the seats done sooner rather than later so that I can accurately plan cockpit ergonomics.


Fuselage 15 (3.5)

First off, I have a hangar laptop! We had an old, very old, Sony laptop laying around the basement. The laptop is probably vintage 2006, and was anemically running Windows 7. It was so slow it was almost unusable. It probably was last used in 2010. I decided to re-purpose it. I wiped Windows off the system and replaced it with Lubuntu a light version of the Ubuntu Linux OS. Now the laptop runs just fine, and I will keep it at the hangar in an attempt to keep better track of things via this blog. Further, I can use it for research and probably most importantly; Pandora.

Secondly, Bryan from Showplanes contacted me. He has received my final payment, and hopes to have the kit shipped in the next two weeks. He also spent some time with me discussing canopy options. I have been looking at Todd’s canopies, but I think I will stay with the standard Van’s canopy.

I also spoke with Van’s about the parts I was missing in a previous post. The side consoles are missing, and it turns out they are supposed to be installed as part of the quick build fuselage! As a result they are sending me the replacements free of charge, and I included a couple of odds and ends to include a plans CD so that I can have the electronic plans on hand. We also discussed engine mounts, and he corroborated my research that the dynafocal 1 is the most common. As a result, I will soon submit my finishing kit order. I have multiple parts I will be deleting from the order. Those parts not needed due to the fastback conversion kit, and I will also leave off the rubber engine mounts, the tires, tubes and tailwheel which I will replace with other parts.

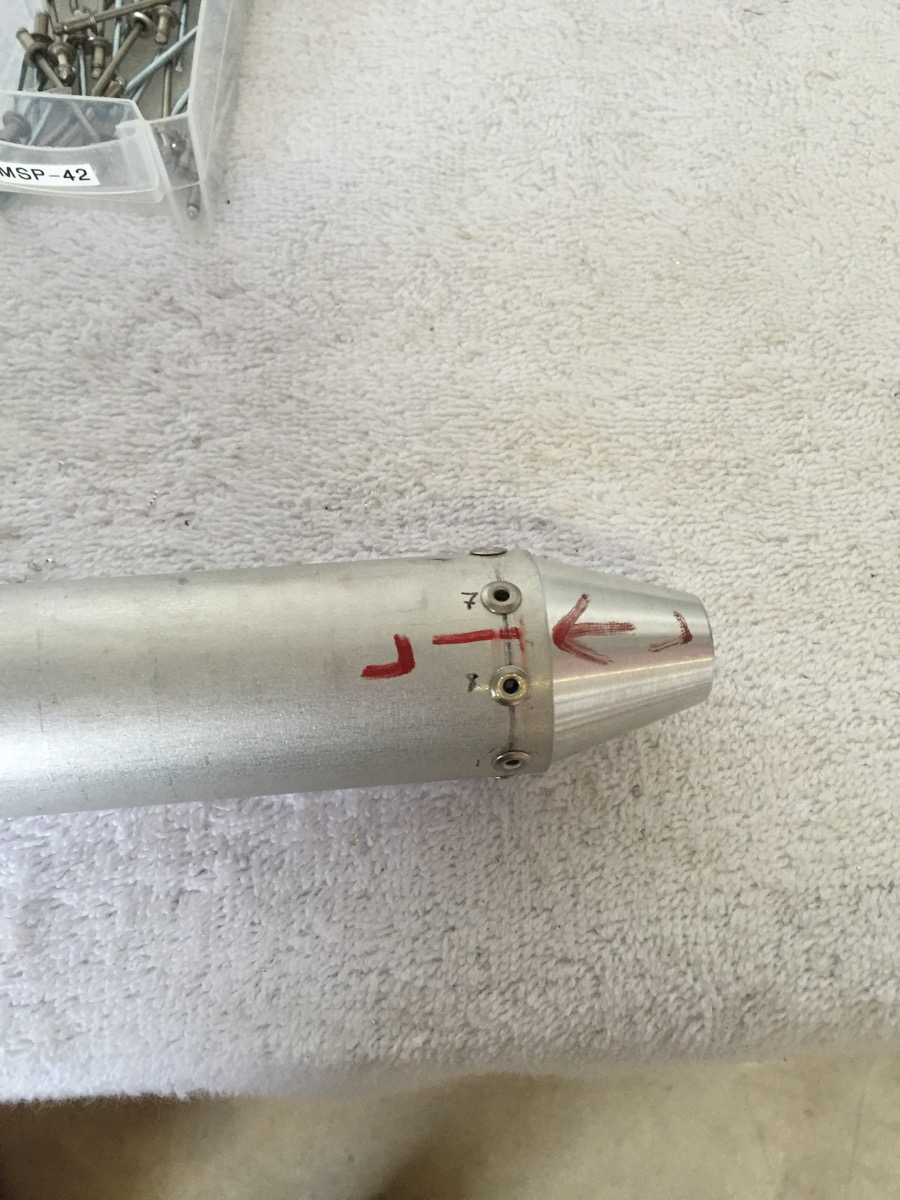
With all of those updates out of the way I turned my attention back to the fuselage. I’m essentially ready to either prime or mount the empennage, so I’m going through the instructions and picking out parts that I can prepare for priming in advance of when they are needed. I began this in the last post with some parts for the elevator horn. Today, I turned my attention to control rods. Van’s will tell you to cut a piece of paper to the circumference of the pushrod and then fold it in half three times in order to create the 8 equidistant rivet holes.  

I do essentially the same thing, less the folding. I measured out the circumference, divided by 8 and then measured that out.  
  

The pushrod will need to be primed both inside and out, but Van’s tells you to clean out the inside and rivet the rod ends before doing so because the rod ends can be darn near impossible to insert after priming. Here’s the result.  

I repeated the above process for the other pushrod. This one will need to be primed prior to final rivet for rather obvious reasons. I finished off the evening session by drilling the second control rod.