Fuselage 15 (3.5)
First off, I have a hangar laptop! We had an old, very old, Sony laptop laying around the basement. The laptop is probably vintage 2006, and was anemically running Windows 7. It was so slow it was almost unusable. It probably was last used in 2010. I decided to re-purpose it. I wiped Windows off the system and replaced it with Lubuntu a light version of the Ubuntu Linux OS. Now the laptop runs just fine, and I will keep it at the hangar in an attempt to keep better track of things via this blog. Further, I can use it for research and probably most importantly; Pandora.
Secondly, Bryan from Showplanes contacted me. He has received my final payment, and hopes to have the kit shipped in the next two weeks. He also spent some time with me discussing canopy options. I have been looking at Todd’s canopies, but I think I will stay with the standard Van’s canopy.
I also spoke with Van’s about the parts I was missing in a previous post. The side consoles are missing, and it turns out they are supposed to be installed as part of the quick build fuselage! As a result they are sending me the replacements free of charge, and I included a couple of odds and ends to include a plans CD so that I can have the electronic plans on hand. We also discussed engine mounts, and he corroborated my research that the dynafocal 1 is the most common. As a result, I will soon submit my finishing kit order. I have multiple parts I will be deleting from the order. Those parts not needed due to the fastback conversion kit, and I will also leave off the rubber engine mounts, the tires, tubes and tailwheel which I will replace with other parts.
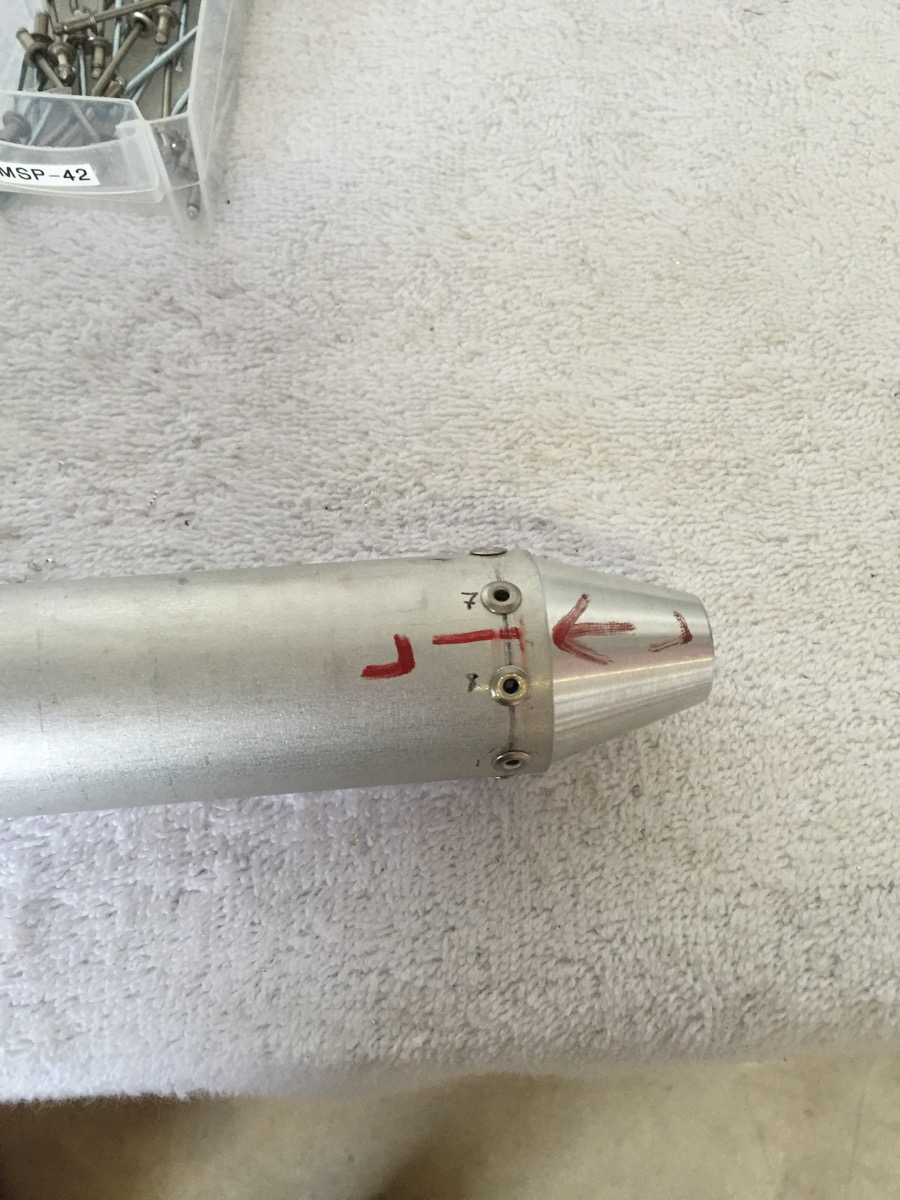
With all of those updates out of the way I turned my attention back to the fuselage. I’m essentially ready to either prime or mount the empennage, so I’m going through the instructions and picking out parts that I can prepare for priming in advance of when they are needed. I began this in the last post with some parts for the elevator horn. Today, I turned my attention to control rods. Van’s will tell you to cut a piece of paper to the circumference of the pushrod and then fold it in half three times in order to create the 8 equidistant rivet holes. 
I do essentially the same thing, less the folding. I measured out the circumference, divided by 8 and then measured that out. 


The pushrod will need to be primed both inside and out, but Van’s tells you to clean out the inside and rivet the rod ends before doing so because the rod ends can be darn near impossible to insert after priming. Here’s the result. 
I repeated the above process for the other pushrod. This one will need to be primed prior to final rivet for rather obvious reasons. I finished off the evening session by drilling the second control rod. 
