Posts


Triple Tree Fly-in   Recently updated !

Mike Bullock and I flew in his RV-7 to the Triple Tree Fly-in. This was our first time to the event. We had originally planned to make a multi-day event of the trip, but we both wound up wanting to do a shorter trip. We settled on a one night excursion. We departed mid-morning on Friday, September 6th. Mike is really excited to be getting his instrument rating later this fall. He needs 10 hours with a CFII before his accelerated course in December, and I was more than willing to help him out.

We took off and encountered a beautiful broken layer to the south.

IMG_2289

Not too long after take off Mike put the foggles on, and I gave him some practice climbs, decent, heading changes and the like.

IMG_2291

I also had him practice flying along an airway and tracking a course. It was a good introduction to instrument flight with the added benefit of taking us to SC00!

IMG_2293 (1)

The arrival procedures from the NOTAM were dirt simple. Combined with light traffic, getting it was a breeze. The Triple Tree Aerodrome – is a gorgeous setting. We were parked right under the trees, and immediately made friends with our neighbors. I was somewhat blown away by the location.

IMG_2302 (1)

IMG_2299

Triple Tree is no where near the size of Sun N Fun or Oshkosh. There aren’t really any vendors – or public attending. Lots of people arriving and departing were cleared for low approaches. We did go checkout their hangar and facilities.

IMG_2308 (1) IMG_2311 (1)

Friday night featured a sample feast with 19 restaurants contributing to the all you can eat extravaganza.

IMG_2321 (1)

IMG_2320 (1)

IMG_2311 (1) 58956009499__7CA447C7-6471-4565-922F-572DD3D1E2E8

While only at Triple Tree for one day – I was impressed and had a great time. If you’re looking for something like Oshkosh, look elsewhere. If you are looking for a gorgeous location with a laidback atmosphere to hang out with good friends – this is your place. I can totally see coming back here in a larger group, and or with someone bringing their own camper / RV. You could really have a good little airplane based vacation!

On the way back, Mike did more instrument work. I had him shoot two approaches and a hold. He did very well, although we both have a learning curve for his GRT avionics.

Helicopter Intro for my mum

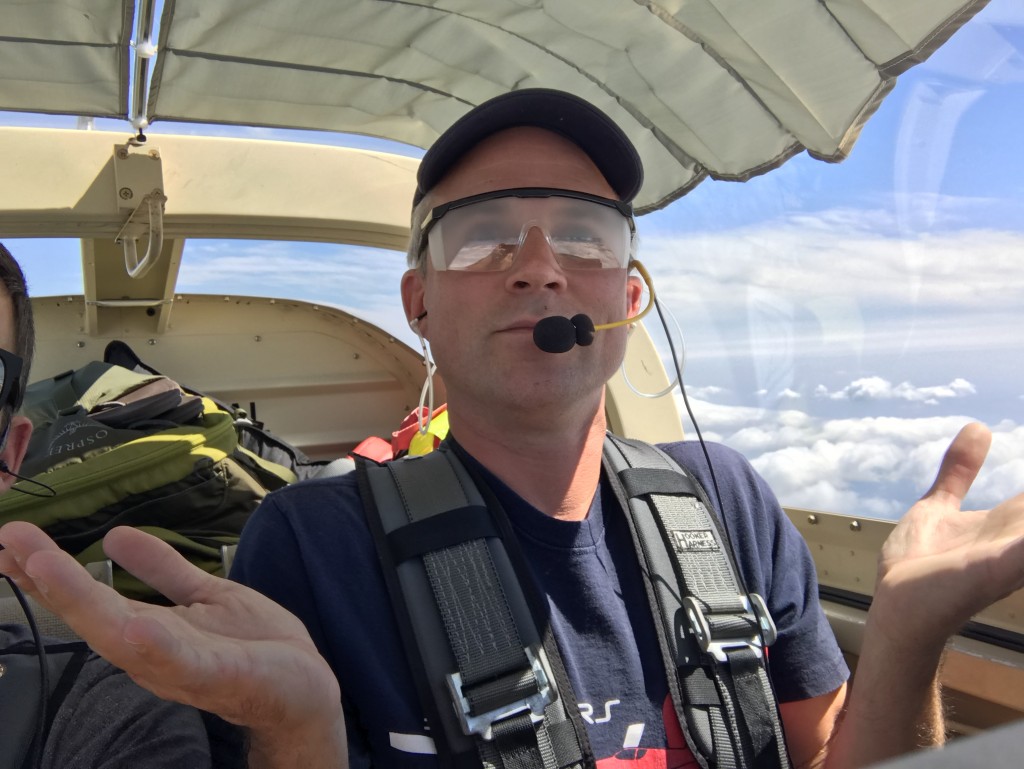
Its been on my list for awhile to land the helo at the farm and give my mom a ride. My original plan was to do a tour of all the places we lived growing up – there were 7 farms from the time I was born until I left for college at 18. Unfortunately, I didn’t have time to do them all, I did however hit two of the biggest ones.So I grabbed the R22 from Frederick and landed on the front lawn. I grabbed a quick selfie, and Cristina grabbed a few photos of me getting my mom strapped in.

IMG_2281

IMG_2240

IMG_2245

And then we were off!. I flew east from Littlestown PA, crossing south of Hanover PA. The first location on the tour was the farm we lived at while I was in high school. This was the closest to suburbia I ever lived, but it was also one of the best places we lived because I went to South Western High School. South West is one of the best public schools in the region, and its the school I claim as my alma mater. Of the 5 school districts I attended growing up, I only have only kept in touch with friends from two of these schools. Many of my closest friends today were made while living in Hanover PA.

The arrow shows our house, while the circle outlines the farm. The barns are still standing, although much of the area around has since been developed. The farm was formerly part of the Lana Lobell Standard-Bred farm – a huge farm in the Hanover area that had gone defunct some years earlier.

IMG_2461

Next we flew over Codorus State Park (cleanest water in the State of PA) and Lake Marburg. Between my knob year and sophomore year at The Citadel, I came home and had a job renting boats at the marina here. One of the best jobs I ever had!

IMG_2462

IMG_2249

Then we flew over our farm in Brodbecks PA. This was the first farm my mother purchased. It was rough when she moved in, and she made it quite nice. I’m sad to say it has not been well maintained in the 27 years since she sold it. The only thing I can tell that has been improved is perhaps new roofs on some of the structures. Everything else looks like its gone completely uncared for. Sad – it was quite a cool little farm. I lived here from the age of 3 to 10 years old. This is the only other school district I count among my current, and lifelong friends. Susquehannock High School – Southern York County (neighbors the best school district – South Western) is another great school.

IMG_2463

My buddy Dusty Wolfgang lives just around the corner from the farm – in fact the entrance to the farm is at the bend of the road between the Snyder and Wolfgang Estates. I’ve known Dusty since I was 3 years old – so thats 34 years now. My good buddy Zack Snyder’s parents moved to a home also located on this road. Their house, a log cabin I believe, is hard to photograph from a moving helicopter. (Note – my mother took all these photos!)

IMG_2464

The last place we flew over before heading back was the house of Skip Hoover – Chad Hoover’s father. The rail road tracks / creek on the left of the photo are the dividing line between South Western School district where I went to high school, and Southern (Susquehannock) School district where I went to elementary school. Chad and I became really good friends in high school, and I wound up introducing him to some of my friends from elementary. Skip’s house is a quick bike ride from where I lived on the farm in Brodbecks. In fact, Dusty Wolfgang’s parents live on the other side of the tracks just a bit further down this road. Chad and I are still close friends – and he’s lent a hand here and there to this plane project. In fact – he’s done more for this project than anyone I know – from multiple assists in the building of the garage to the installation of the radiant heating system. Chad’s been a stand up guy. Dusty and I used to bike between each other’s houses – literally passing right in front of Chad’s house – not knowing years later we’d all get to know one another from my school district changes!

IMG_2466

Between Dusty’s house, the old farm, and Chad’s place – there were a lot of good times growing up. We used to ride dirt bikes all over these fields – none of the farmers in the area cared much, and we had a blast.

And then we returned by the same route we came. Here is my mother’s current farm from the air. I started work on the RV on the garage on this property.

IMG_2465

IMG_2272

The horses barely took note of the R22 coming in. A few looked up, a few took off at a canter, but nothing crazy. You can never tell with horses when, or what, will spook them.

IMG_2275

This was one of the best trips I’ve done in the helo. Getting my mum up for a ride, and the trip down memory lane was quite exceptional.


Empennage Fairing 1

Okay. Seems like every post in the past year begins with an apology about the lack of keeping the log up to date. Today is no exception. This post will encompass the past two months or so that I’ve intermittently worked in the shop. While I haven’t been good about updates, I have been doing an OK job of taking photos. I’ve recently started work again on the plane, with my first project to tackle all things related to the empennage. First among these was the empennage intersection fairing.

As I’ve done the fastback modification to the fuselage, my empennage fairing supplied by Van’s isn’t going to come close to working. My approach was to cut the fairing into three sections, and then fiberglass the gaps.

Here is the fairing sitting on the attached tail feathers. You can see the cut – there is an identical cut on the opposite side.

IMG_1956

IMG_1960

I put packing tape on the airplane to make clean up a snap. (Be sure to use some tape of decent quality – use cheap stuff like I did, and – well you’ll see a bit later)

IMG_1959

In addition to glassing the gaps created by the cut, I want to make sure I have minimum gaps and a nice tight fit. Here in the next few photos you can see some of the current gaps. I also want to use as few screws as possible for the attachment points.

IMG_1958

My approach to glassing it was fairly simple. I secured the fairing with clecos, and then put two strips of fiberglass over top. A thick 3″ strip, and a thinner 2″ strip.

IMG_1961

IMG_1963

I used my trusty bag of lead shot to weight down the front portion as there are no clecos or holes in this section. The bag of lead shot does a better job anyways!

IMG_1967

I also want my fairing to wrap around the front of the horizontal empennage just slightly. This is a pretty popular modification, and relatively simple. I can tell I am a bit out of practice, as my application of fiberglass here was a bit rushed and sloppy. I should have taken the time to split the front of the strips I was using, and have more careful measurements.

IMG_1966

Next, I removed the fairing, and applied flox underneath the outer strips to fill the void. I then applied two strips of fiberglass to the inside of the fairing. Don’t overdo the flox, the idea is just to ensure there are no gaps between the inner and outer fiberglass. Now, here’s another mistake that you should avoid. DO NOT fold fiberglass over from one side to the next. I know better than to do this. I even thought to myself when I did it – “I shouldn’t probably do this – its going to give me air pockets and be a pain later.” But, again, being out of practice I’ve forgotten to listen to my sensible side and did it anyways. My sensible side was right – it was problematic later on. End of the world? Certainly not. But a mistake I should have avoided.

IMG_1965

After it set up, I did some basic trimming and shaping. You can see its starting to really take shape.

IMG_1964

Now its time to start filling in the gaps. Use flox and micro as appropriate. Micro for flat surfaces – flox for anything near an edge or requiring any strength. I used a small amount of micro to fill in the gaps between the fairing and the surfaces. This micro was only a very small amount and served as a distance guide for a subsequent application of flox, and then finally a layer of fiberglass. This made the fairing a little thicker at points, but the gaps are gone and I’m hopeful the extra thickness will help prevent the empennage for curling / bowing due to heat changes.

IMG_2114

The rest of this story is primarily filling, and sanding. Repeat.