Canopy Work and New Toys

Not a ton to report in this post. I started reviewing my work on the canopy to figure out exactly what remained. I had not attached the hinge cover that blocks air so I attached that. I removed tape and prepared the final portions of the canopy. I didn’t document this with photos well.

IMG_1973

IMG_1971

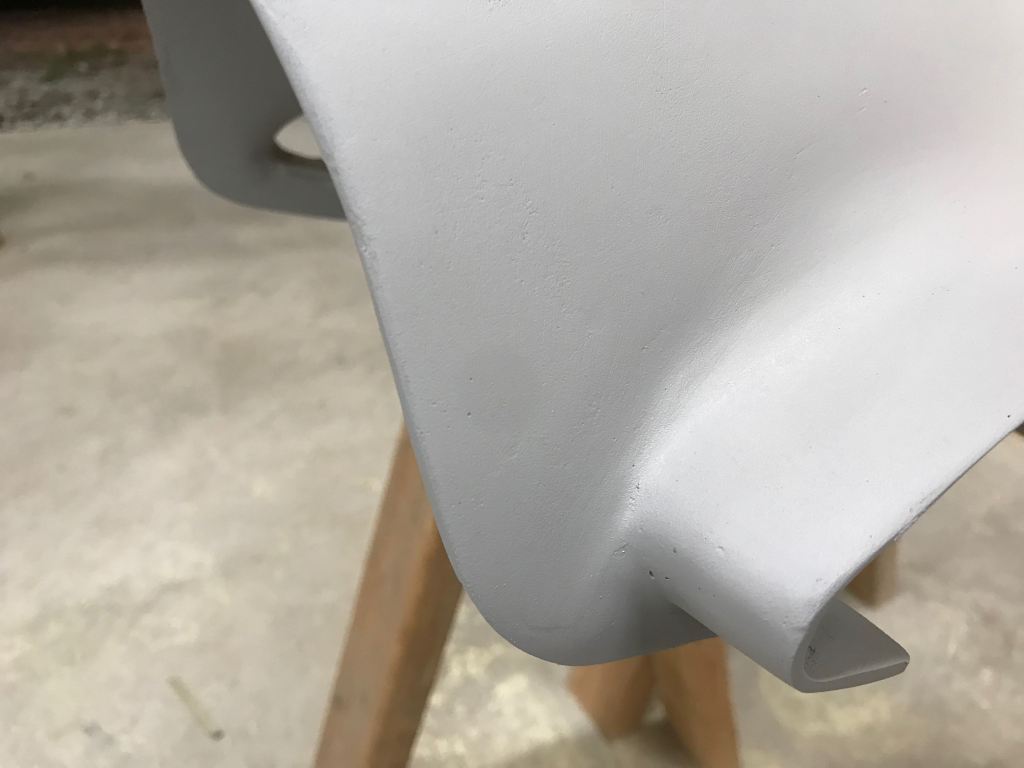
I also did some work on the instrument panel cover.

My current approach to work is to finish remaining work on the tail and the wings so that I can concentrate on the firewall forward etc. To that end, I made a number of purchases this week.

First, I bought the Garmin heated pitot tube (unregulated.)

IMG_2454

Next, I bought the ACK ELT.

IMG_2456

I also bought almost all of my lighting requirements from Flyleds.com. This included the 9000 lumen Seven Stars landing light (here’s the heat sink). The wingtip nav and strobe lights. (not shown)

IMG_2457

The tail strobe.

IMG_2459

I also bought the JD Air tailwheel arm, and still in the mail is a Doug Bell tailwheel fork. Also not pictured is the Archer wingtip VOR antenna. I only bought one landing light, as I wanted to see the build quality, and test the light against the Baja designs lights before committing to two. These purchases get me a lot closer to having most of the components required to complete the tail and wings.

IMG_2460


Empennage Fairing 2

Next up in the empennage fairing is basically cleaning everything up and making it a smooth surface. I use Rage Gold body filler for final prep. Obviously the outside needs to be smooth, but I also want the inside to be relatively smooth so that it doesn’t scratch things too badly when taking it off yearly for inspection.Using two saw horses a great way to position the fairing for work.
IMG_2152IMG_2155

After filling everything to my satisfaction it was time for a layer of filler primer. This serves two purposes – first its going to need to be primed anyways and fill pinholes, but secondly it also serves to make flaws more obvious. Areas that aren’t smooth enough, are poorly rounded, or aren’t flat will show up much easier under a layer of primer than before.

And there were definitely imperfections, however, not nearly as many or as bad as I though. In fact I was quite tickled with myself how well it has come out so far!

IMG_2185

Here’s a good view of one area with some imperfections. The intersection of the new overlap is a bit rough.

IMG_2187

IMG_2186

IMG_2189

IMG_2188

After this I pulled the empennage back apart so that I could install the nut plates at the points I plan to attach the fairing.

IMG_2229

There are some other things I need to figure out here – such as the back access plate.

IMG_2231

And the aluminum horizontal stab fairing.

IMG_2232

I countersunk the fiberglass for torx screws. I was super happy with the countersinks, or the strength of small screws through relatively thin fiberglass. I decided to go with the Tinnerman washers (ACS calls them countersunk washers). I actually think they look better with the tinnerman washers installed.

IMG_2451

I will have a total of 4 screws on each side. Two on the horizontal empennage upper surface, and then two more back behind the elevator horn. I call that success in my book!

IMG_2452


Triple Tree Fly-in

Mike Bullock and I flew in his RV-7 to the Triple Tree Fly-in. This was our first time to the event. We had originally planned to make a multi-day event of the trip, but we both wound up wanting to do a shorter trip. We settled on a one night excursion. We departed mid-morning on Friday, September 6th. Mike is really excited to be getting his instrument rating later this fall. He needs 10 hours with a CFII before his accelerated course in December, and I was more than willing to help him out.

We took off and encountered a beautiful broken layer to the south.

IMG_2289

Not too long after take off Mike put the foggles on, and I gave him some practice climbs, decent, heading changes and the like.

IMG_2291

I also had him practice flying along an airway and tracking a course. It was a good introduction to instrument flight with the added benefit of taking us to SC00!

IMG_2293 (1)

The arrival procedures from the NOTAM were dirt simple. Combined with light traffic, getting it was a breeze. The Triple Tree Aerodrome – is a gorgeous setting. We were parked right under the trees, and immediately made friends with our neighbors. I was somewhat blown away by the location.

IMG_2302 (1)

IMG_2299

Triple Tree is no where near the size of Sun N Fun or Oshkosh. There aren’t really any vendors – or public attending. Lots of people arriving and departing were cleared for low approaches. We did go checkout their hangar and facilities.

IMG_2308 (1) IMG_2311 (1)

Friday night featured a sample feast with 19 restaurants contributing to the all you can eat extravaganza.

IMG_2321 (1)

IMG_2320 (1)

IMG_2311 (1) 58956009499__7CA447C7-6471-4565-922F-572DD3D1E2E8

While only at Triple Tree for one day – I was impressed and had a great time. If you’re looking for something like Oshkosh, look elsewhere. If you are looking for a gorgeous location with a laidback atmosphere to hang out with good friends – this is your place. I can totally see coming back here in a larger group, and or with someone bringing their own camper / RV. You could really have a good little airplane based vacation!

On the way back, Mike did more instrument work. I had him shoot two approaches and a hold. He did very well, although we both have a learning curve for his GRT avionics.