Empennage Fairing 2


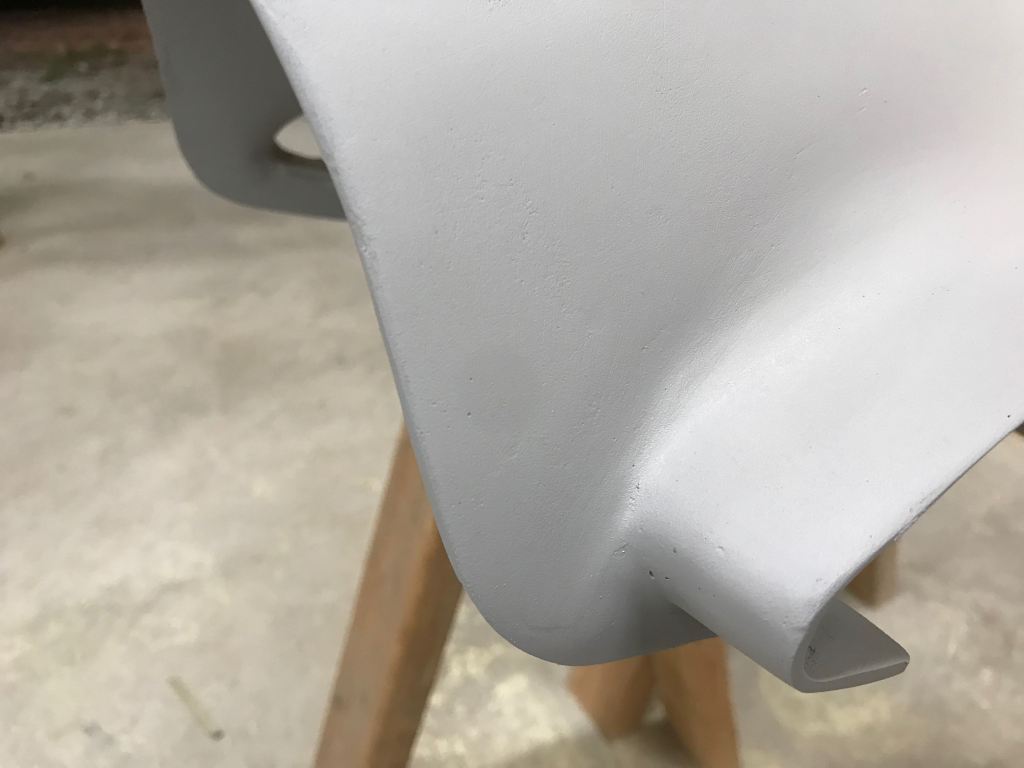
After filling everything to my satisfaction it was time for a layer of filler primer. This serves two purposes – first its going to need to be primed anyways and fill pinholes, but secondly it also serves to make flaws more obvious. Areas that aren’t smooth enough, are poorly rounded, or aren’t flat will show up much easier under a layer of primer than before.
And there were definitely imperfections, however, not nearly as many or as bad as I though. In fact I was quite tickled with myself how well it has come out so far!
Here’s a good view of one area with some imperfections. The intersection of the new overlap is a bit rough.
After this I pulled the empennage back apart so that I could install the nut plates at the points I plan to attach the fairing.
There are some other things I need to figure out here – such as the back access plate.
And the aluminum horizontal stab fairing.
I countersunk the fiberglass for torx screws. I was super happy with the countersinks, or the strength of small screws through relatively thin fiberglass. I decided to go with the Tinnerman washers (ACS calls them countersunk washers). I actually think they look better with the tinnerman washers installed.
I will have a total of 4 screws on each side. Two on the horizontal empennage upper surface, and then two more back behind the elevator horn. I call that success in my book!


