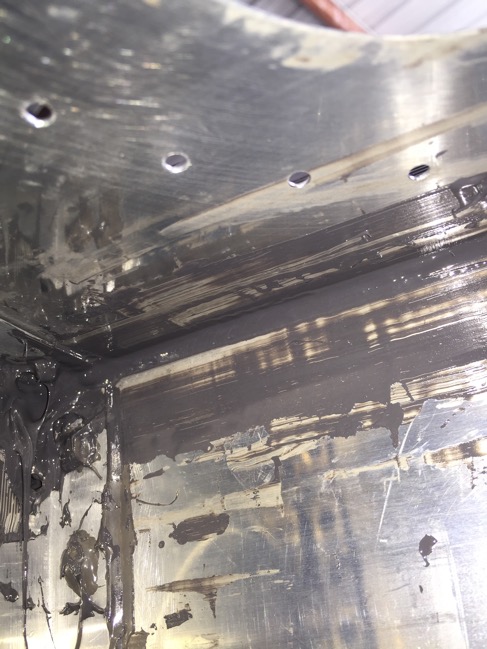
Today it was time to actually fix the leaks. Before I put proseal inside I wanted to do all the sanding and drilling. This way I could clean up the debris before any wet proseal entered the equation.
Here is the first repair. This is in the first section that houses the flop tube and actually isn’t leaking. I wanted to make sure that the leak which is close to the rib on the other side wasn’t coming from this side. 
This is the other side of that rib. Yes, its a mess. But its darn hard to work inside a small 4 inch access hole. The best technique I found was to use a syringe to apply a bead and then popsicle sticks to produce a fillet. 
Here is the third and final section for repair. 
Here is how I applied proseal to the wire. 

I also applied a filet of proseal to the outside of the baffle. I know this isn’t the best, but I figured why not. My last task for the day was to flip the tanks baffle down. Proseal, while thick, does follow gravity. Hopefully the proseal will sit over the next week and fully seal those leaks up! I will close the tanks after I make a final inspection. I may need to add more proseal if anything looks out of sorts. I do not intend to do this for a second time!

