Spars


Wing Spars 13 (1.5 hrs)

Its been a very busy few weeks for me.  The pace of building has slowed down as I’m pursuing a graduate degree in the evenings.  Between class and studying, on top of work and a long commute there isn’t really anytime for the plane during the week.  This weekend my wife had two horse events, so I didn’t have much time.  I did sneak into the garage late Sunday evening to rivet the rear spar together.  The results are below.  I need to rivet the tie down bracket together and it will be time to start fitting the ribs. 20131020-223021.jpg

20131020-223035.jpg

20131020-223050.jpg

20131020-223112.jpg

20131020-223125.jpg

20131020-223135.jpg


Wing Spars 12 (2.0 hrs)

For some reason, I was thinking that I could prime the ribs at the same time as I did the spar components.  As I read the instructions again today, I realized I was mistaken.  It was best to get the spars primed and riveted so that I could cleco the skeleton together, match drill and then prime the ribs.  So thats what I set about to do. 20131014-195146.jpg

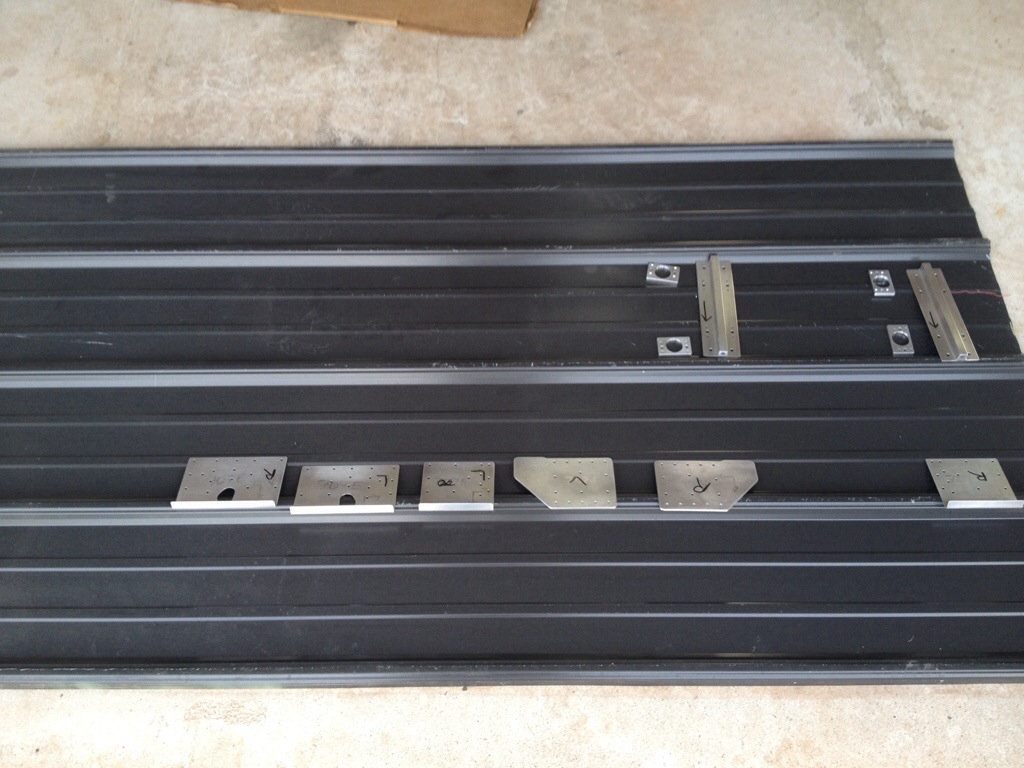
Here you can see my method for holding the spars.  Some old hangers did the trick nicely.20131014-195201.jpg

Squire loves priming!20131014-195223.jpg

I did have some trouble with my HVLP gun today.  It keeps not spraying paint.  Afterwards, I did a complete tear down.  I cleaned each part thoroughly and applied some silicone lubricant in some key areas that I think were binding slightly.  More importantly, I think I discovered the problem.  The paint reservoir has trouble sealing, which if your not careful means you can very easily spill that expensive primer.  Its a HF tool that works great, but like a lot of HF things, there is always something!.  To fix the sealing issue, I applied some vaseline to the threads of the plastic cap.  The lid seals great now.  I noticed the vent was clogged with primer.  I have never opened the vent before, but with the leaky lid I think the reservoir was able to equalize.  After unclogging the vent, and reassembling the parts I gave it a test run with some MEK and it seemed to work fine.  She’ll get a real test very soon. 20131014-195240.jpg

20131014-195254.jpg


Wing Spars 11 (1.0 hr)

Today I finished all of the prep work on the wing spars except priming and riveting. I used my new countersink to finish countersinking the tie down brackets.  I deburred the spars themselves, scotchbrited the remaining parts, and dimpled part of the spar that is hard to dimple after the reinforcement fork is installed.  Priming is somewhat time consuming, and I want to do the biggest batches possible to save time.  That being the case, I set the parts for the spars aside, and began work on the wing ribs.  I’m only going to prime when I absolutely cannot continue work until I do.

On the left you can see my new #40 countersink compared to my #30 countersink.  The #40’s that broke were of the same style as the #30 shown here.  You can see why its weaker.  I’m not sure what the advantage may be to the style on the right, but I prefer the new stronger countersink.  It seems less prone to chatter too. 20131012-190853.jpg

Here is Squire with all of the spars behind him. 20131012-190903.jpg