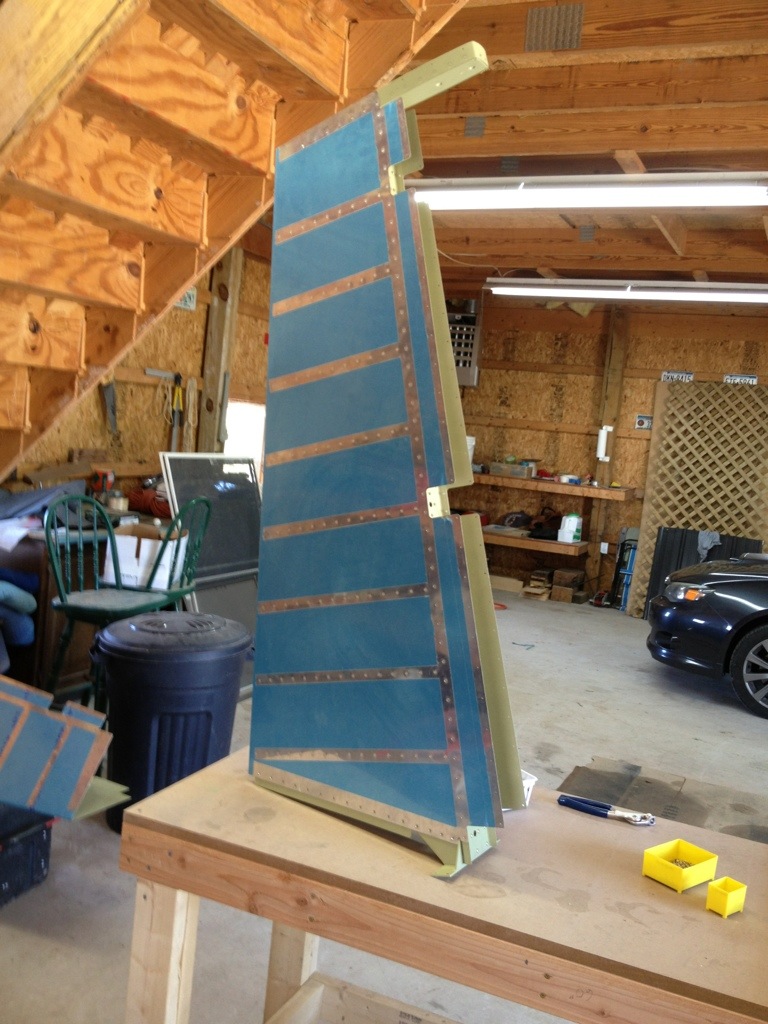
I barely got anything done tonight due a new issue… cracking on the shop heads of the AN470 4-5 rivets.
The very first rivet I set, completely cracked, and didn’t even form a proper head. I was perplexed because I knew I had squeezed it properly. No worries, it was an excellent opportunity to use my new rivet removal tool! I was able to set the proper drilling distance on my second adjustment, and the rivet head snapped off perfectly. Certainly the easiest and best job I’ve ever done drilling out a rivet… so we’ll add that to my list of awesome tools.
I continued to rivet the rudder spar and spar reinforcement plates. On the third plate I noticed another crack. The crack was diagonal just like the first one, but not as severe as the head was properly formed. I decided to inspect all the rivets I had just set. Turns out about 8 of them show some type of cracking. Time to stop and give some consideration to the problem.
I found some information on Van’s Airforce. First this thread shows the EXACT problem I have. Same rivet type, and same angular cracks. I also referenced the mil-spec for the problem which states that “Cracks in driven heads (1) which fall with a circle concentric to 1.10 times the diameter of the nominal shank diameter, or (2) intersecting cracks, or (3) five or more cracks” are unacceptable. Finally, I found this thread which provides some feedback given by Van’s support. The majority of the time Van’s recommends leaving the rivet in place.
Its really hard to tell, even with a magnifying glass if the rivets are within spec. There are a few that look worse than others, and I will likely drill them out. More to follow.
Here’s the spar prior to any riveting. 
The very first rivet… completely cracked.
New rivet removal tool 🙂
Rivet in the process of being drilled out. I had slight scaring from allowing the rivet remover to slip. The damage was minimal.


Here’s the best I photo I can get of one of the cracked rivets. You can see the slight crack running diagonally in the side facing the camera. No evidence of cracking on the top of the shop head. 
Here’s the diagram from the MILSPEC.


