Empennage


Trim Tab 5 (2.0 hrs)

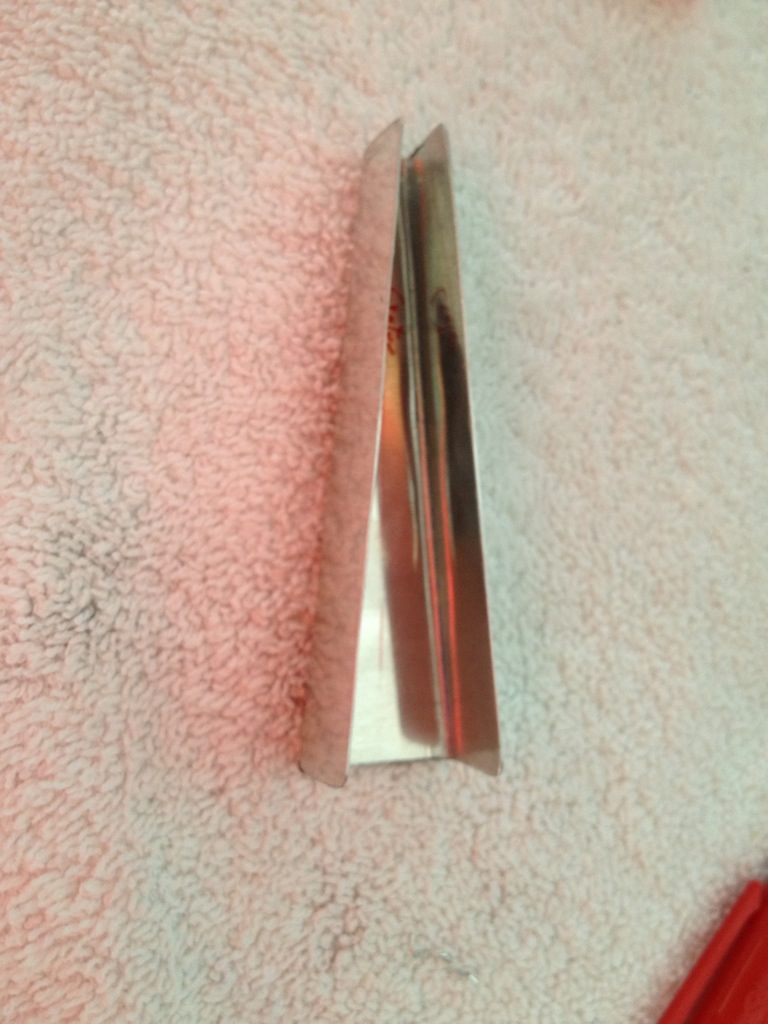
Rib-let fabrication.  Part two.  I was determined that my second attempt at a proper rib let would be my last attempt, and thankfully it was.  I’m really happy with how it turned out.

Using the measurements I made previously, I drew the angle out on a piece of paper and used that to mark the .020 aluminum sheet to make sure that the web and flanges had the correct angles.  I made the rib longer than needed so that I could slowly trim it down to where I was happy with it.  The point of the rib towards the trailing edge was the only part that was off, and only by a hair.  With a little work and magic I was able to get a very good fit. The first two photos show the result of my bend.  I used a pair of seamers and a block of wood to make the bends. 20130812-192857.jpg

20130812-192905.jpg

Here is one of the two clamps I used to hold it in place for the first hole to be drilled.  20130812-212124.jpg

Here is the end result after drilling and dimpling.  Its just a tiny rib, so I’m more than OK with using pop rivets.  I want the concave side of the rib inside so that the elevator can eventually be closed with epoxy / fiberglass (when I learn what all of that is about).  Regardless, the flat edge out looks better IMHO.  N888PB’s mascot is of course posing in the background. 20130812-212131.jpg

20130812-212137.jpg

Last note of the evening.  Mike was kind enough to give me the brackets he used for his wing stand.  Awesome!  This is definitely a time saver.  He also has the other wing stand for storage and completion of the leading edge and he said I could use that…. which will be an even bigger time saver.  Pictured below are the upper and lower brackets for one side of the wing stand.20130812-212143.jpg


Trim Tab 4 (1.5 hours)

Tonight I set about making the rib-let for the elevator.  I started by lining the trim tab up with the elevator, and determining the amount that needed to be cut off from the elevator tabs.  My trim tab is not perfectly straight, so I made sure to match that line.  Without a square I don’t think anyone will notice.  (yeah, right…) Then I cut off the tabs.  This was pretty painful considering all the work that went into making those tabs.  This whole tab system for the trim tab and elevator is pretty painful, and compared to the rest of the kit so far, fairly difficult… and needlessly so.  I think there are a couple other ways van’s could tackle this that would be just as effective and far easier.  I bet the RV-14 trim tab won’t be done like this…  After cleaning up the cuts, I again lined up the trim tab to check the clearances.  The alignment and clearance is perfect.  My first rib-let came out darn close to perfect, but I can see a few improvements that I can make.  It only took 15 min, so I might as well bang out another one. I’m tired now, but I’ll post more details of how I made the rib-let later. 20130811-193750.jpg

20130811-193802.jpg

Here are the tabs marked for cutting. 20130811-193810.jpg

After cutting…20130811-193818.jpg

Cleaned up enough to check for clearance and alignment. 20130811-193825.jpg

Clearance looks good. 20130811-193832.jpg

20130811-193838.jpg

I meant to take pictures of the rib-let before I bent it, and with it installed, but I was caught in the moment.  Here’s I’ve unbent it by hand to read the measurements I had used when I make the next rib-let.  The measurements for width / angle were good, but I want to shorten the length, properly align the ends, and slightly change my bend technique.  I plan to knock this out tomorrow.20130811-193846.jpg


Trim Tab 3 (2.0 hrs)

Today I met Mike at the hangar as he had agreed to give me a hand with the trim tab. I was able to complete the dimpling and countersinking of the skin and the spar, and match drill the hinge to the trim tab. Mike has several different thicknesses of hinge at the hangar and we used a slightly larger width to solve my edge distance issue from yesterday. Finally we set up the trim tab to align it with the elevator as shown below in the pictures. Unfortunately my bends on the end do not allow for the proper clearance alignment. The inboard edge is sticking out by approximately 1/8 inch.

Afterwards we flew to a fly-in at Smoketown Airport in PA. (You can see Mike’s post here.) Great flight, good food, and several cool aircraft on the ground. We also got the opportunity to see two other trim tabs to consider my issue. After that it was very apparent that my error is on the elevator tabs. I’ve bent them too close to the tab. My solution will be to cut the tabs off and install a riblet. I’m hoping to tackle that later this evening or tomorrow.

Here is the trim tab in line with the left elevator. 20130810-163508.jpg

And the deviation…20130810-163518.jpg

Mike on the ground in his RV-7 at Smoketown.20130810-164219.jpg

On base.20130810-164229.jpg

Just for fun I used my MotionX GPS on the iPhone to track our flight. Here are the screen shots. 212mph max. The average speed is a little bit low because I recorded during taxi and takeoff. The GPS signal dropped off at spots.. but heck, its just a cheap iPhone app. Did the trick for my purposes today. 20130810-164607.jpg

20130810-165005.jpg20130810-164619.jpg