I’m getting very close to start sealing. I say that in every post, I think. Seems like I keep discovering more things that need to be done. That being said, I am getting rather close. If I get a fair amount done tomorrow, I may be able to deburr and dimple this week… which could set me up to start sealing next weekend. School in the evenings, and on Saturdays is really slowing me down! I really want to be done with the tanks, as I’m falling behind my timeline goals…
The first task of the night was to use my new fly cutter to cut out the access plate holes. This was a bit of a chore with my crap-tacular harbor freight drill press. Fortunately, the end result was exactly what I wanted. 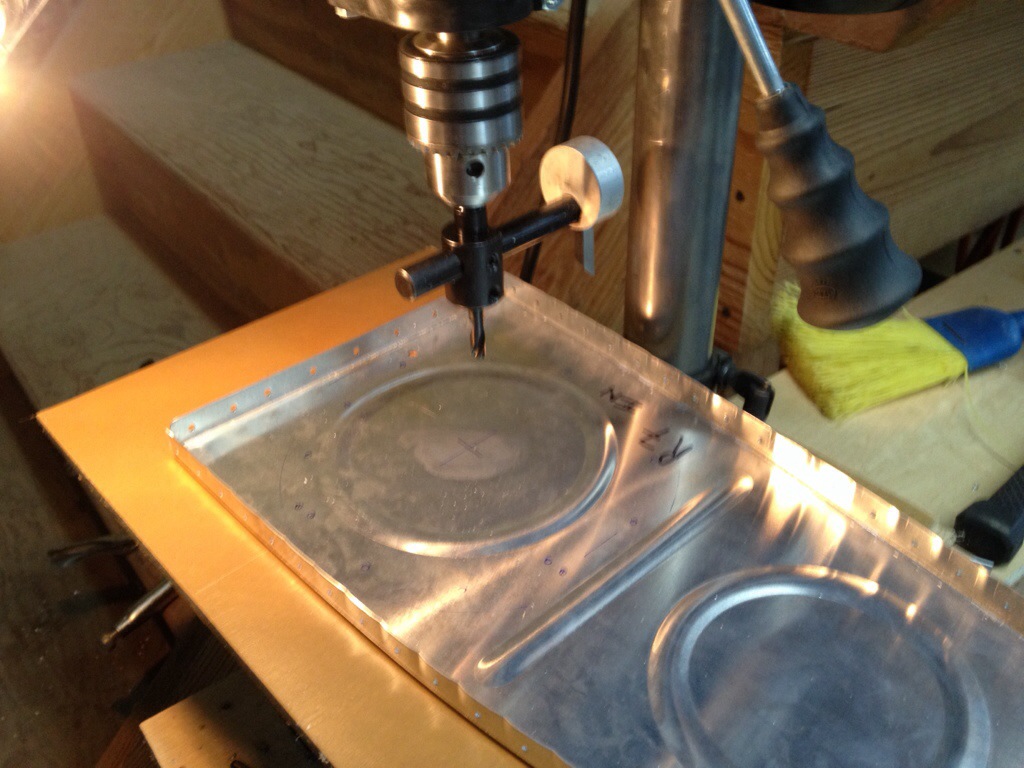
Here are the flop tubes I purchased. Most people only do one flop tube if they plan to do inverted flight, but that means that I’d have to remember to select the correct tank. By installing two flop tubes, I don’t need to remember to select a particular tank. On the other side, there are reports that the flop tubes will wear out and need replacing. We’ll have to cross that bridge when we come to it…. Apparently the flop tubes enter through the front of the tank. The diagrams are not the best, and the instructions flat out don’t even mention the installation of flop tubes…. so I guess I need to do some research before I tackle this. 
Here is the circle cutter’s end result. At this point, I skipped ahead. For some reason I just didn’t feel like messing with nut plates. I’ve got to knock out these access plates, the vent routing, and fuel sender wiring. 
Next up was match drilling the deluxe fuel caps and flanges I bought. I used a blue line from the fore and aft rivets to help with alignment. Easy day. 
Tada… I knocked out both tanks’ fuel caps.
I still need to countersink the flange to accept the dimples in the skin. Next time. 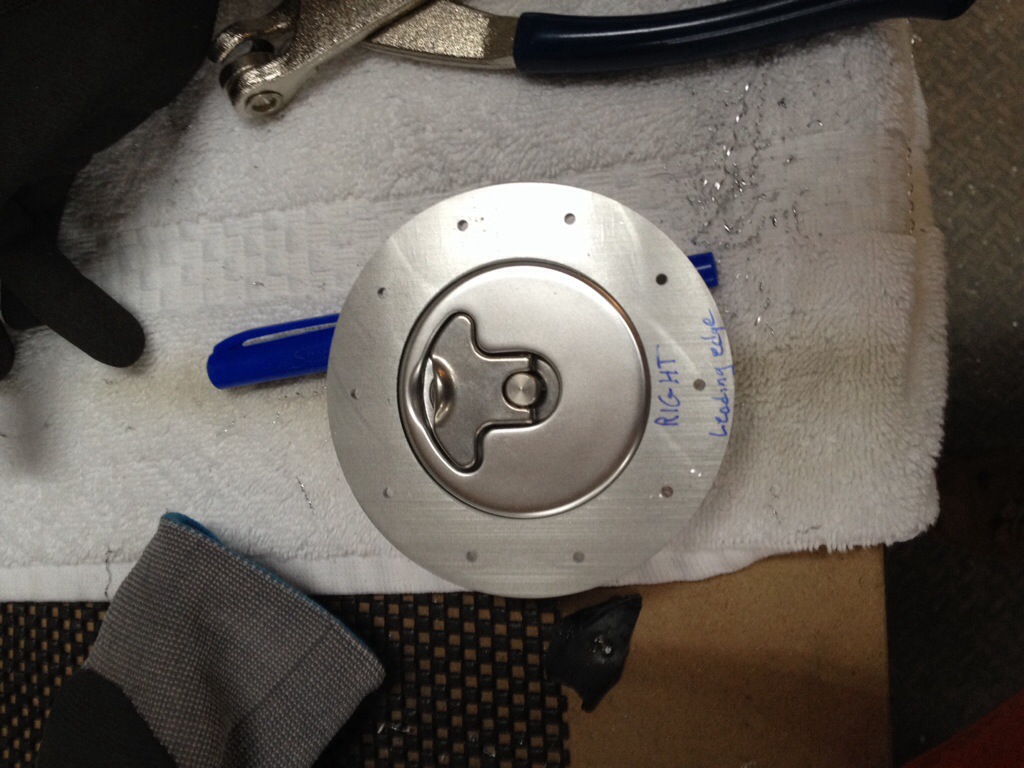
I also match drilled the fuel drains. Instructions say they need to be countersunk, but that has already been completed. Finally, I didn’t take a picture, but I also made the little fuel vent holders that attach to the cap flange out of scrap.


