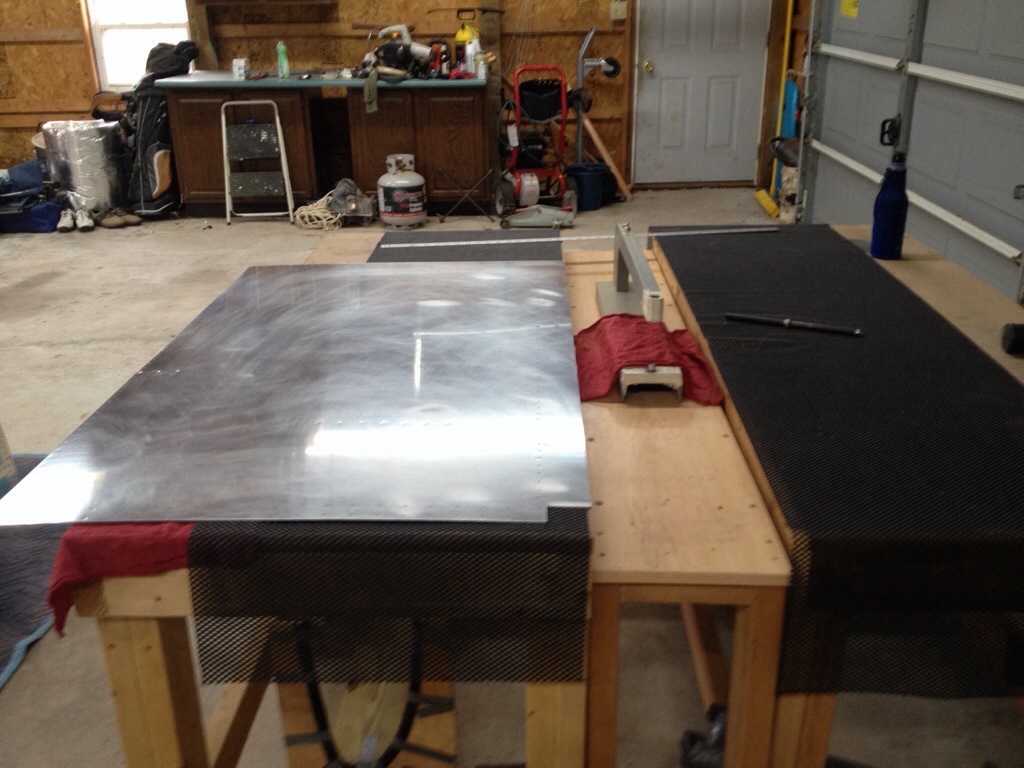
Spring has finally arrived with a beautiful weekend perfect for working on the plane. I finished up de-burring the edges of the remaining wing skins. Next I used acetone and cheesecloth to prepare all of the surfaces for priming. Cheesecloth is indispensable for this purpose. No lint, no dust, no dye. 
 It took a lot of primer for all of the leading edge ribs, eight wing skins, and the leading edge skins! Certainly the most primer I have ever used in one session before. I did break it up into three priming sessions so that I could move parts around in between.
  A few coat hangers repurposed make a great way to prime skins.
 I didn’t want to prime the left outer bottom skin until I had set up the Gretz Pitot tube mount I had bought.
  Here is the backing plate in place after match drilling to the spar.
  This was the first angle I used. I wound up abandoning it after the edge distances were out of spec.
  When setting the aluminum angle in place, cleco the skin and the backing plate in place. This will allow you to perfectly place the angle using a couple of c-clamps.
  I measured out where I wanted to put the attachment rivet holes.
  Here is the backing plate after all of the rivet holes have been drilled. I have it clamped in place in order to match drill the aluminum angle.
  Here is the new attachment angle. Overkill, but I prefer to use scrap when available.
  Using my large blue marker, I colored in all of the area of the skin that needed to be removed.
 I used a unibit to remove as much as possible and then filed the remainder flush.
 Here is the bracket in place.
 With the pitot tube bracket complete (except for the nut-plates), I could prime the remaining skins and pitot hardware.


