Today was the best day I’ve had working on the kit. I’ve received the parts from Van’s earlier this week. (I was given some great advice about ordering from Van’s: Call rather than use the web, and ship via USPS priority mail. I ordered the parts on a Friday afternoon. Monday was a federal holiday, and I received the parts on Tuesday!) The parts were the HS-404 and HS-405 to correct the previous mistakes.
Here are the parts. (I ordered an extra 404 just in case the other one needed to be replaced as well)

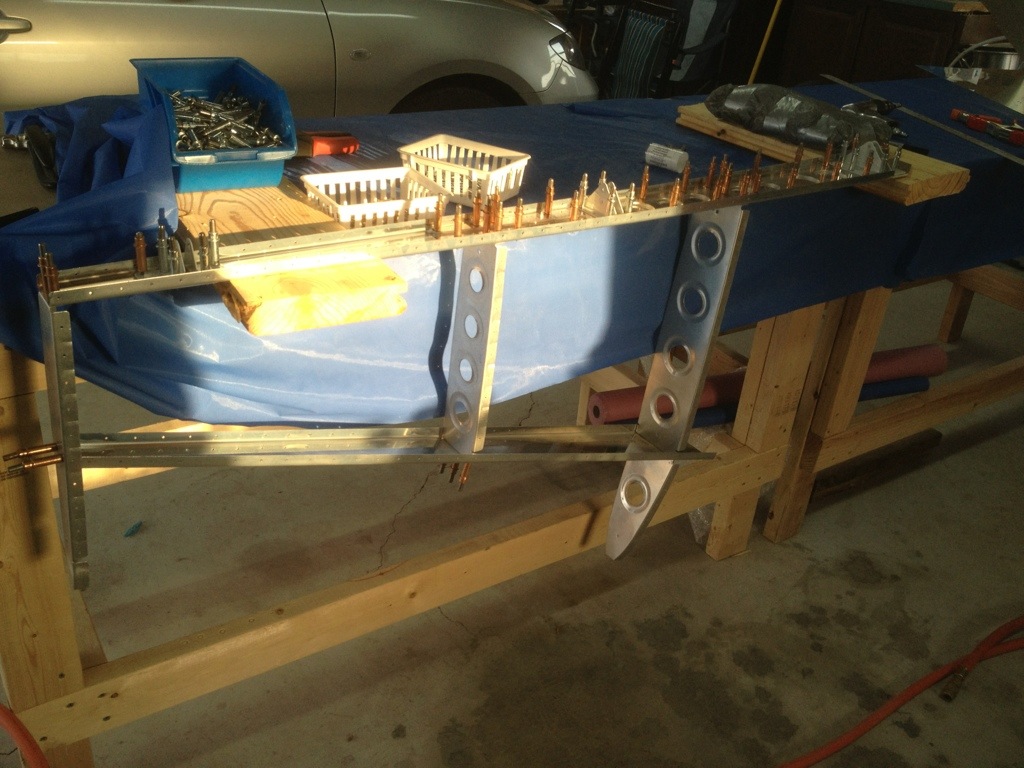
In order to fit the new 404 and 405 I would have to cleco the skeleton’s and skins back together for both sides. Here is the right side: (and yes, I did notice the front spar is backwards…)

Here are the markings for the cutouts to the HS-404:

And the 404 after cutting:

The 404 is clamped into place, and then match drilled to the center line of the flange.

The holes shown below are for the rivets that hold the HS-404 to the front spar and the HS-405 main rib. Everything is within specs! (Digital calipers are a must)

Here is the 405 in place. I didn’t take any pictures of the fluting process, but I’m happy to report it went well. This was my first attempt at fluting, as all the other ribs had been fluted by the previous owner of the kit. I watched a quick video on fluting via the Hints for Homebuilders on EAA’s website. I nailed it on the first attempt. Using the technique in the video, I held the rib flat to the table with my thumb and then fluted between the marks for every other hole. I would squeeze just hard enough to watch the end raise slightly. I used a metal ruler to check the straightness. It wasn’t perfect on the first pass, so I put a very light flute in the gaps I had skipped. Worked perfectly.


